Some blueberry syrups are more like a compote, commonly used on pancakes. However, this blueberry syrup recipe is for an actual smooth syrup without blueberries in it.
It's perfect for pouring over cheesecake or ice cream, making a glaze, mixing into cocktails or lemonade, and even pouring over pancakes or waffles to remind you of a diner-style blueberry syrup.
This blueberry syrup can also be canned since the recipe is based off the one from Ball's book, "The All New Ball Book of Canning and Preserving."
The blueberry pulp that you strain out can be used to make a blueberry butter that is delicious and thick enough to use as a filling for cinnamon rolls, mixed into frostings for cake, or even spread into a seasonal grilled cheese sandwich!
Jump to:
Scaling the recipe
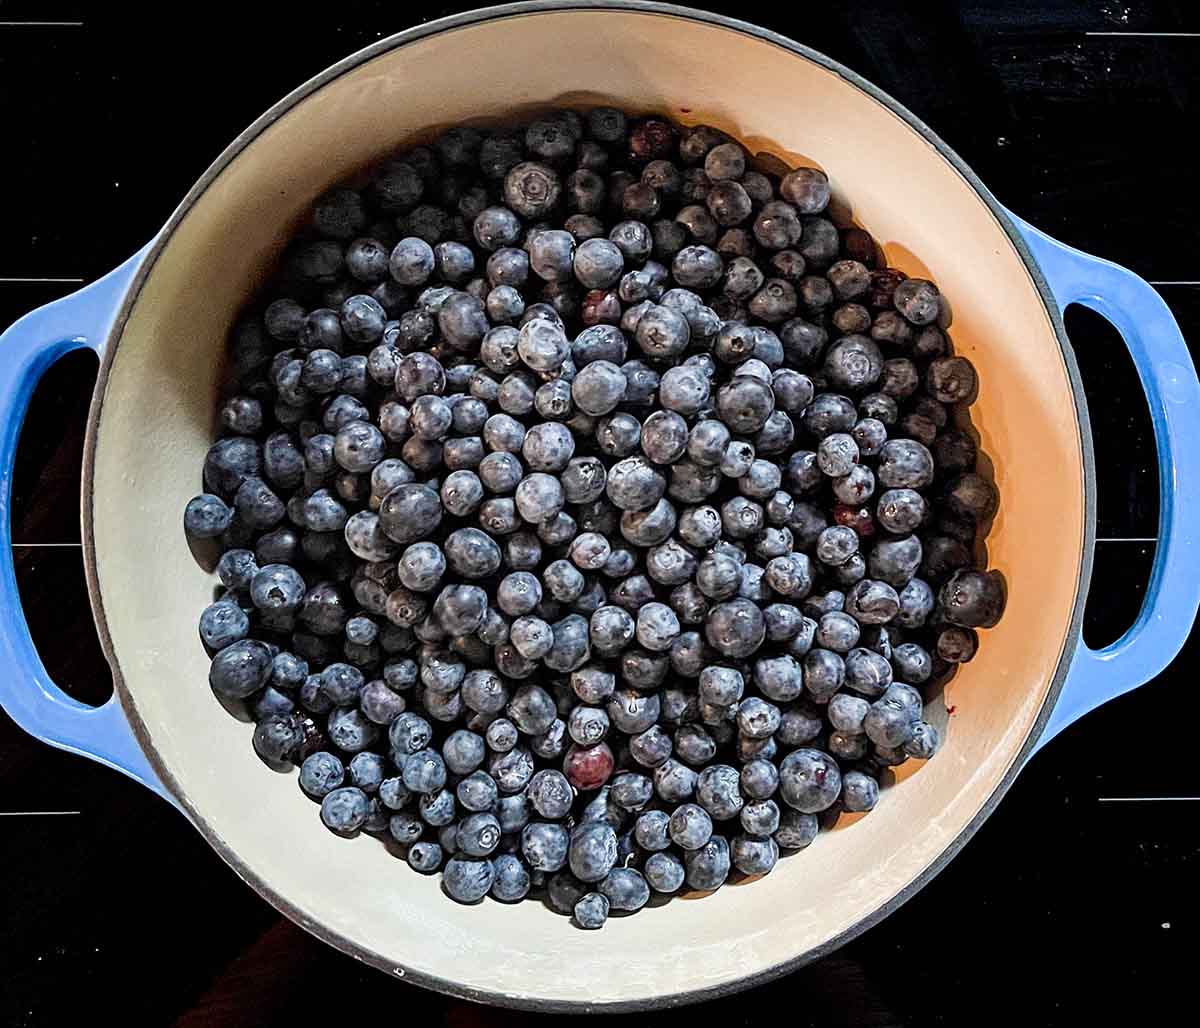
This blueberry syrup recipe is designed to make the most of peak blueberry season. It uses a lot of blueberries to make 3 cups of syrup (and another 4 cups of blueberry butter with the leftover pulp).
However, if you're not looking to can it and want a smaller amount instead, cut the recipe in half. At the top of the recipe card, there is an option to scale it, including a "½" option.
Using fresh blueberries
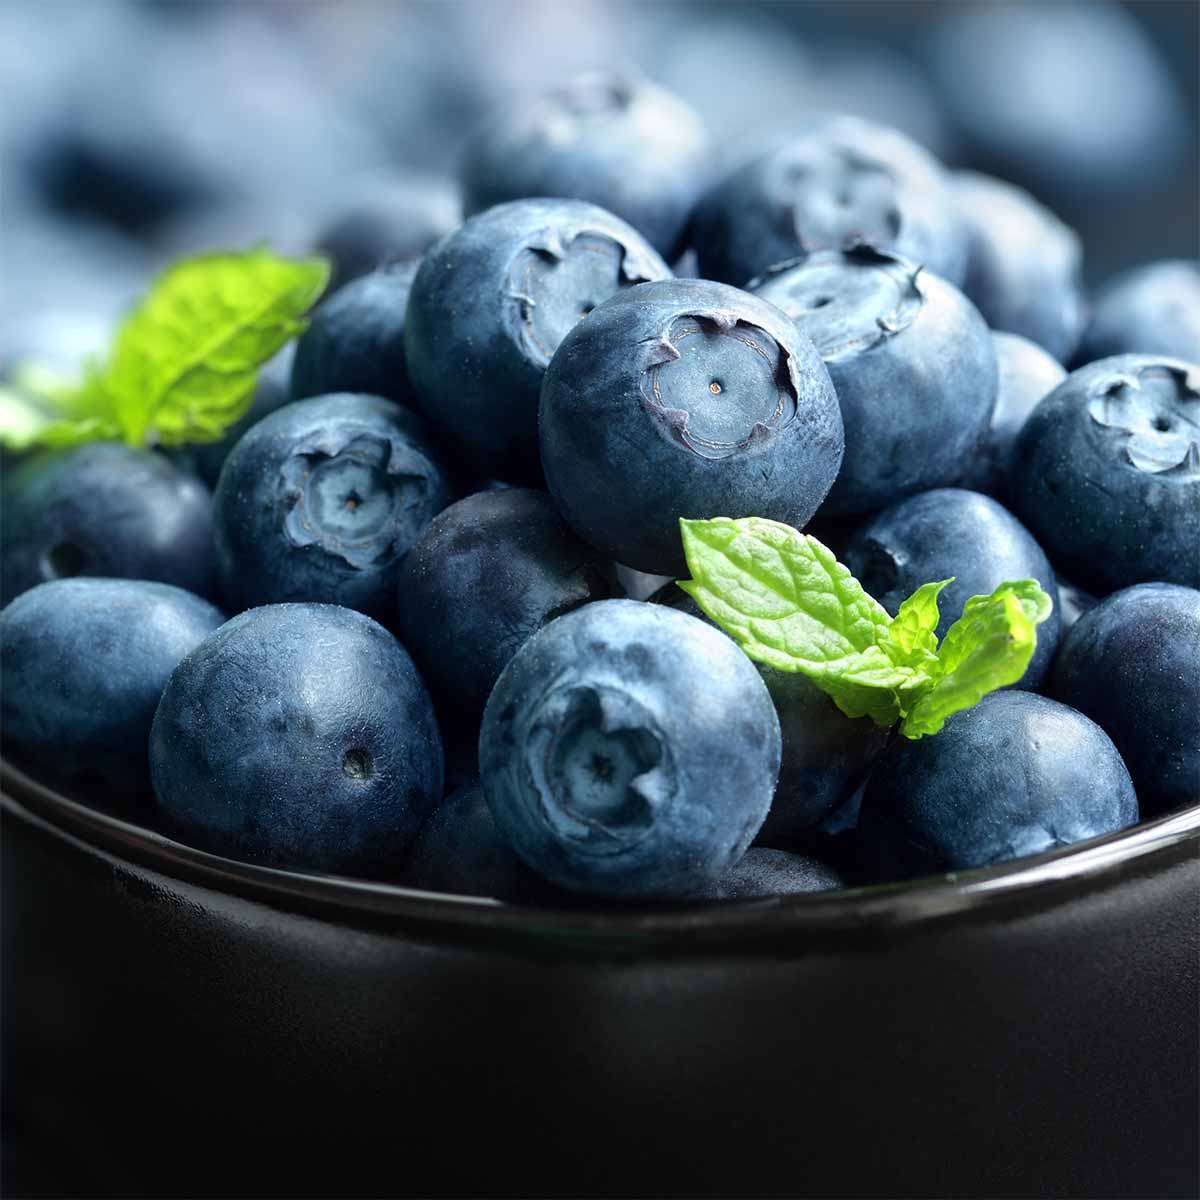
Fresh blueberry season typically runs from May through August. They grow well all over the US, so you should be able to find locally grown blueberries at your farmers markets.
Blueberries can be expensive, especially at farmers markets if they've been allowed to ripen longer on the bushes. You can usually buy in bulk for discounted prices.
At grocery stores, blueberries go on sale throughout summer. Even after grocery prices have skyrocketed, my local supermarket routinely had pints on sale for $0.99 or $1.99, depending on the week.
This recipe is designed using cultivated blueberries (the regular sized berries you see at stores). Wild blueberries also work although the ratio of blueberry juice to leftover pulp might be different, but it won't affect the end result.
Here's a recipe from University of Minnesota that uses wild blueberries.
How to make blueberry syrup
In case you've never made this before, I'll walk you through how to make blueberry syrup in more detail than the recipe card.
The process is boiled down (pun intended) like this:
- Boil blueberries with water
- Strain the blueberry juice out
- Boil some water and sugar to make a simply syrup
- Stir in the blueberry juice & some lemon, simmer
- Refrigerate or can it

1. Boil blueberries with water
Combine the blueberries with water in a large pot and bring it to a boil. Then reduce the heat to a simmer, and cook for 10-15 minutes.
As the blueberries start to soften a little (at any point in the boiling / simmering process), mash them with a potato masher. You want to break apart all of the blueberries so they release their juices.
You'll also want to occasionally stir the mixture to prevent burning.

2. Strain the blueberry juice
This is the messiest step when making blueberry syrup. Blueberry juice will stain! Make sure you are wearing black or old clothes because it might splatter when poured into the strainer. If you look at the photo above, you can see the splatter marks on the cheesecloth.
Also protect your counters if they are prone to staining (especially butcher block).
Grab a large strainer (like one you use for draining pasta). Line it with cheesecloth or a thin flour sack cloth (that you don't mind ending up purple). The cheesecloth helps keep small bits or stems from falling through for an ultra-smooth syrup.
Place the strainer over a large bowl to catch the juices. Then slowly pour the blueberry mixture from the pot into the strainer. Let it sit for 30 minutes to an hour.
Don't press on the blueberries, just let them drain on their own. This keeps the juice clearer and fresher looking.
You should have about 2.5 cups of blueberry juices when it's done.
3. Make a simple syrup
A simple syrup is usually a 1:1 ratio of water and sugar. This recipe starts with an uneven ratio: 1 cup of water and 3 cups of sugar. That's because we'll later be stirring in the 2.5 cups of blueberry juice to even it out.
To make the syrup, start by bringing the water and sugar to a boil in a medium saucepan. As it warms up, stir it to dissolve all of the sugar. Then continue to boil for about 20 minutes.
Once the sugary-syrup reaches 220F, you're ready. Normally a simple syrup is ready when it reaches 212F (water's boiling point), but cooking it to a higher temperature thickens it to be a more viscous consistency.
Don't let it get too hot, or it can turn into candy. But you'd have to cook it for 30 or 40+ minutes to reach those stages, which is 235F or higher.
If you don't have a thermometer, you can stick to cooking it for 20 minutes. If it doesn't end up reaching 220F, it will just be a little thinner, and if it climbs a little hotter, it will be slightly thicker.

4. Stir in blueberry juice
Stir the blueberry juice into the simply syrup, along with the lemon juice. Simmer for 5 minutes.
Don't skip the lemon juice if you are canning the recipe - it's there to ensure the acidity is high enough for safe storage.
If you aren't canning it, you can skip the lemon juice. However, it does ensure the blueberry syrup will be more of the classic reddish-purple than a more blue-green purple.

5. Store it properly
Blueberry syrup will store in the fridge for at least a month. It can last up to 6 months, but be sure to check for signs of spoilage. If it has turned cloudy, smells bad, or has signs of mold, don't eat it.
You can also try freezing the blueberry syrup. I haven't tried it but numerous sources say it freezes fine. It might turn slushie and not fully freeze because of the high sugar content, and that's normal.
However, one source advises against freezing because it can change the texture or dull the flavor. This source, Liquid Alchemist, is specifically referring to making high end cocktails, so they might just be overly cautious for that specific scenario.
Alternatively, blueberry syrup can be canned and stored for a year (or more) as long as it doesn't show signs of spoilage. Once opened, store it in the fridge. It will last about a month (or more) once opened.

Canning instructions
Canning this blueberry syrup is similar to canning jams. You boil the jars in a pot for a specific amount of time, them remove them to let cool. That's it!
Processing time (adjusted for altitude)
The jars are processed (boiled) for 10 minutes, which needs to be adjusted for altitude. Water boils at a higher temperature at sea level, than it does 6,000 feet up. The higher boiling point kills bacteria and bad organisms faster, so jars don't need to be processed as long as they do at higher altitudes.
At sea level, water boils at 212F degrees, but at 3,000 feet it boils at about 206F degrees, and 200F degrees at 6,000 feet. (source)
Adjust the processing time for altitude as follows (according to Ball).
| Altitude | Increase boiling time |
|---|---|
| 1,001 - 3,000 feet | add 5 minutes |
| 3,001 - 6,000 feet | add 10 minutes |
| 6,001 - 8,000 feet | add 15 minutes |
| 8,001 - 10,000 feet | add 20 minutes |

Why skim off foam?
Foam forms when the air inside the fruit escapes during the boiling process. Foam is full of airy, so it takes up more space - just like the foam at the top of a cappuccino.
If you let the foam in your coffee fall flat, your drink wouldn't be as full. That concept applies to a foamy blueberry syrup in a jar - if you let the foam fall, you'll have less syrup in the jar than you originally thought.
Canning jars are usually filled to leave about a ¼ - ½ inch of headspace (that's the space between the liquid you're canning and the top of the jar). Foam is full of air and takes up extra space... so when you mean to only leave a ¼ inch, you might have actually left ¾ of an inch once the foam subsides.
If there's too much headspace, jars might not properly seal and the syrup can discolor and develop off flavors during storage.
The best way I've found to skim the foam off the syrup is with a small metal spoon - once the pot has been removed from the heat. Foam can continue to form as the syrup boils, so it isn't worth removing it until the boiling subsides.
Northwest Edible Life has an entire article about skimming foam from jam, including some helpful pictures and advice from a master food preserver.
You can even put the skimmed foam to good use. Tasting Table recommends turning it into fruit leather or dehydrated into candy-like shards to add to the top of ice cream.
You can also try mixing it into a cream cheese, to make a blueberry cream cheese. You can try replacing the jammy syrup with the blueberry foam and follow the instructions in my strawberry rhubarb cream cheese recipe.
How to tighten metal bands
It's advised to screw the metal bands on until "finger tight." Well that means something different to everyone and I always found it maddening as a beginner.
Nellie Oehler, a food safety specialist at Oregon State University, has a helpful description. She says, "I like to screw on my rings until I feel resistance and then give it a short extra twist. If you tighten it too tight the lids will buckle as the air escapes from the jar. It is normal to have loose rings after you process and the jars cool. They are called self-sealing which means that the metal expands as it heats to allow the air to come out of the jar and then it sort of tightens when it cools but most are a little loose at the end."
Jars that didn't seal
Sometimes a jar or two won't seal. There can be any number of reasons:
- The rim was dirty so the lid couldn't form a vacuum
- The jar rim has a tiny chip in the glass
- There wasn't enough head space (or too much)
- The metal bands were screwed on too tight
If the jar didn't seal, you can do two things. You can put the blueberry syrup in the fridge and use it right away or you can reprocess it. If you plan to reprocess it, you need to do so within 24 hours and use a new lid. Repeat the process, including boiling it for the entire processing time.
The University of Minnesota has more information on dealing with jars that didn't seal and the possible causes.
Jar sizes
Syrups are most often made in half-pint jars which hold 1 cup (8 ounces). I often make this in cute, little 4-oz jars for gift giving or to pull out for a couple of cocktails, or waffles for two.

Recipe

Ingredients
Blueberries
- 6 pints blueberries 4 - 4.5 pounds
- 2 cups water
Syrup
- 3 cups sugar
- 1 cup water
- 1.5 tablespoon lemon juice
Instructions
Cook the blueberries
- Combine blueberries and water in a large pan (like a dutch oven) and bring to a boil over medium-high heat. Reduce heat and simmer for 12 minutes, crushing blueberries with a potato masher.
- Place cheesecloth (or a kitchen flour sack cloth) in a strainer. (Note the blueberries WILL stain whatever you use, so make sure you don't mind a purple flour sack cloth!). Place the strainer over a bowl.
- Strain the blueberry juice through your lined strainer into the bowl. Do not press it down, just let it sit for 30-60 minutes. You should end up with about 2.5 cups of blueberry sauce.
- Reserve blueberry pulp to make blueberry butter, or add to pancakes or muffins. You'll probably want to add sugar to the pulp when you use it.
Make the syrup
- Mix the water and sugar in a medium saucepan. Bring to a boil, stirring to dissolve the sugar. Continue to boil, uncovered for about 20 minutes, until it's 220℉ on an instant-read or candy thermometer.
- Stir in your reserved blueberry juice and add in lemon juice. Bring it back to a boil, then reduce the heat and simmer for 5 minutes. Remove it from the heat and skim off any foam (if you are canning it). When canning, extra foam takes up headspace and leaves too much air at the top of the jar.
- Store the syrup in the fridge, freezer, or continue to canning instructions.
Canning instructions
- Get a large pot for canning ready with boiling water and sterile jars. I used a mix of 4 and 8 ounce jars.
- Pour the blueberry syrup into hot jars. Wipe the rims clean then add lids and hand-tighten metal rings. Process jars for 10 minutes, adjusting for altitude (see notes). Turn off the heat, and let the jars continue to sit in the hot water for another 5 minutes. Then take them out to cool. You'll hear them pop and seal. If any are unsealed after 24 hours, you can reprocess them, or store it in the fridge instead.
Notes
Nutrition
More recipes & resources
Looking to use up blueberries? Try some of these recipes.


And if you love preserving fresh fruit, check out my other canning recipes.

If you're wondering what else is currently in season, check out my calendars to see what produce is in season each month (and coming up soon).


Tracie Hardiman says
This worked exactly as written, thanks!
Veronica T says
Glad it worked out 🙂