I've been starting vegetables from seed for 20 years and have gone through every iteration of seed starting trays.
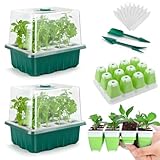
I finally bought reusable seed starting trays to replace the flimsy black plastic ones that crack apart after a single season. I've never really gotten excited about a seed starting tray until now, and I've been using these exclusively for the past several years.
What to look for in the best seed starting trays:
- Silicon: doesn't crack like the cheap plastic ones and can be sanitized in the dishwasher each season
- Easy removal: the silicon bottoms are flexible, so you can easily push on them to get the plants out
- Humidity domes: are really helpful (but not required) for seed starting
- Small number of cells: different types of seeds germinate at different rates - you want similar rates for when you remove the humidity dome
- Built-in grow lights: offer very minor assistance once seedlings emerge
In this post, I also share my favorite seed starting medium that doesn't get moldy and breaks down in the soil.
The cost is pretty affordable as well, coming out to about $0.50 cents per plant. I plan to use these for the next 10 years or more, which means they would come out to about $0.05 cents instead!
Jump to:
The best seed starting trays
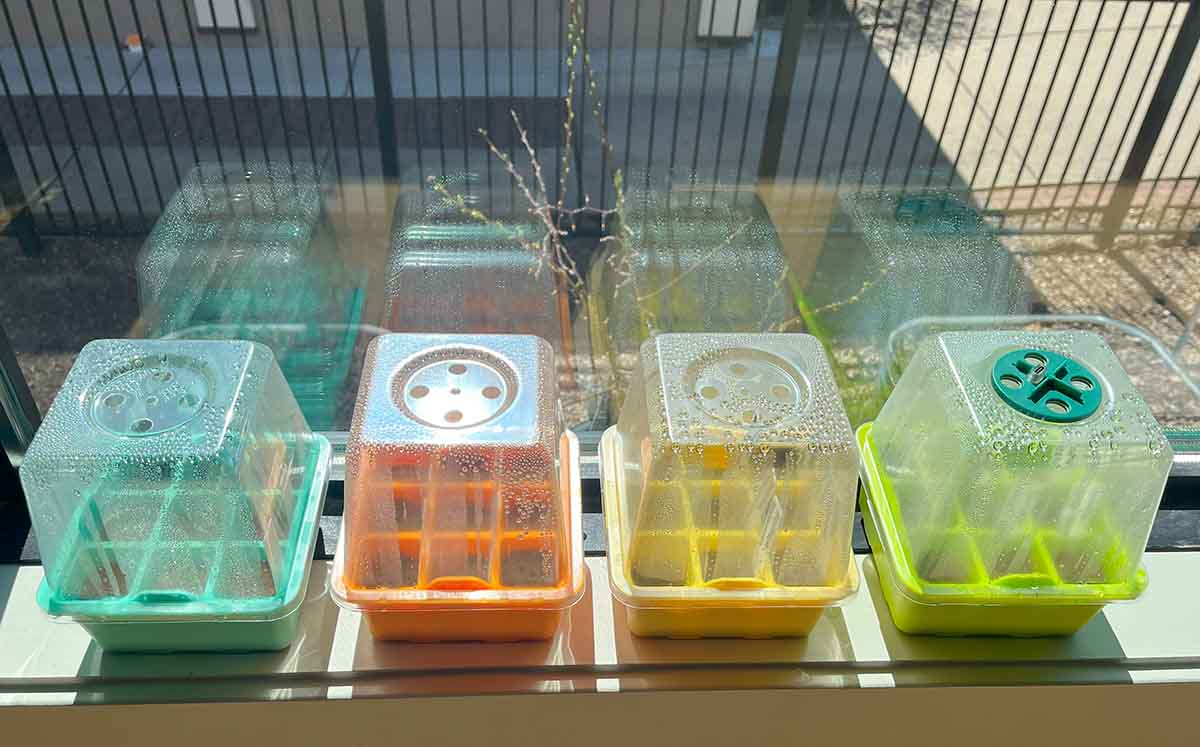
I bought these colorful silicon seed starting trays a couple years back - both for fun and function. They sit adorably in the window, making me smile every time I walk by. As a bonus - they are as practical as they are cute.
I've never found a seed starting tray this sturdy, and I've order a lot of them. The bottoms are a rigid, thick plastic that doesn't give at all when pressed. Maybe even more sturdy than tupperware.
They will be reusable year after year. I'm on my third year and they look like new. I also put them in the dishwasher and they come out perfect.
Sadly, the company stopped making these trays with humidity domes and the bottoms to catch water. I reached out to them to find out if they planned to release them again and they said they did not.
However, I have a solution that might be even better.
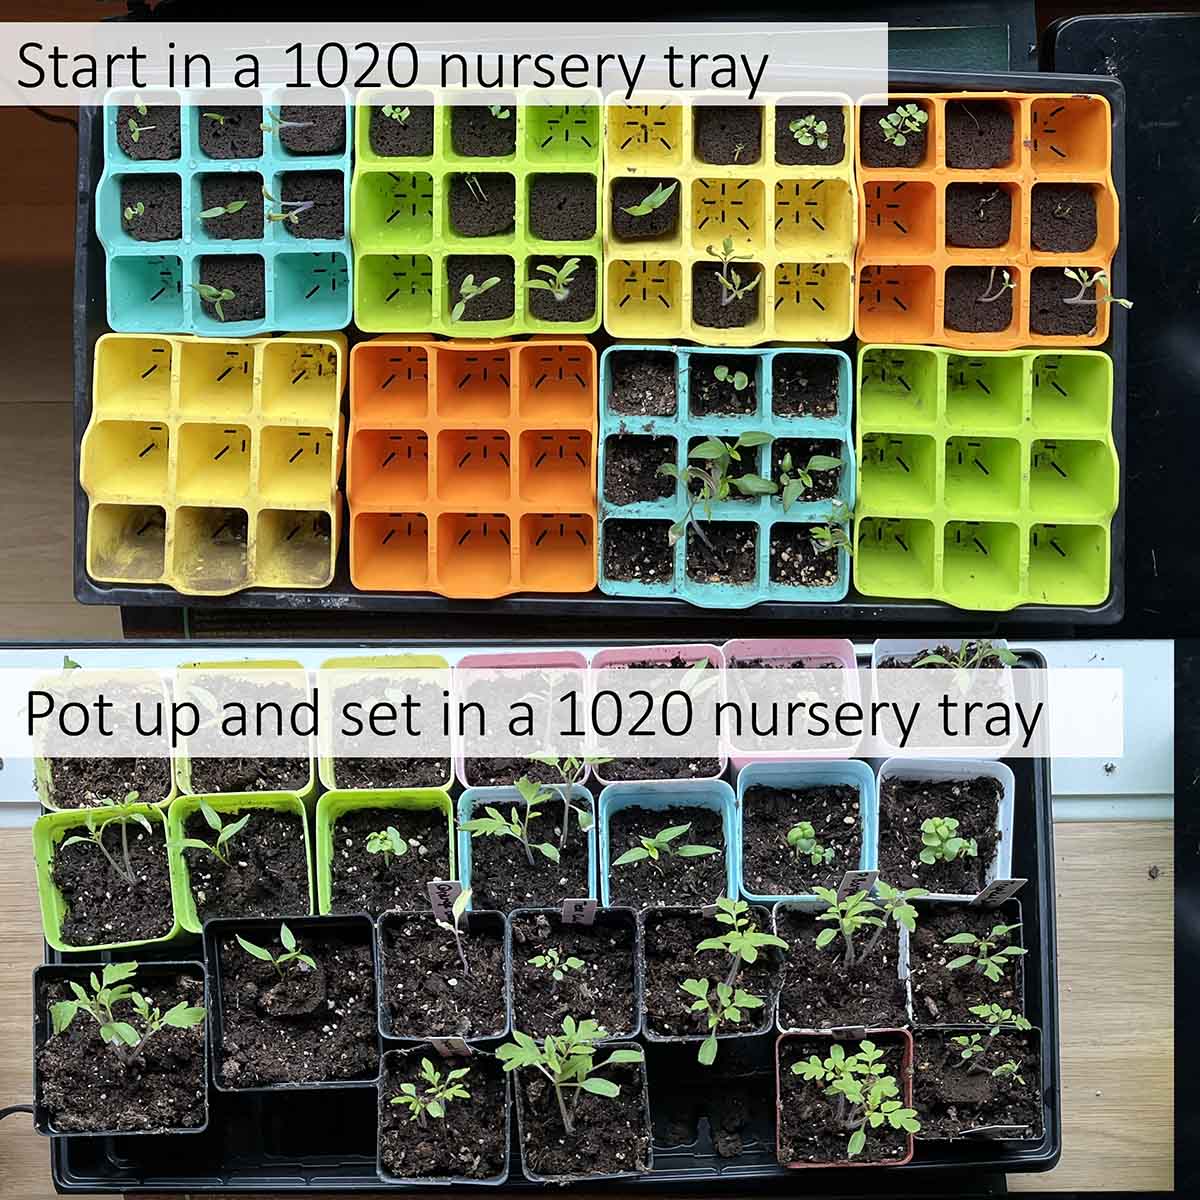
Buy "1020" nursery trays
You're going to need those large black nursery trays to catch water when you pot up your seedlings, or at least something similar (which could be a disposable tin foil tray, takeout containers, etc).
A "1020" tray is a standard horticultural flat that's just over 10x20 inches. If you buy a flat of marigolds or something at Home Depot, Menards, etc, they'll almost always be in a 1020 tray.
Oddly, they seem expensive online if you want the humidity dome. The best price I could find was about $5 per flat, but they come in a pack of 10, like these trays.
Just the trays themselves aren't that pricey (here are some options on Amazon). If you only plan to start 1 flat of seeds you'll only need 1 humidity dome. So you could probably get creative at home with anything to lock in the moisture (it doesn't have to be clear).
So I have 2 more options for you:
- Buy the colorful trays along with their microgreens kit, as the microgreens bottom trays and humidity domes fit (I bought them to try it out) - but now you are spending twice as much.
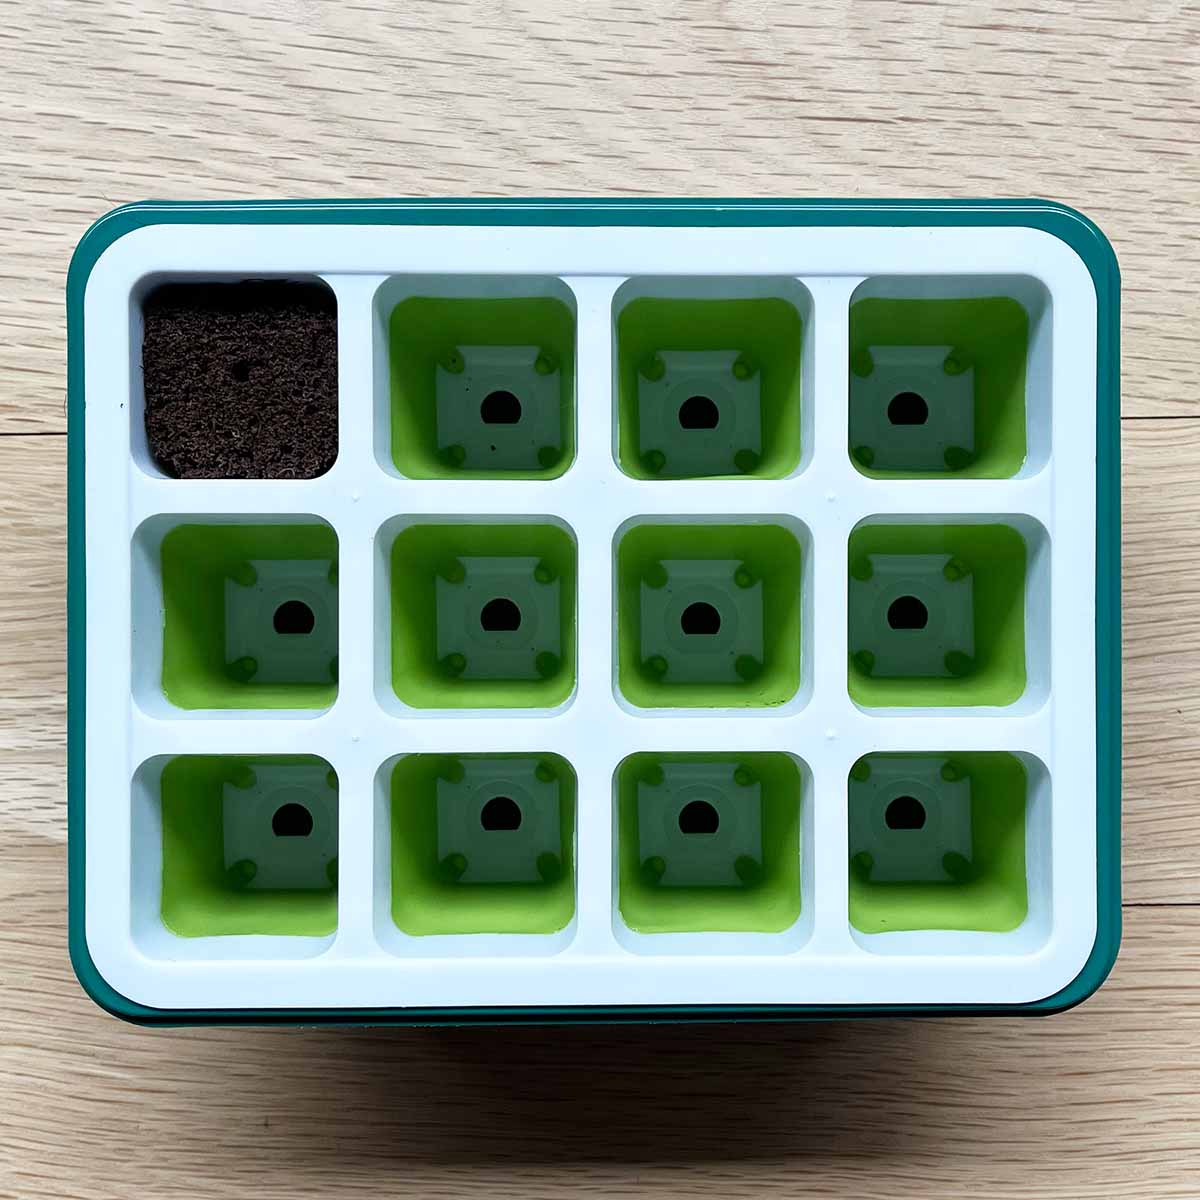
- Or get my backup product in green (listed below). It's not as sturdy, but is still at least twice as good as the nursery versions that only last a season

- 🌱[WHAT YOU GET]: 8 packs Silicone Seed Trays that fit up to a standard 10''20" planting tray...
- 🌱[100% SILICONE]: The flexible pop-out cells are tear-resistant and non-deformation, which...
- 🌱[REUSABLE & DURABLE]: Our trays are made from thick, heavy-duty silicone. They will never...

- 【What You Get】The seed sprouting kit has 6 clear plastic humidity domes, 6 inner mesh...
- 【Adjustable Humidity】The adjustable vents of the humidity dome help maintain optimal...
- 【Easy to Clean】Made from food-grade PP material, our mircogreen tray is BPA-free, safe...

- [STURDY AND REUEABLE]: The bottom of this seed starter tray is designed with silicone, which is...
- [SMARTER DRAINAGE DESIGN]: The grooves in the bottom of the silicone seed starter improve soil...
- [WELL-BUILDING]: Seed trays are designed with BPA-free PP plastic and silicone, making them...
How do these seed starting trays compare?
I already owned the colorful seed starting trays, so I bought the backup product (as well as the sprouting trays) to compare them for you.
My main takeaway is the colorful trays are extremely sturdy - you'll buy them and be impressed at how high quality they are. The backup green trays are thinner and won't necessarily impress you, but they are still much better than the cheap nursery trays.
Here's a comparison chart for the two seed starting trays I recommend:
| Feature | Colorful trays | Green backup trays |
|---|---|---|
| Size | 9 cells per tray | 12 cells per tray (fractionally smaller cells) |
| Material | thick plastic thick silicon | medium plastic thin silicon |
| Dome | 4" tall medium plastic | 4" tall medium plastic |
| Dishwasher | definitely all parts | seed tray, yes. Base and top could warp |
| Grow lights | none | optional |
| Labels | none | 10 labels (not enough for all cells) |
| OrganiPlugs | Yes | Yes |
| Price | $0.30 per cell (alone) $0.87 per cell (with microgreens trays) | $0.54 per cell (when not on sale) |
For the backup green seed starting trays on Amazon, click around the different bundles available because sometimes specific options have a big discount, while others are full price.
This month (February, 2026), I'll be starting my seeds and take more comparison photos.
Durability
The black plastic seed starting trays from nurseries are thin and brittle. They easily crack when you try to pop the seedling out for transplant. They get brittle with light exposure and heat, lasting no more than 1 season, or two if you stretch it.
The silicon seed starting trays don't crack, thanks to the flexible silicon bottom. The plastic parts (at least of the ones I recommended), are thick and don't break down after a single season.
The colorful ones are the thickest and most durable, with the backup (green + white) product being a little thinner. However, it's still vastly better than the flimsy nursery trays.
If I have to put a value on the thickness and durability, it would be like this:
- Colorful trays are a 5/5
- Green backup trays are a 3 of 5
- Nursery trays are 1 of 5
Humidity domes
Humidity domes are not required for seed starting trays, but they make the process significantly easier.
Seed germination isn't triggered by light, instead it's triggered by water uptake and temperature. A humidity dome helps with both of these things.
Moisture
Seeds cannot dry out during germination. A humidity dome slows evaporation, keeping the soil (and seeds) consistently moist.
This is more important for some types of seeds - usually really small seeds, like lettuce or basil, or seeds that take a long time to germinate, like peppers and tomatoes.
Once the seeds have starting emerging, a humidity dome prevents moisture loss for the plant itself. Seedlings are tender and need all of the help they can get.
Warmer environment
A lot of people set their seed starting trays near a window, so that ones the seeds germinate, they have a good source of sunlight.
However, those windows have cold drafts, which a humidity dome buffers. It also stops dry air from your heating vents from causing problems.
Removing the humidity dome
While humidity domes are great for getting the seeds to germinate, remove them from your seed starting trays once the seedlings emerge and have fully opened their cotyledons (the seedling leaves before their first true leaves).
While humidity domes are great for getting the seeds to germinate, you don't want to keep them on and fully sealed up once the seedlings emerge. When they emerge, you'll see their cotyledons (the seedling leaves before the first true leaves).
At this point, the seedlings need light and the roots need oxygen more than a moist, humid environment.
But there are exceptions: if you have an extremely cold or dry house, you can leave the humidity dome on (vented). Be sure to get a tall one (that's 4" or taller) with a grow light.
Tall domes are also useful if you use your seed starting trays for cuttings, which are taller and also need a humid environment.

Built-in grow lights
The built-in grow lights offer minor help, but not much. They help early on, especially if your seeds don't germinate at the same rate or if you have a cold or dry environment.
A grow light keeps the seedlings from getting leggy - where they grow too tall, too fast, to stretch towards the light in low light environments. The built-in grow lights on seed starting trays are pretty weak, but help for a few days while they start growing before you can fully remove the dome.
Heat mat
Those plastic trays crack after one use and can get a bit toasty on a seedling heat mat.
While heat mats aren't required, they can dramatically speed up germination times. This is especially important when growing bell peppers from seed, which want a soil temperature between 75-85F. A heat mat can germinate the seeds as quickly as 5-7 days, compared to 2-3 weeks without one.

- Reliable Results: The VIVOSUN professional heat mat maintains optimal temperatures around...
- Stable & Uniform Heat: The advanced far-infrared heating technology of this heat pad provides...
- Built to Last: Designed with soft, flexible, and ultra-lasting material, this warming mat goes...

Product details
I took measurements of the seed starting trays in case you are trying to fit them on a windowsill, a standard tray size, or trying to determine what to use for your seed starting medium.
- Silicon tray is exactly 5" x 5"
- Cell interior is 1.5" x 1.5"
- Silicon tray height: 2.25"
- Plastic tray: 5.75" x 5.75" to edge of lip, and 4.75" x 4.75" across the bottom
- Plastic tray height: 2.75"
- Dome: 4" high
- USB cable to power grow lights: 14" long
The 8-pack of silicon trays comes with 4 USB "double" cables to power the grow lights. Each cable splits into 2 cords and each of those cords is 14" long. I bought a $15 USB power strip from Amazon to plug them in.
Everything you need for seed starting is listed at the bottom of this post, in one place.

Seed starting mixes
In my experience, the most important factor for successful seed starting is finding the right soil or growing medium. This can make germination easy or near impossible, depending on what you choose. The easiest seed starting option is OrganiPlugs.

- EASY PLANT STARTER PLUGS: OrganiPlugs Hydroponic Seed Starter Plugs are a food-safe option for...
- STRONG SEEDLINGS: These starter pods for planting are pH balanced and pre-moistened with a...
- READY TO USE: Our plant seed starter plugs are ready to use right out of the bag; OrganiPlugs...
Seeds need to stay moist in order to germinate. It might seem like you can simply pick any soil and keep it watered, but too much water without drying out invites mold. Mold can stunt or kill the seedlings.
Seed starting soil mixes are formulated to hold moisture, often including perlite or peat, which is a good thing! But I've found soil to be too finicky for seed germination for my liking. It seems too easy to underwater, resulting in poor germination, but overwatering often leads to mold growth on the top. I know other people who have had more luck with soil mixes or soil blocking.

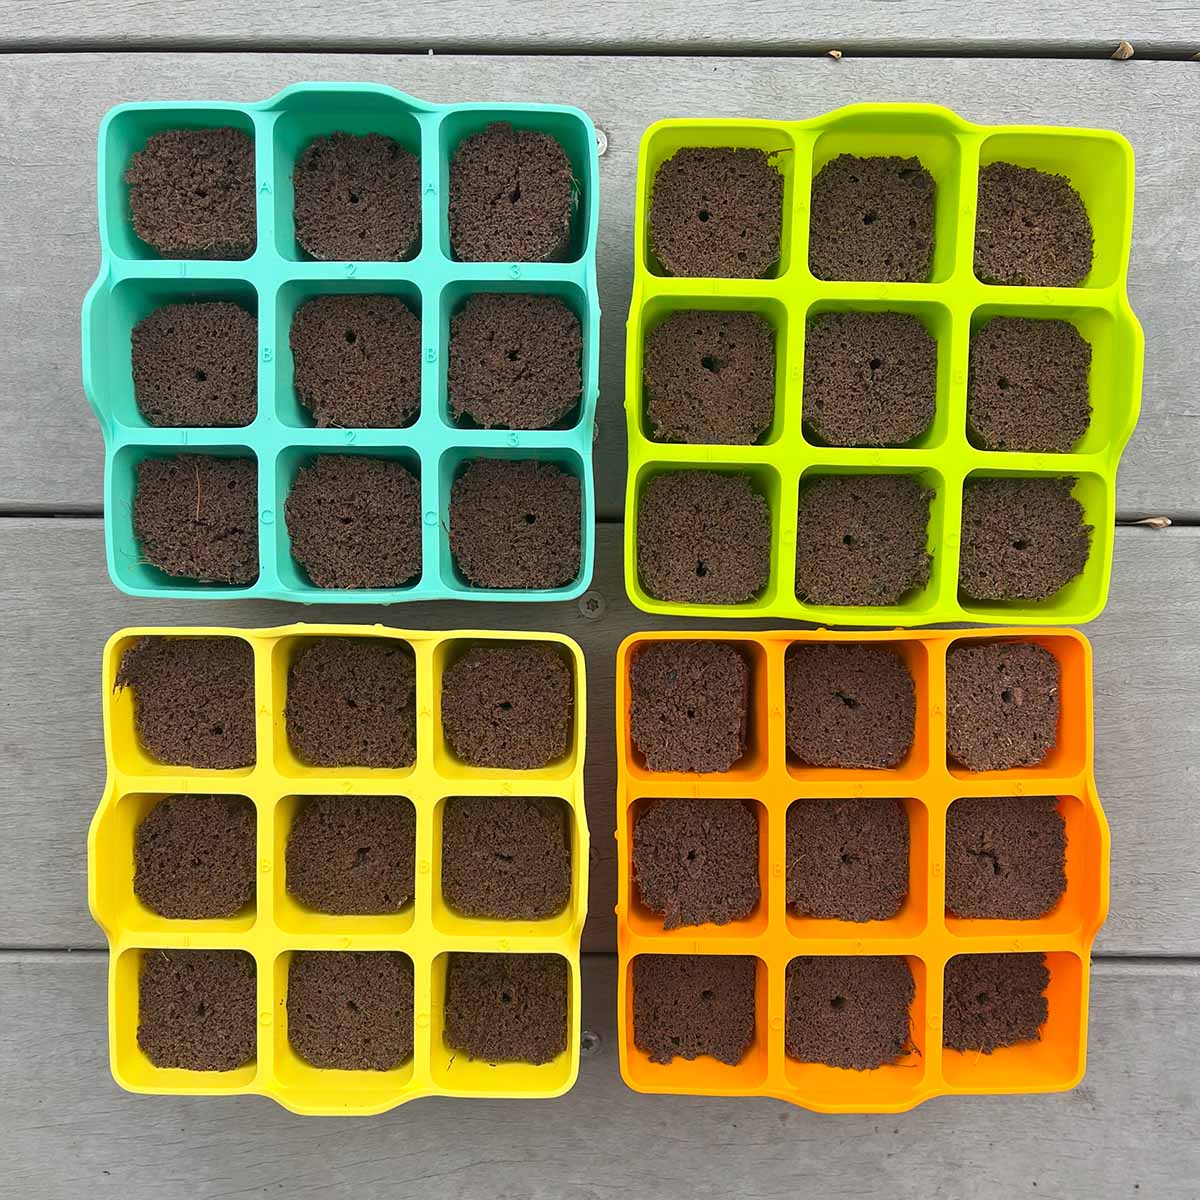
For the past several years, I've used OrganiPlugs in all of my seed starting trays. They've worked out better than anything else I've tried.
- Material: peat and coco coir
- Texture: spongy
- Moisture: easy to keep moist
- Mold: haven't had any mold
OrganiPlugs are made to fit into standard seed starting trays. They fit almost perfectly in each cell of the silicon trays I bought - they have just a little bit of wiggle room.
(All of the products are also listed at the bottom of this post in one place).
Alternative seed starting trays
I have a couple other options to suggest if for some reason you don't want to share in the joy of these cute, resusable trays!
Upcycle disposable containers
Empty yogurt, fruit cup, or applesauce containers make great seed starting pots - just be sure to drill a few holes in the bottom. Leftover take-out containers work well as a tray to collect the draining water.
When upcycling containers, you'll likely need to use a seed starting soil mix. If you do this, be sure to check the moisture levels several times a day so it doesn't dry out, or stay too wet.
OrganiPlug pre-filled tray
OrganiPlug offers a 50-cell tray pre-filled with their OrganiPlugs. It doesn't get much easier than that. However, the tray will likely only be usable for 1-2 years as the thin plastic will crack as you remove the plants for transplanting.
Other options
There are a few other options to consider - rockwool, foam plugs, and seed starting soil mixes. I don't think these options are as good as the ones listed above, however.
Rockwool is made from molten rock that is spun into threads to create the product. I used rockwool cubes a while back but stopped when I learned it might be harmful to the lungs.
It's too bad because they are a fantastic medium. They are relatively cheap ($0.10 per cube or less), hold water extremely well, and never mold. Seed germination in these is outstanding.
Some people still use them, and I don't feel like I've found enough credible evidence to confidently advise against using these. I personally don't use them because I prefer to err on the side of caution, and I've found other alternatives.
Foam plugs are another option. They actually work quite well - they hold water, don't mold, and are affordable. But I personally don't use them because they don't compost into the soil, leaving little spongy plugs around.
Seed starting soils are formulated specifically for seed starting. They often contain perlite, peat, and coco coir to hold water. As I mentioned earlier though, I always have trouble with either over watering and getting mold problems, or underwatering, resulting in poor germination.
If you've had luck with seed starting soils in the past, then I see no reason you wouldn't continue to have success. It's a good, affordable option!
Where to buy
Amazon is actually a great place for seed starting trays and other supplies. I find their prices are often much lower than online seed websites and even hardware stores.
The links in this article are affiliate links, which means I get a small commission if you make a purchase (and a big thanks if you do!). In return, I only recommend products that I personally use and feel good recommending.
Everything you need for seed starting with my silicon tray setup:
- [STURDY AND REUEABLE]: The bottom of this seed starter tray is designed with silicone, which is...
- [SMARTER DRAINAGE DESIGN]: The grooves in the bottom of the silicone seed starter improve soil...
- [WELL-BUILDING]: Seed trays are designed with BPA-free PP plastic and silicone, making them...
- 🌱[WHAT YOU GET]: 8 packs Silicone Seed Trays that fit up to a standard 10''20" planting tray...
- 🌱[100% SILICONE]: The flexible pop-out cells are tear-resistant and non-deformation, which...
- 🌱[REUSABLE & DURABLE]: Our trays are made from thick, heavy-duty silicone. They will never...
- 【What You Get】The seed sprouting kit has 6 clear plastic humidity domes, 6 inner mesh...
- 【Adjustable Humidity】The adjustable vents of the humidity dome help maintain optimal...
- 【Easy to Clean】Made from food-grade PP material, our mircogreen tray is BPA-free, safe...
- EASY PLANT STARTER PLUGS: OrganiPlugs Hydroponic Seed Starter Plugs are a food-safe option for...
- STRONG SEEDLINGS: These starter pods for planting are pH balanced and pre-moistened with a...
- READY TO USE: Our plant seed starter plugs are ready to use right out of the bag; OrganiPlugs...
- Reliable Results: The VIVOSUN professional heat mat maintains optimal temperatures around...
- Stable & Uniform Heat: The advanced far-infrared heating technology of this heat pad provides...
- Built to Last: Designed with soft, flexible, and ultra-lasting material, this warming mat goes...

- [EASY TO USE]-KINGLAKE plant labels are pointed on end are easy and stiff flexible enough to...
- [PLANT TAGS SIZE]-Length:4 inch/10 cm,Width:0.8 inch/2 cm),perfect size for your plants and...
- [STURDINESS]-Garden labels are made of high standard premium pvc plastic,very sturdy,they don't...
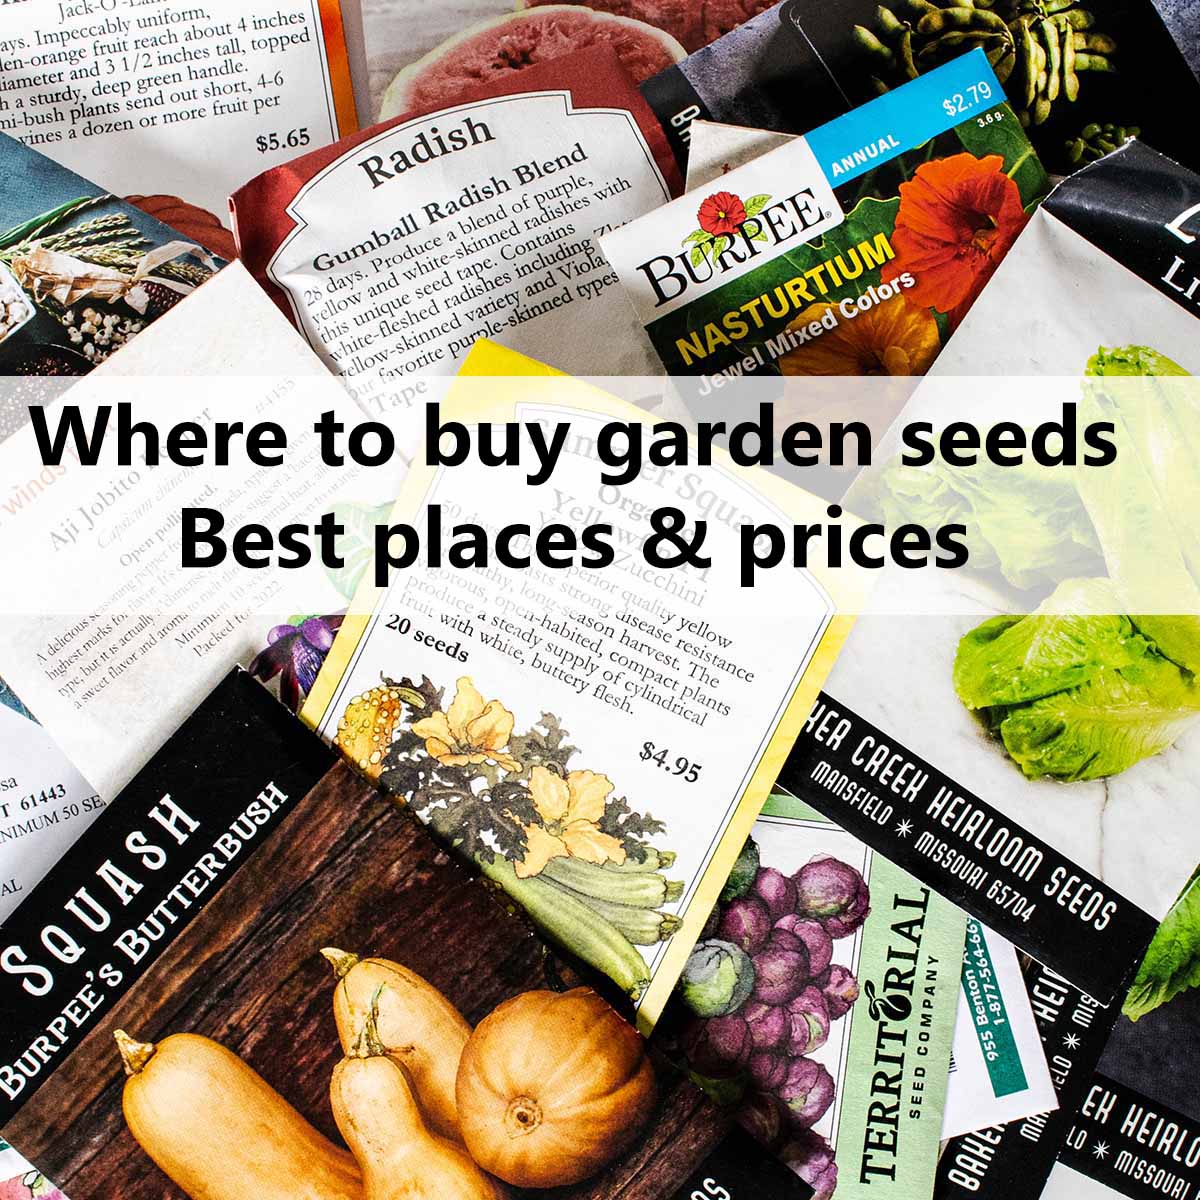
Where to buy seeds
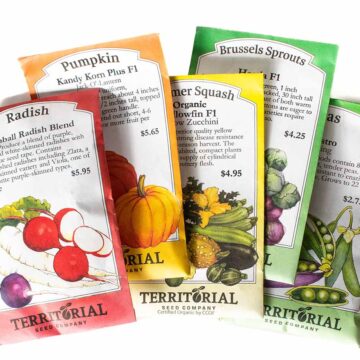
I bought seeds from a dozen vendors last year. In part it was to evaluate vendors since so many people ask me for my favorite sources. But part of it was chasing unique varieties that only one or two vendors sold.
I share a dozen of the best places to buy seeds, from incredibly cheap sources for $2 or less, to fully organic but more expensive. I also have a good source that specializes in each specific climate, including the Pacific Northwest, West Coast, Southwest, Southeast, Midwest, and Northeast.
For information on how to start your seeds, Swanson Nursery has a good tutorial.

Store your seeds in a binder
4-pocket binder sheets fit seed packets perfectly. The smallest pack you can buy seems to be 25-30, which gives you 100-120 pockets. When storing them back-to-back (one faces front, one faces back), you get double the storage for 200-240 seed packets. I bought a 50-pack and it was way too many - oops.

- 1, Top-Class Material and Crafting- Our seed packet sleeves binder sheets are made of...
- 2, Double-Sided 4 Pocket Photo Protector -Our 3.5x5 photocard sleeves provide double capacity...
- 3, Ultra-Clear and Moisture Proof: The see-through seed organizer allows you see the seed...
I also bought a 1.5" thick binder which was definitely too small. I would definitely recommend a 3" ring binder, especially if you are storing large seeds like beans, peas, and corn.
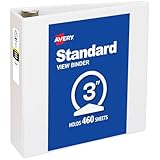
- Effortless Organization: Lightweight standard binder is ideal for occasional use, light...
- Built for Capacity: Organize up to 460 sheets with 3" Round Rings; each ring binder includes a...
- Convenient Interior Storage: Each three inch binder includes two interior clear pockets made of...
More resources
I've been gardening for almost 2 decades across the country in several different climates. I've been writing detailed guides to answer your questions, from where to buy seeds to how the heck does asparagus actually grow?
I've also been using raised metal garden beds for a while, and they have started to rust. If you're currently researching new garden beds, check out my article, "Raised metal garden beds & rust problems" before you buy any. They still might be right for you - or maybe not.
Anonymous says
Could you share pricing information? Thanks. (ref:xci8ahmrqs4ka2xt)
Veronica Tegen says
The prices change a little here and there, but here's a rough summary (2026) for growing 4 dozen starts:
-Seed starting trays: $25 for nice ones, $15 for cheaper ones
-A heat mat (mostly for pepper starts): $15
-Grow plug inserts: $25