Obviously a winning flavor combo. But it gets even better because these can be made well in advance and cooked on demand.
House guests? Need something for book club? Dinner party gone late and everyone's got the munchies? Or maybe you just want to make Monday morning more fun. This is definitely the recipe for you.
In this post:
- Recipe (below)
- How to make ahead (fridge & freezer)
- New to making scones? Get more advice
- Eat Delicious original recipe & adjustments
Recipe
Equipment
- Stand mixer (optional)
Ingredients
Maple bacon
- 12 slices smoked bacon
- 3 tablespoon maple syrup
Scones
- 3 cups all-purpose flour
- 1½ teaspoon baking powder
- ¼ teaspoon baking soda
- ½ teaspoon kosher salt
- ½ cup butter (1 stick), cubed or grated see note
- ½ cup walnut or pecan pieces
- 2 teaspoon lemon zest
- ½ cup heavy cream, cold
- 1 large egg, cold
- ½ cup maple syrup, cold
Maple glaze
- 1 cup powdered (confectioner's) sugar
- 3 tablespoon maple syrup
- 3 tablespoon butter, melted
- ½ teaspoon vanilla extract
Instructions
Make the maple bacon
- Prep: Preheat the oven to 350°F. Line a baking sheet with parchment paper. Prepare a cooling rack on the counter with paper towel or parchment paper under it.
- Baste & cook bacon: Lay the bacon flat on the baking sheet in a single layer. Brush the 3 tablespoon of maple syrup over the bacon. Then bake for 25-30 minutes, turning half way through. Remove the bacon when it is nice and crispy (it won't be 'candied' yet).
- Cool bacon, turning to prevent sticking: Immediately transfer the bacon to the cooling rack. Cool for about 10 minutes, flip it (to avoid it sticking to the rack), and cool for another 10 minutes. The sugar from the maple syrup will become candied as it cools.
- MAKE AHEAD: After the bacon cools on the rack, you can store it in the fridge for several days in an airtight container or plastic bag.
Make the scone dough
- Mix dry ingredients: In the bowl of a stand mixer, add in the following: 3 cups of flour, 1½ teaspoon baking powder, ¼ teaspoon baking soda, ½ teaspoon kosher salt. Mix briefly (5 seconds) to distribute the dry ingredients.No mixer: a stand mixer isn't required. Use a large bowl if doing this by hand.
- Add butter: add the 1 cup of cold, cubed or grated butter (see note) to the mixing bowl. Beat for 20 seconds on low (higher speeds will make the flour fly out of the bowl in a cloud).No mixer: use grated butter and mix into flour mixture by hand.
- Add-ins: Crumble 8 slices the bacon and add to the bowl. Also add in the ½ cup of walnuts (or pecans), and the 2 teaspoon of lemon zest. Briefly mix until just incorporated (do not overmix).No mixer: mix with a spoon or spatula until just incorporated.
- Whisk wet ingredients in a separate bowl: whisk together the cold ½ cup heavy cream, 1 cold egg, and ½ cup cold maple syrup. Cold ingredients ensure you won't break down (melt) the butter in the dough. Whisk until completely incorporated. (There is no worry about overmixing for this step).
- Pour wet mixture into dry: Pour the wet mixture into the bowl with the dry ingredients and mix on medium speed until the dough just comes together (30-60 seconds). Do not overwork the dough here.No mixer: mix with a spatula by hand until it comes together.
- Transfer to floured surface & shape: Transfer the dough to a lightly floured surface. Gently shape it into a circle that's about 1 inch thick (or a long rectangle, also one inch thick). Do not kneed it or continuously reshape it (which will overwork it and make the scones tough). Cut into 8 wedges.
- Chill for 15 minutes: for foolproof scones, chill the dough for 30 minutes. The cold dough keeps it from spreading when baked. Note: the original recipe from the cookbook doesn't require this step, but I personally do it every time to make sure I don't accidentally end up with flat scones).MAKE AHEAD: The scones at this point can be stored in the fridge (covered) for several days, or the freezer for a month. Bake when ready to eat (straight from the fridge or freezer, adding a few minutes to cooking time for frozen dough).
- Bake at 350°F for 25-30 minutes on a parchment-lined baking tray. They are done when they turn golden brown. If using an instant-read thermometer, they are done when they reach 170°F. Let cool for 5 minutes (on the baking pan is fine). Make the glaze while they cool.
Make the glaze & top with bacon
- Make the glaze: Mix the 1 cup of powdered sugar, 3 tablespoon syrup, 3 tablespoon melted butter, and ½ teaspoon vanilla in the stand mixer with the paddle attachement (or by hand). Mix until smooth.
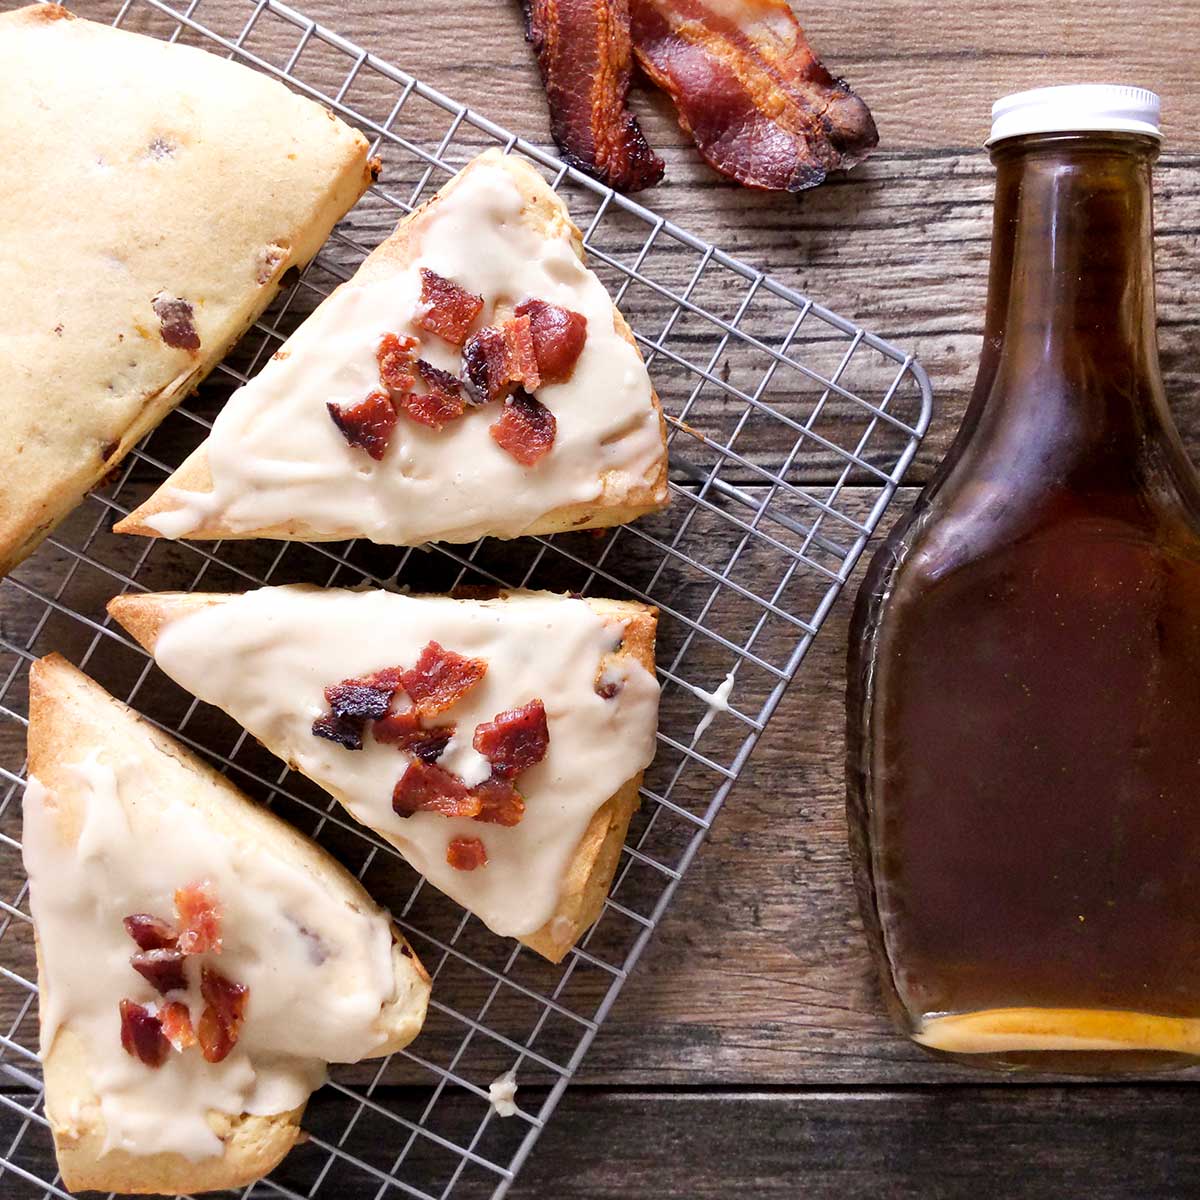
- Spread about 2 tablespoon of the glaze onto each scone. Top each scone with half a piece of bacon (crumbled).
Store leftovers
- Leftovers can be stored on the counter in an airtight container for a day or several days in the fridge. Reheat in the oven at 350°F on a baking tray loosely tented in foil for about 10 minutes.
Notes
Nutrition
Make ahead & leftovers
These scones can easily be made ahead of time, making them perfect for house guests. I also suggest giving them as a hostess gift - who doesn't want scones the morning after hosting a get-together?
How to make scones ahead of time
- Dough: Make the dough as instructed, including shaping & cutting into wedges. (Do not glaze the dough.) Store the unbaked wedges on a plate covered in plastic wrap, or even directly on a parchment-lined baking sheet that you can later toss right into the oven. The unbaked scone wedges can also be frozen for about a month. Bake frozen, adding a few minutes to the cooking time.
- Bacon topping: The maple-bacon for the topping can be stored in the fridge (sealed in a plastic bag) for several days.
- Glaze: The glaze can be made ahead of time, but will harden in the fridge. You will need to microwave it to melt it a little. It can also be made fresh while the scones bake - it's up to you.
Ready to bake? Preheat the oven to 350 and take the scones out of the fridge (or freezer). Then bake as directed. While it bakes, either make the glaze or melt it in the microwave if it was made in advance.
Leftover scones
If any are leftover, they will last on the counter for a day in an airtight container. They also can last in the fridge for a few days.
The bacon used for the topping can also be stored in the fridge for several days.
New to making scones?
It can seem like there's a lot of fuss about not overworking the dough and using cold ingredients. It's for good reason.
Why cold ingredients?
You want cold ingredients to go into the dough to keep the butter from melting and completely incorporating into the dough. Small pieces of butter distributed throughout melt as it cooks, creating steam and little pockets of air. This creates the flaky texture that you find in scones and pie dough.
Frozen butter trick
I like to freeze butter, then grate it. This helps keep the butter ultra cold, but there's a second, even bigger benefit. The grated butter is much easier to incorporate into the dough than small cubes, which still need to be broken down by a mixer paddle or a pastry cutter.
The easier the butter is mixed in, the less mixing you have to do. This prevents overworking the dough (and makes it trivial to do by hand, without a mixer).
Why chill the dough?
As mentioned, the original recipe doesn't require chilling the dough. But I'm still a big fan of chilling it for a couple reasons.
As mentioned by King Arthur Flour, chilling the dough relaxes the gluten, creating a more tender scone and allowing them to rise higher. Chilled dough also spreads less, making sure you don't end up with a flattened, little scone.
Dough too dry?
If the dough is too dry and won't come together, you might need to add more heavy cream. Add it about 1 tablespoon at a time.
Want more help?
Sally's Baking Addiction has a really helpful guide on how to make scones. She includes a lot of techniques as well as a 5-minute video that shows how to grate frozen butter, how to cut it into the dough, and what the dough should look like at every step.
Eat Delicious cookbook + original recipe

These scones are from Dennis the Prescott's cookbook, Eat Delicious. You can follow him (and his delicious food photography) on Instagram. I also wrote a full review after making a bunch of the recipes.
I did make a few small changes to the original recipe:
- The ingredients and measurements are exactly the same as the book's recipe, with one exception: the original recipe uses 8 pieces of bacon instead of 12.
- The instructions have very slight modifications. My changes include adding the 'No Mixer' options, the step to chill the dough, and the reduced cooling (original recipe suggests 30 minutes to cool).
Leave a Reply