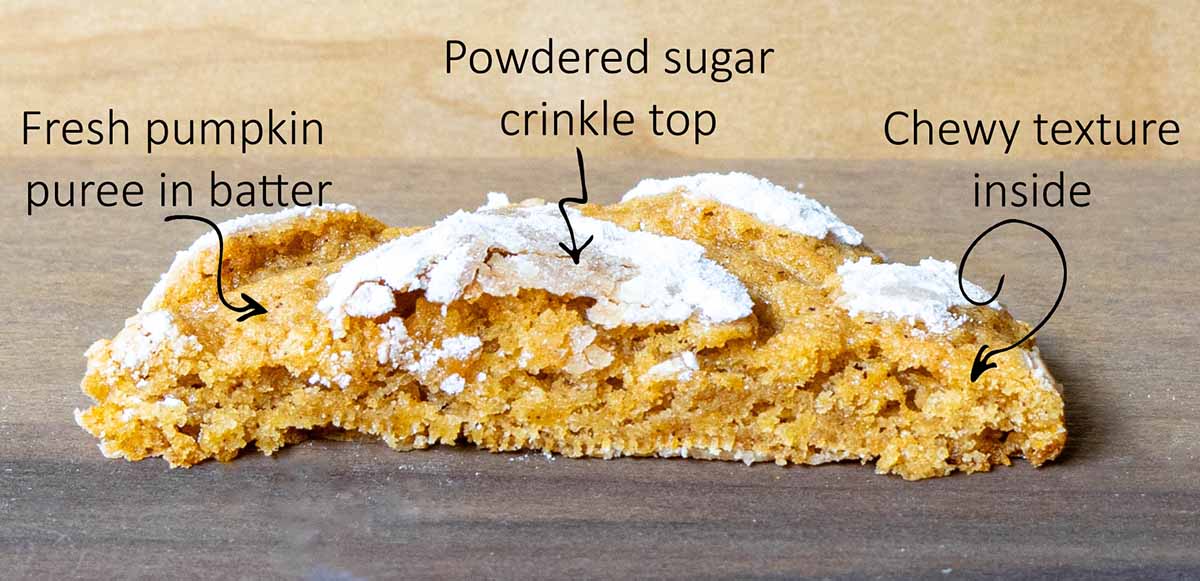
These pumpkin crinkle cookies use fresh, homemade pumpkin puree. I've worked on this recipe until I got the perfect, chewy texture and powdered sugar tops that stay visible after baking.
I've used fresh puree made from sugar pie pumpkins, butternut squash, and honeynut squash with good results. I rarely have to squeeze out extra liquid from these varieties, making the recipe a little easier.
I also use melted butter in this recipe, so you can stir it by hand in a single bowl without pulling out a stand mixer.
How to use fresh pumpkins for crinkle cookies
These cookies are a great way to use up leftover pumpkin puree since this recipe only uses half a cup.
Even with that small amount, the pumpkin flavor (and pumpkin spices) really comes through. That said, the flavor won't be noticeably different from canned pumpkin based on my testing. Instead, you're using fresh pumpkin because it's fun and seasonal!
What type of pumpkin to use
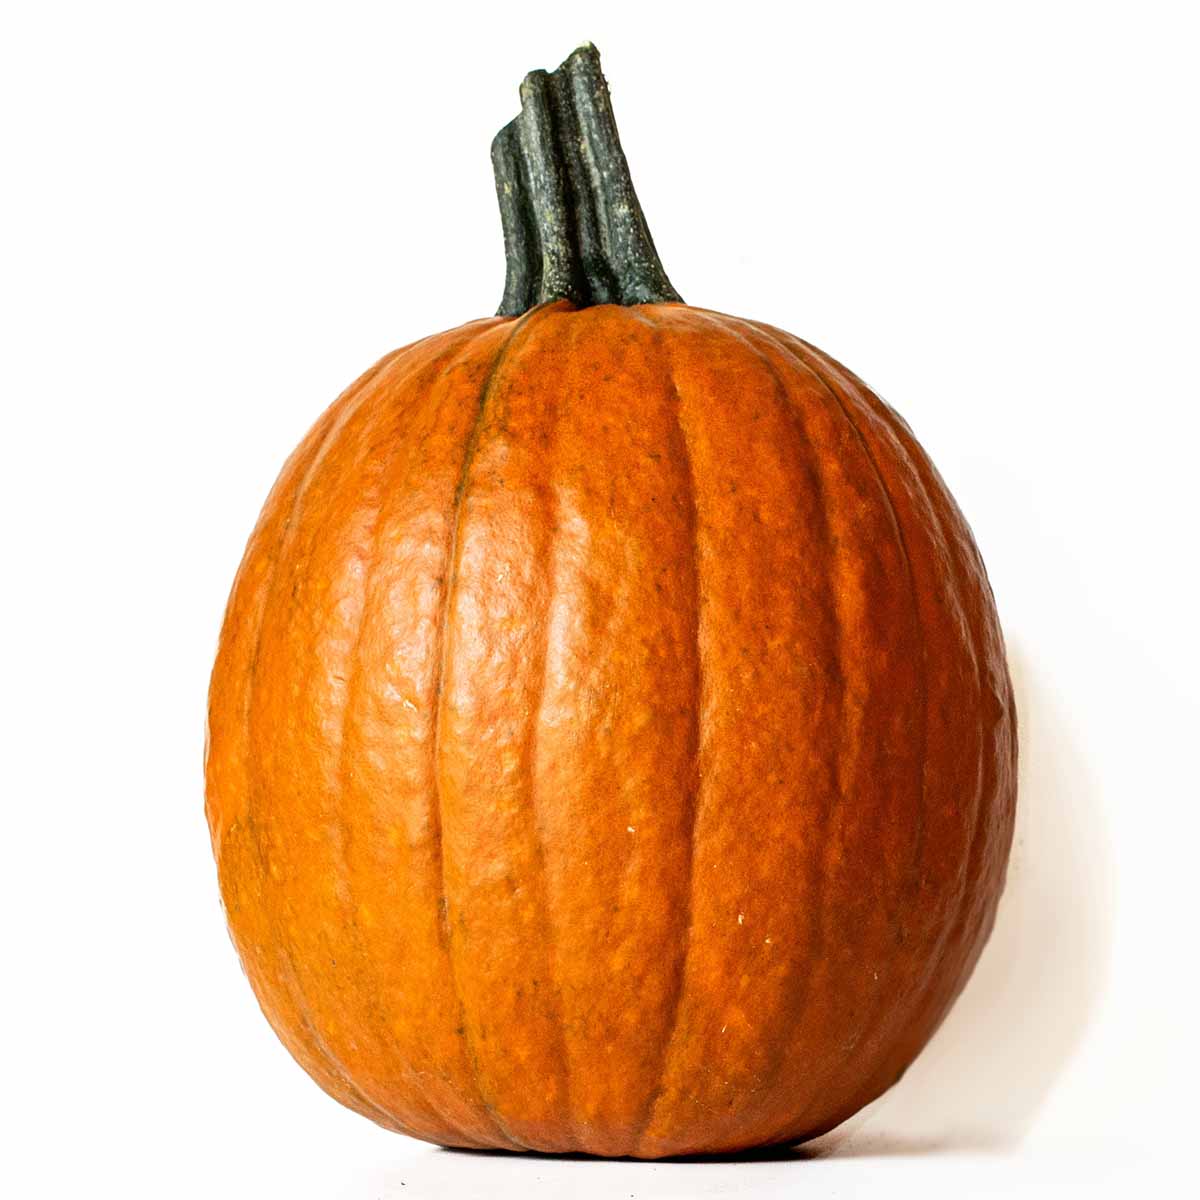
A sugar pie pumpkin is my go-to for these cookies, but I've also used other types of winter squash including butternut and honeynut squash.
- Sugar pie pumpkins: both orange and white versions work great (I find white ones have slightly denser, less watery flesh). Neutral pumpkin flavor. My 3.5-pound sugar pie pumpkin yielded over 1-pound of puree (over 2 cups).
- Butternut squash: these are actually closely related to the Dickinson squash used for Libby's canned pumpkin. A stronger squash flavor, with dense flesh. My medium butternut yielded about 1.5 pounds of puree (about 3 cups).
- Honeynut squash: more intensely flavored, even less watery, than butternut if you want that flavor to come through. My small honeynut, weighing just under a pound, yielded just enough puree for this recipe (5 ounces, just over a half-cup).
Don't worry about how much natural sweetness each squash has, as these cookies have enough sugar to already be very sweet.
I like these three options the best because they are usually the right consistency without having to squeeze out excess liquid. But keep in mind, growing and storage conditions can affect how watery a single pumpkin is, so your results might vary from mine, or from one pumpkin you buy to the next.
How to make pumpkin puree
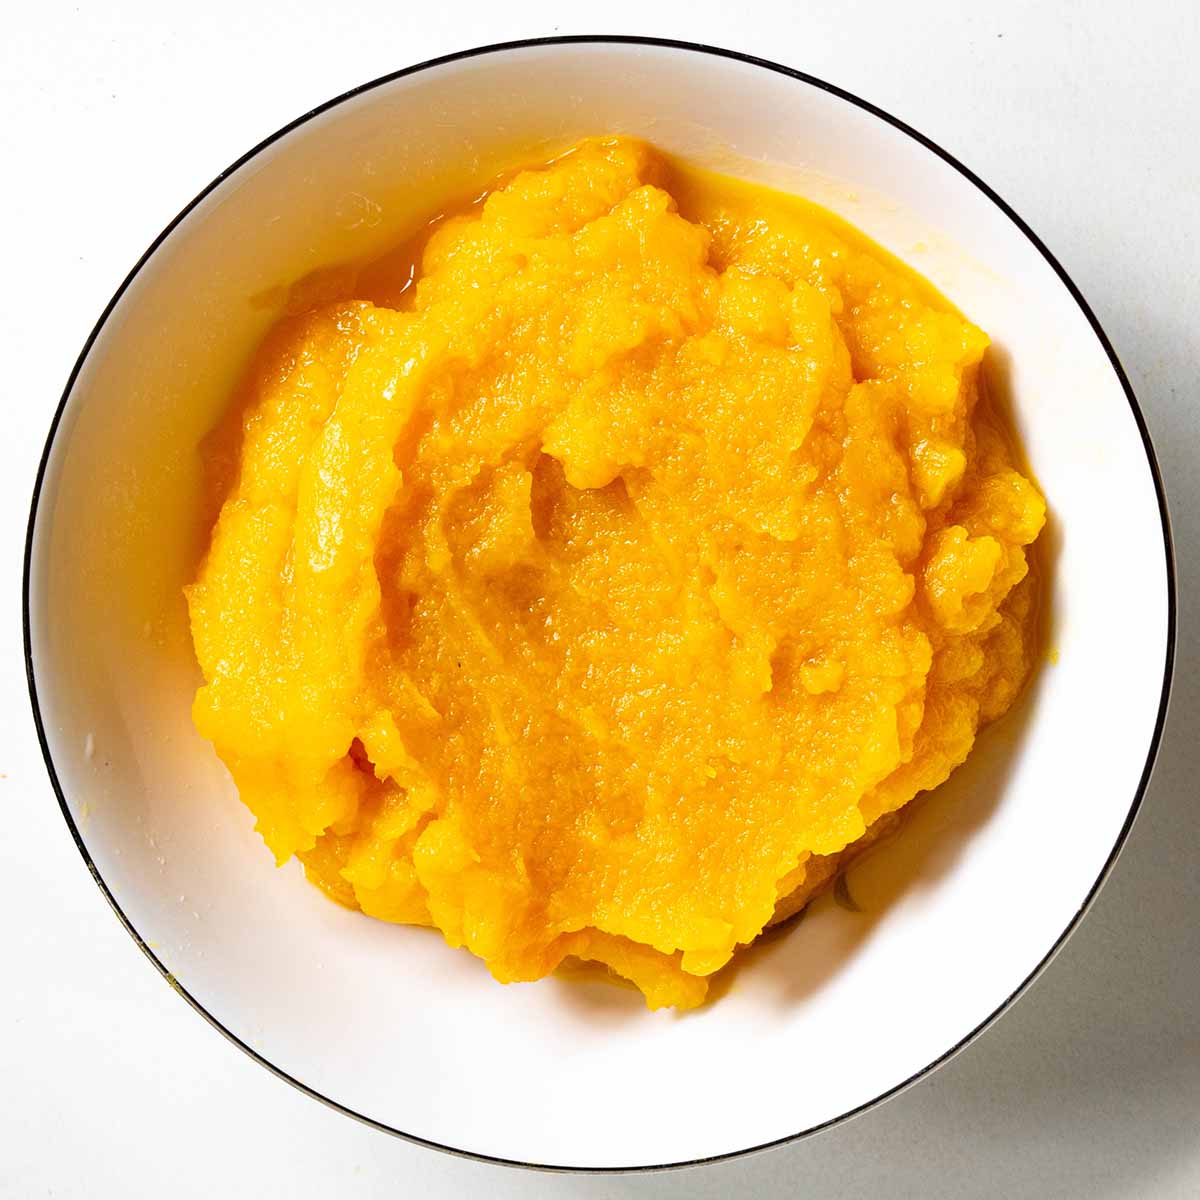
If you don't have fresh pumpkin puree sitting around already, it's easy to make:
- Cut the sugar pie pumpkin in half (same if using butternut or honeynut squash) and scoop out the seeds.
- Place the cut sides down on a parchment paper lined rimmed-baking sheet
- Roast for about 45 minutes at 400°F, until the flesh is very fork tender (less time for honeynut).
- Flip cut side up to cool, then scoop out flesh and puree in a food processor.
Get more detailed instructions on my homemade pumpkin puree recipe post.
Watery pumpkin puree makes the cookies spread more
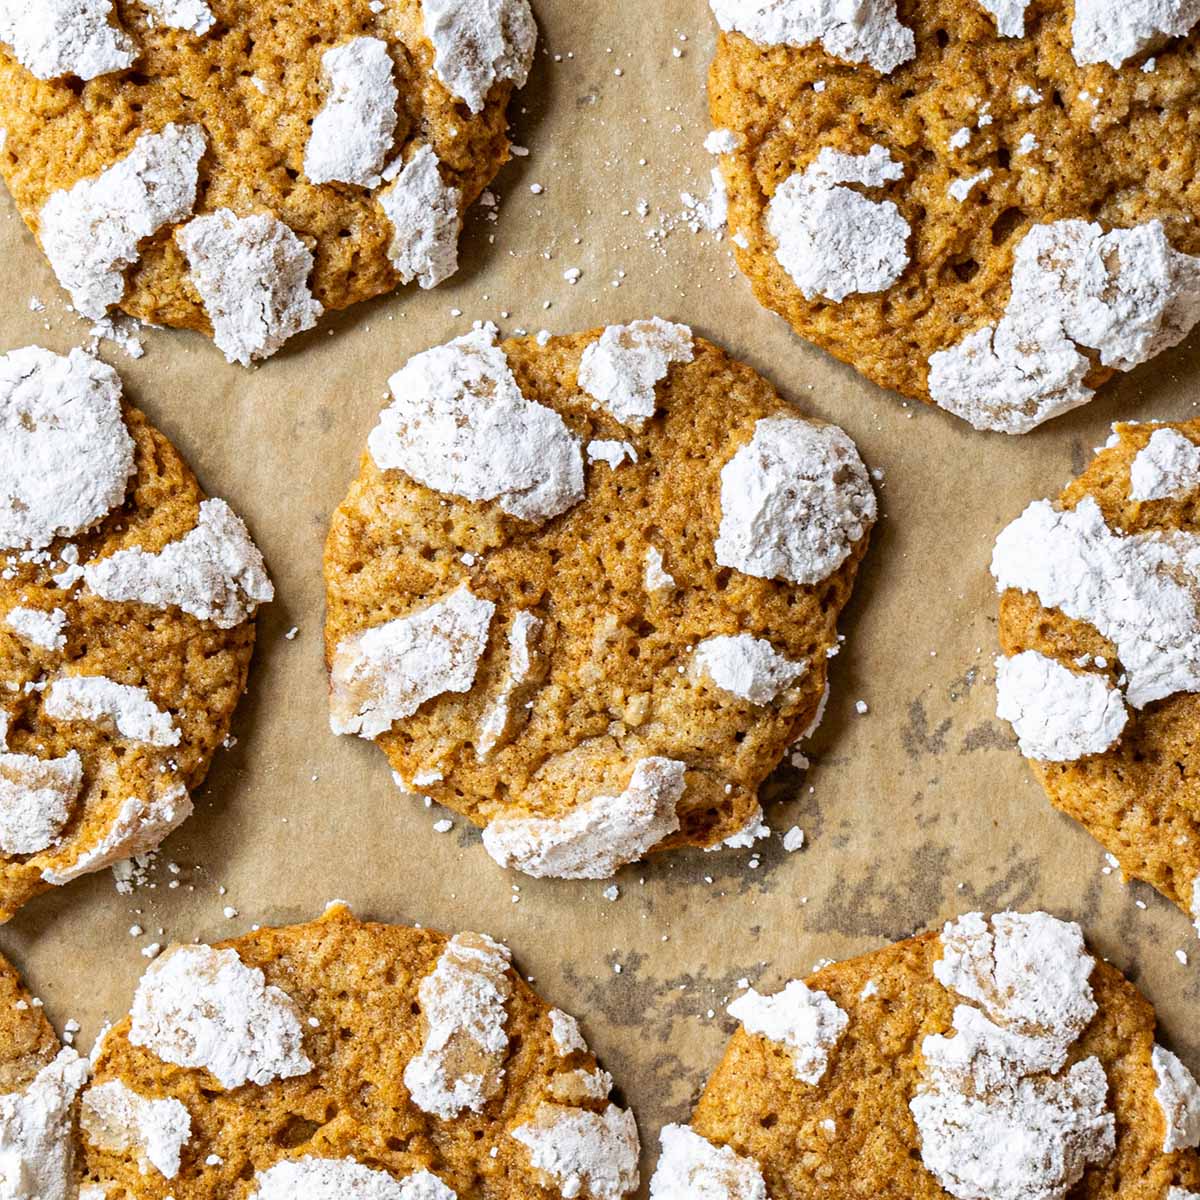
The fresh pumpkin puree acts as the binder, instead of eggs, so you want the right consistency. A wetter puree can make the cookies spread more.
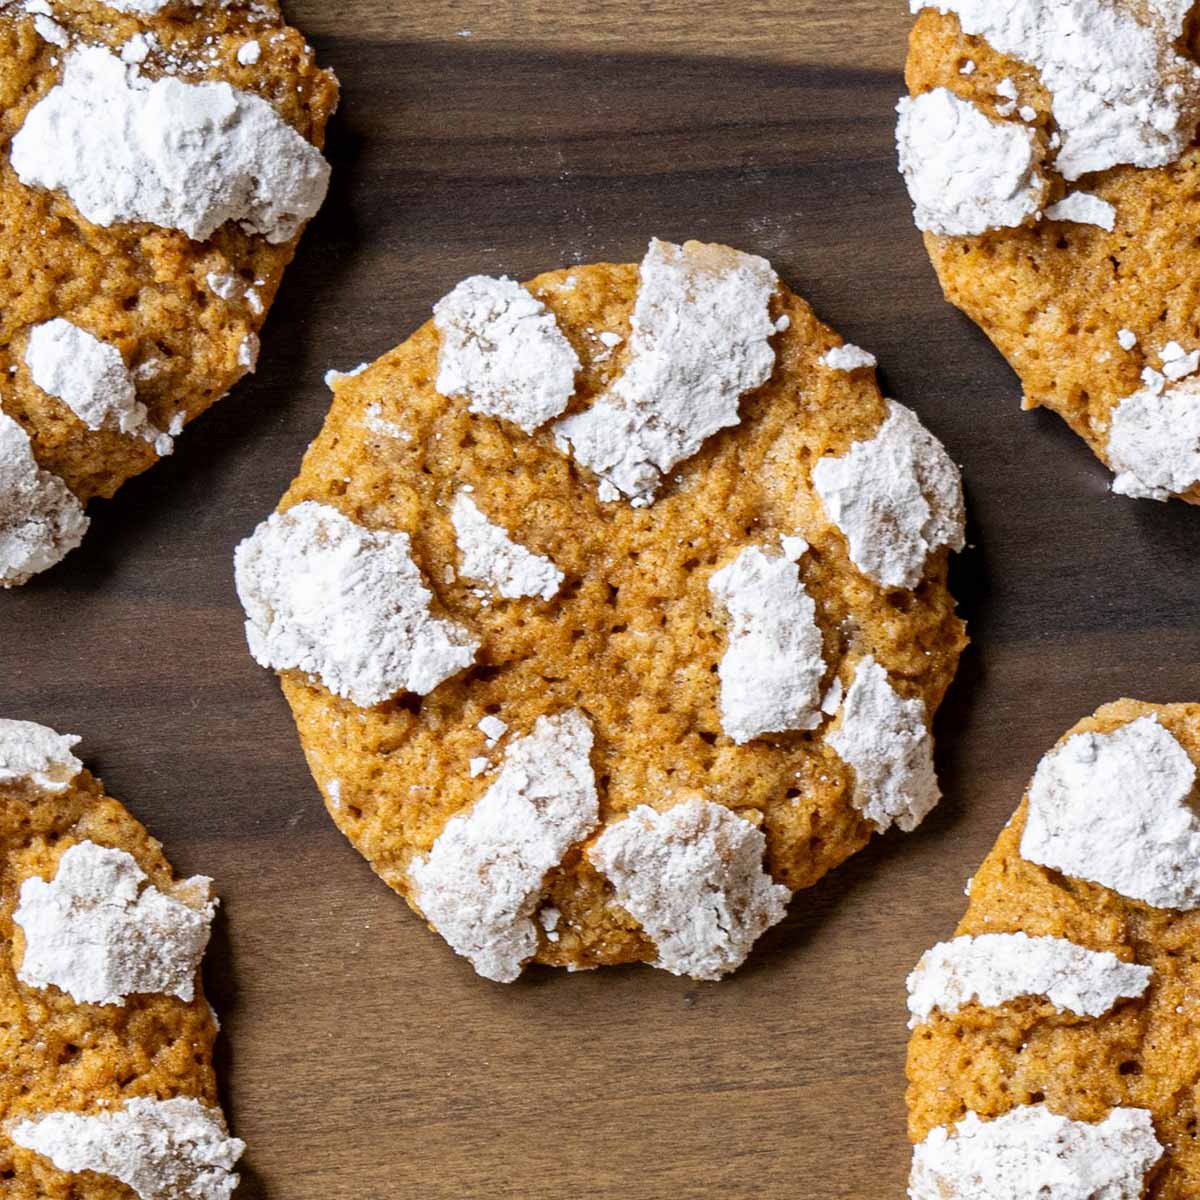
My photographed cookies used homemade puree from a sugar pie pumpkin where I poured off any excess water but didn't squeeze or reduce it. You can see they spread a little more than your typical crinkle cookie.
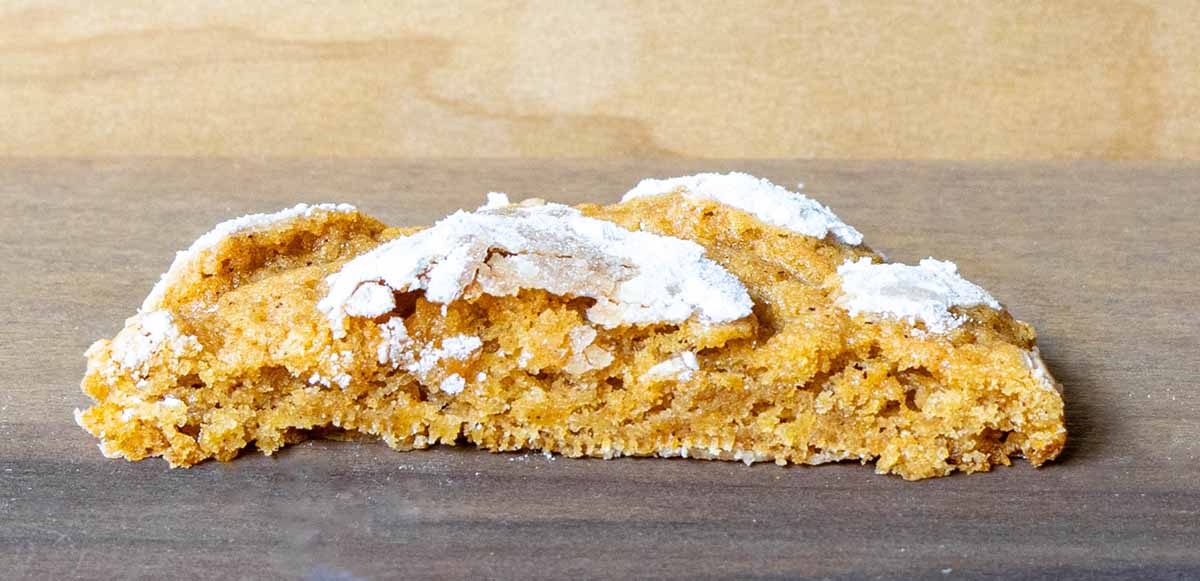
However, the texture is still perfectly chewy and not at all cake-like.
If I squeezed my fresh pumpkin puree through a cheesecloth or cooked it down on the stove top, they'd be puffier. But I decided to skip this extra step unless the puree is really watery.
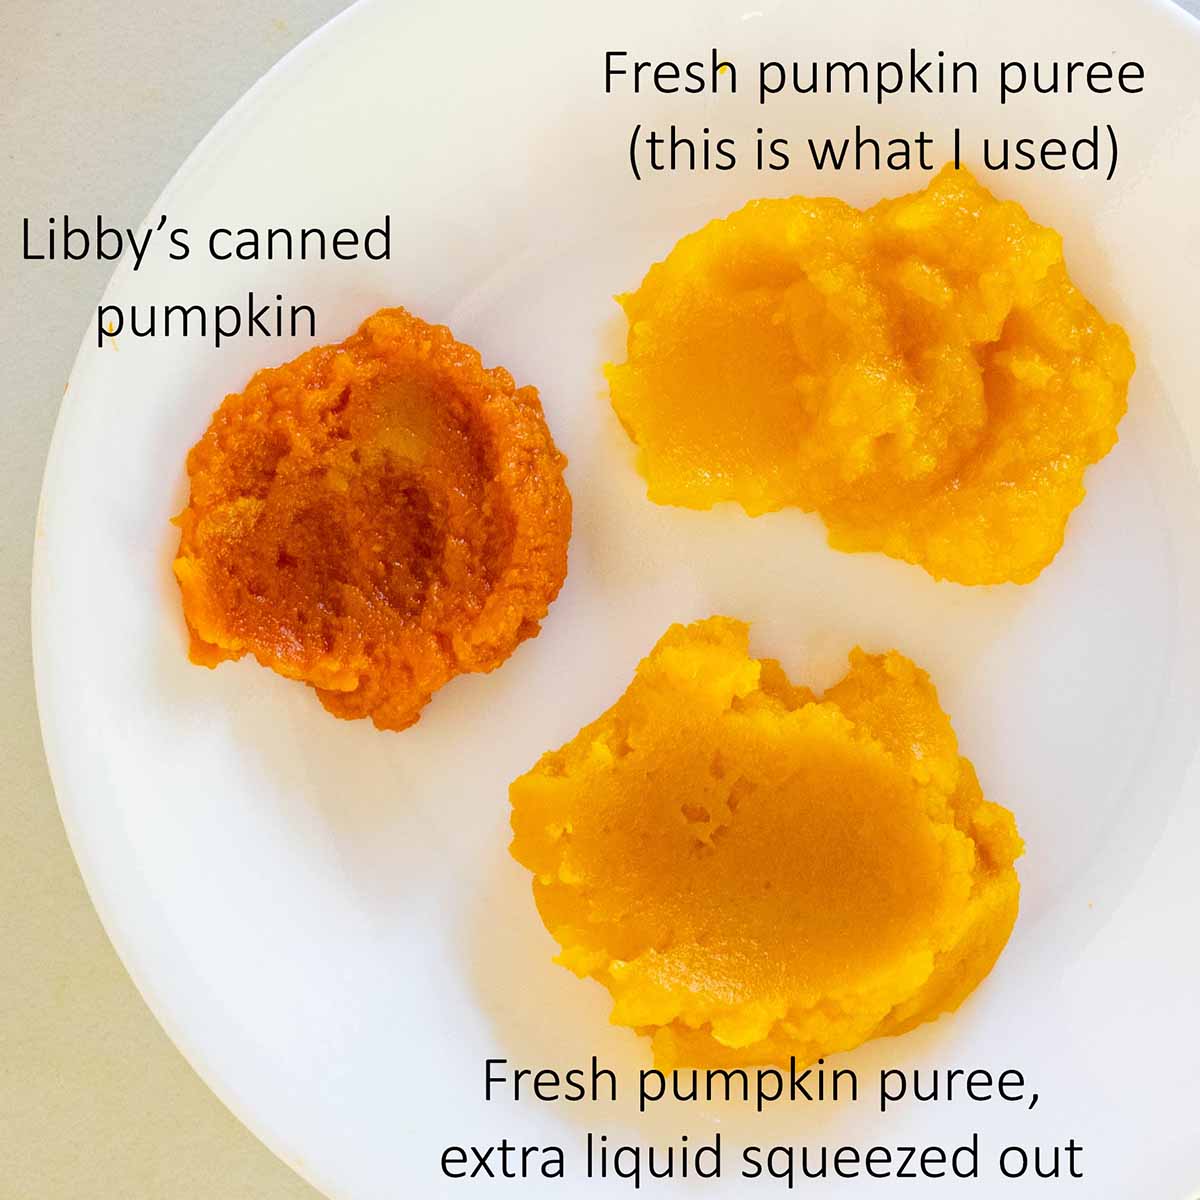
Your pureed pumpkin should be thicker than applesauce, but not as thick as tomato paste. If you see water pooling in the bowl of puree, you'll want to drain it or cook it off.
To cook the puree into a thicker consistency, put it in a small pan over medium heat. Cook for 7-15 minutes until it feels thicker. You will want to add half a cup to the batter, so you'll need to start with more if you're reducing it.
Canned pumpkin has a texture like apple sauce was mixed with tomato paste. It's thick and loose at the same time.
How to make the pumpkin crinkle cookies
Crinkle cookies require a little more effort than your standard chocolate chip drop cookies. But it's worth it for the texture and crackle sugar top.
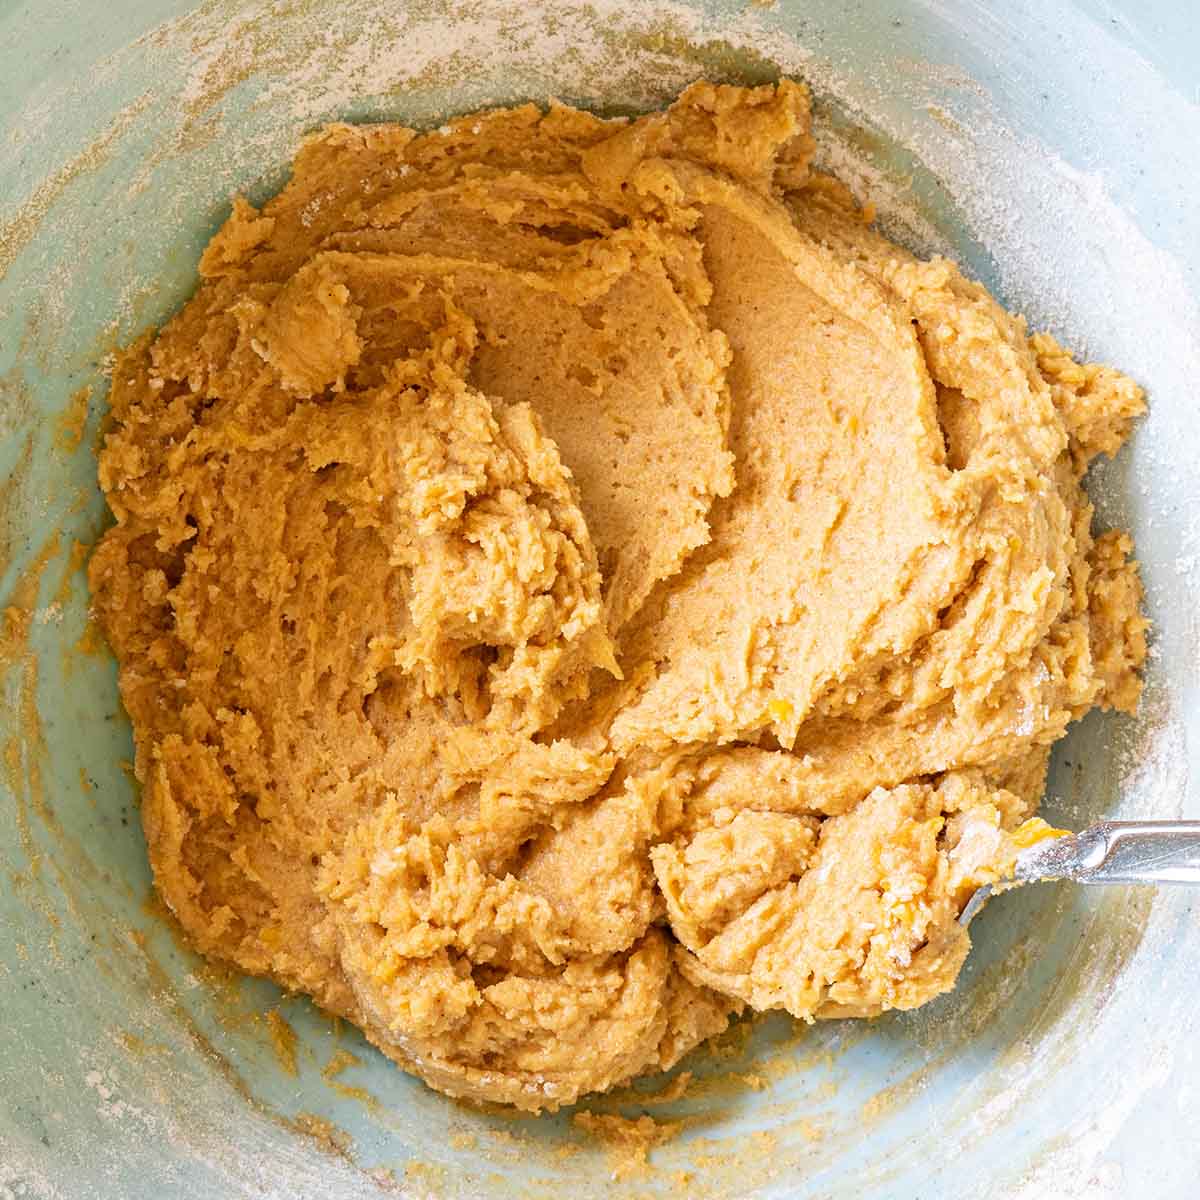
Mix ingredients into a thick, slightly sticky dough & chill
Since I use melted butter in this recipe, the dough can be mixed by hand in a single bowl, without pulling out your stand mixer.
Once you mix everything together, the dough will be thicker than chocolate chip cookie dough, but not as thick as a rolled sugar cookie dough. It will definitely feel too tacky to handle.
That's why crinkle cookie recipes almost always tell you to chill the dough. That's important for a number of reasons:
- Butter firms up, making the dough easier to handle and helping control the spread when baked cold.
- Flour absorbs moisture, making it easier to handle (this happens over time, regardless of the cold fridge temperature).
Don't add extra flour just because the dough feels sticky. Chill it first! Adding extra flour changes the texture, making it more cake-like than chewy.
Why a thick coating of sugar is more important than you think
Crinkle cookies need a generous coating of sugar for two reasons: to create a set exterior that actually cracks, and to keep the sugar visible after baking.
One of the most common problems with crinkle cookies is making sure the powdered sugar crinkle tops are still visible after baking. Sometimes that sugar dissolves right into the dough, essentially disappearing.
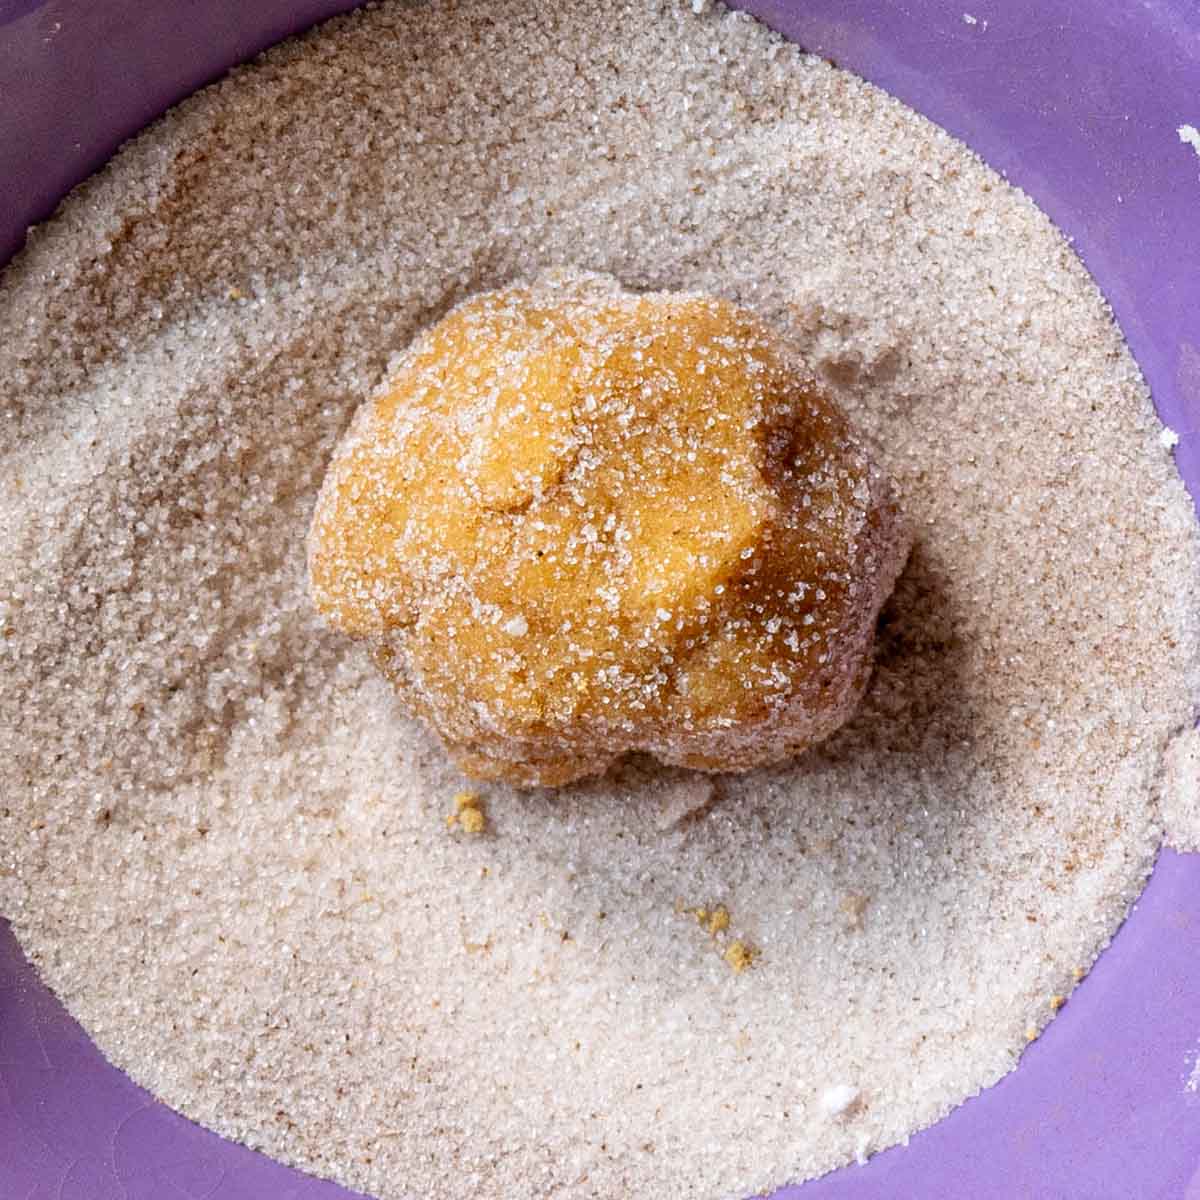
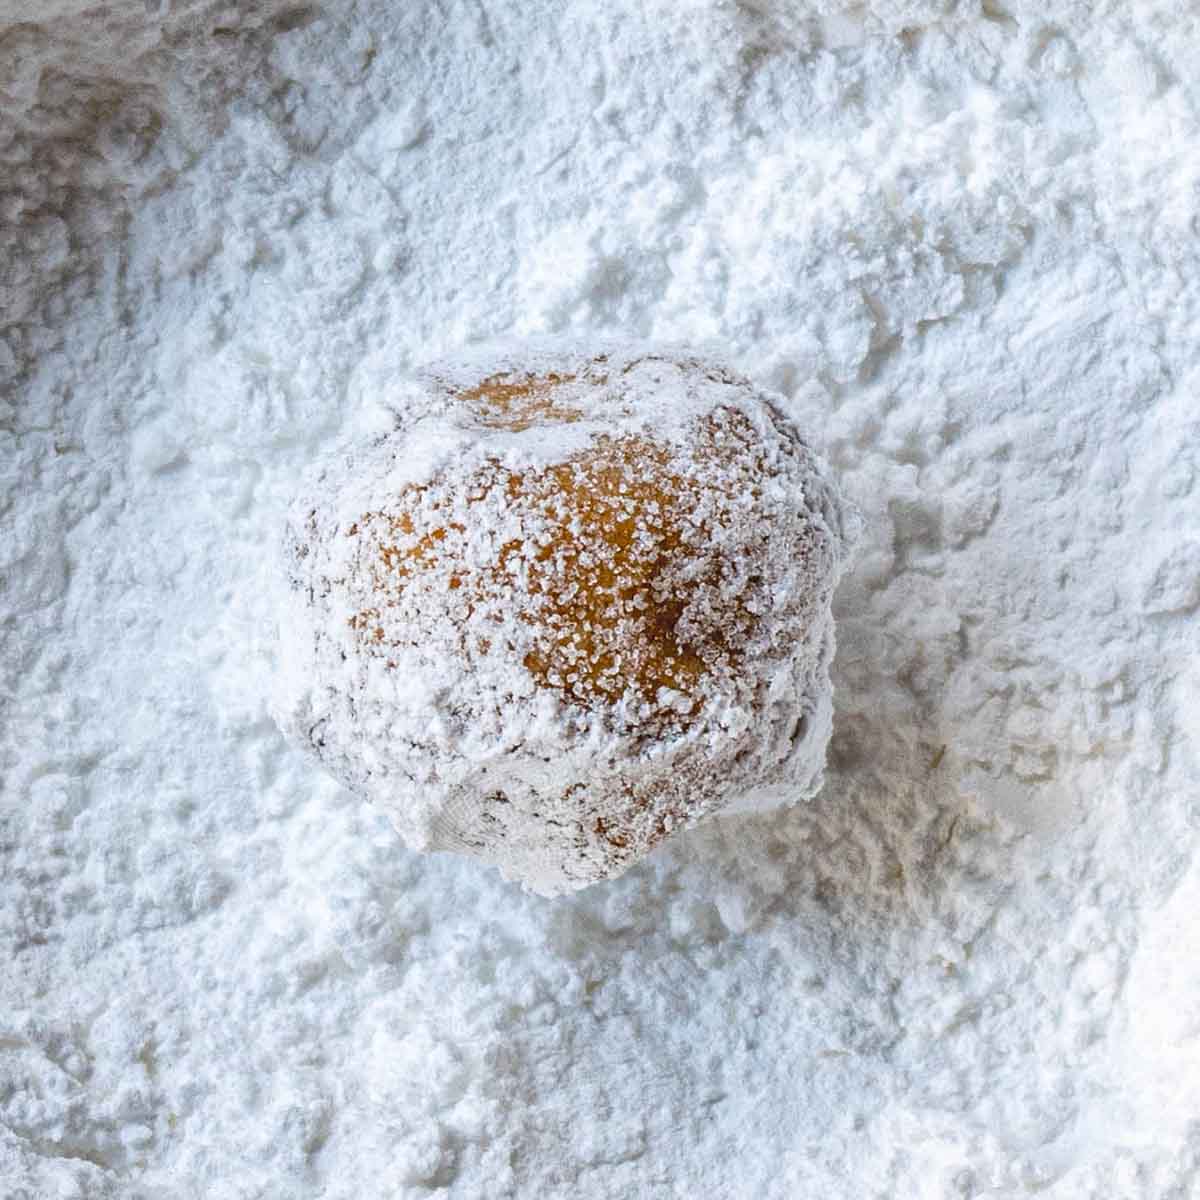
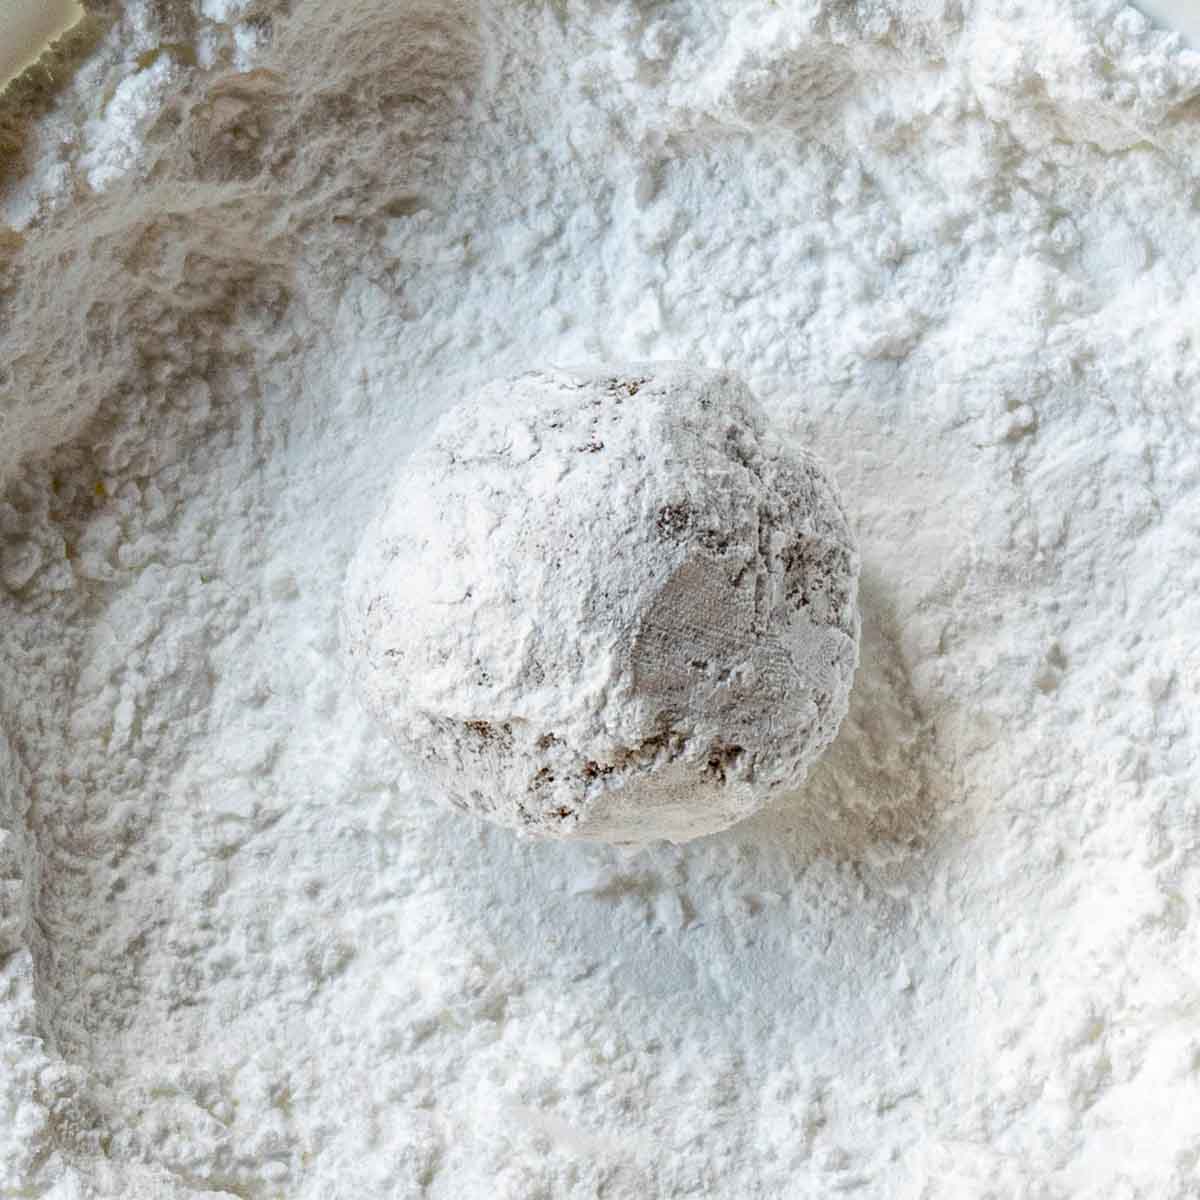
I have several tricks to prevent this from happening.
- Roll in granulated sugar first: this creates a kind of barrier between the wet dough and the powdered sugar to prevent it from 'melting.' It also helps roll the dough into a ball if it's still a little sticky.
- Generously coat the balls in powdered sugar and don't tap off any extra. The cookies should have a thick, totally opaque coating, not a 'dusting' of sugar.
- Roll 1 cookie at a time: It's tempting to toss a bunch in and roll or shake them around to save time, but you don't get a good enough sugar coating with that method. Roll one at a time, fluffing up the bowl of sugar if it becomes compacted.
The sugar coating also helps create the crinkle top by drying the outside of the dough in a way that makes them crack.
The sugar draws moisture from the dough's surface and forms a set exterior that can't stretch while the middle is still expanding. The only way for it to expand as it continues to bake is to 'crack,' which exposes the pumpkin cookie underneath. This combination is what gives us that crinkle pattern on top.
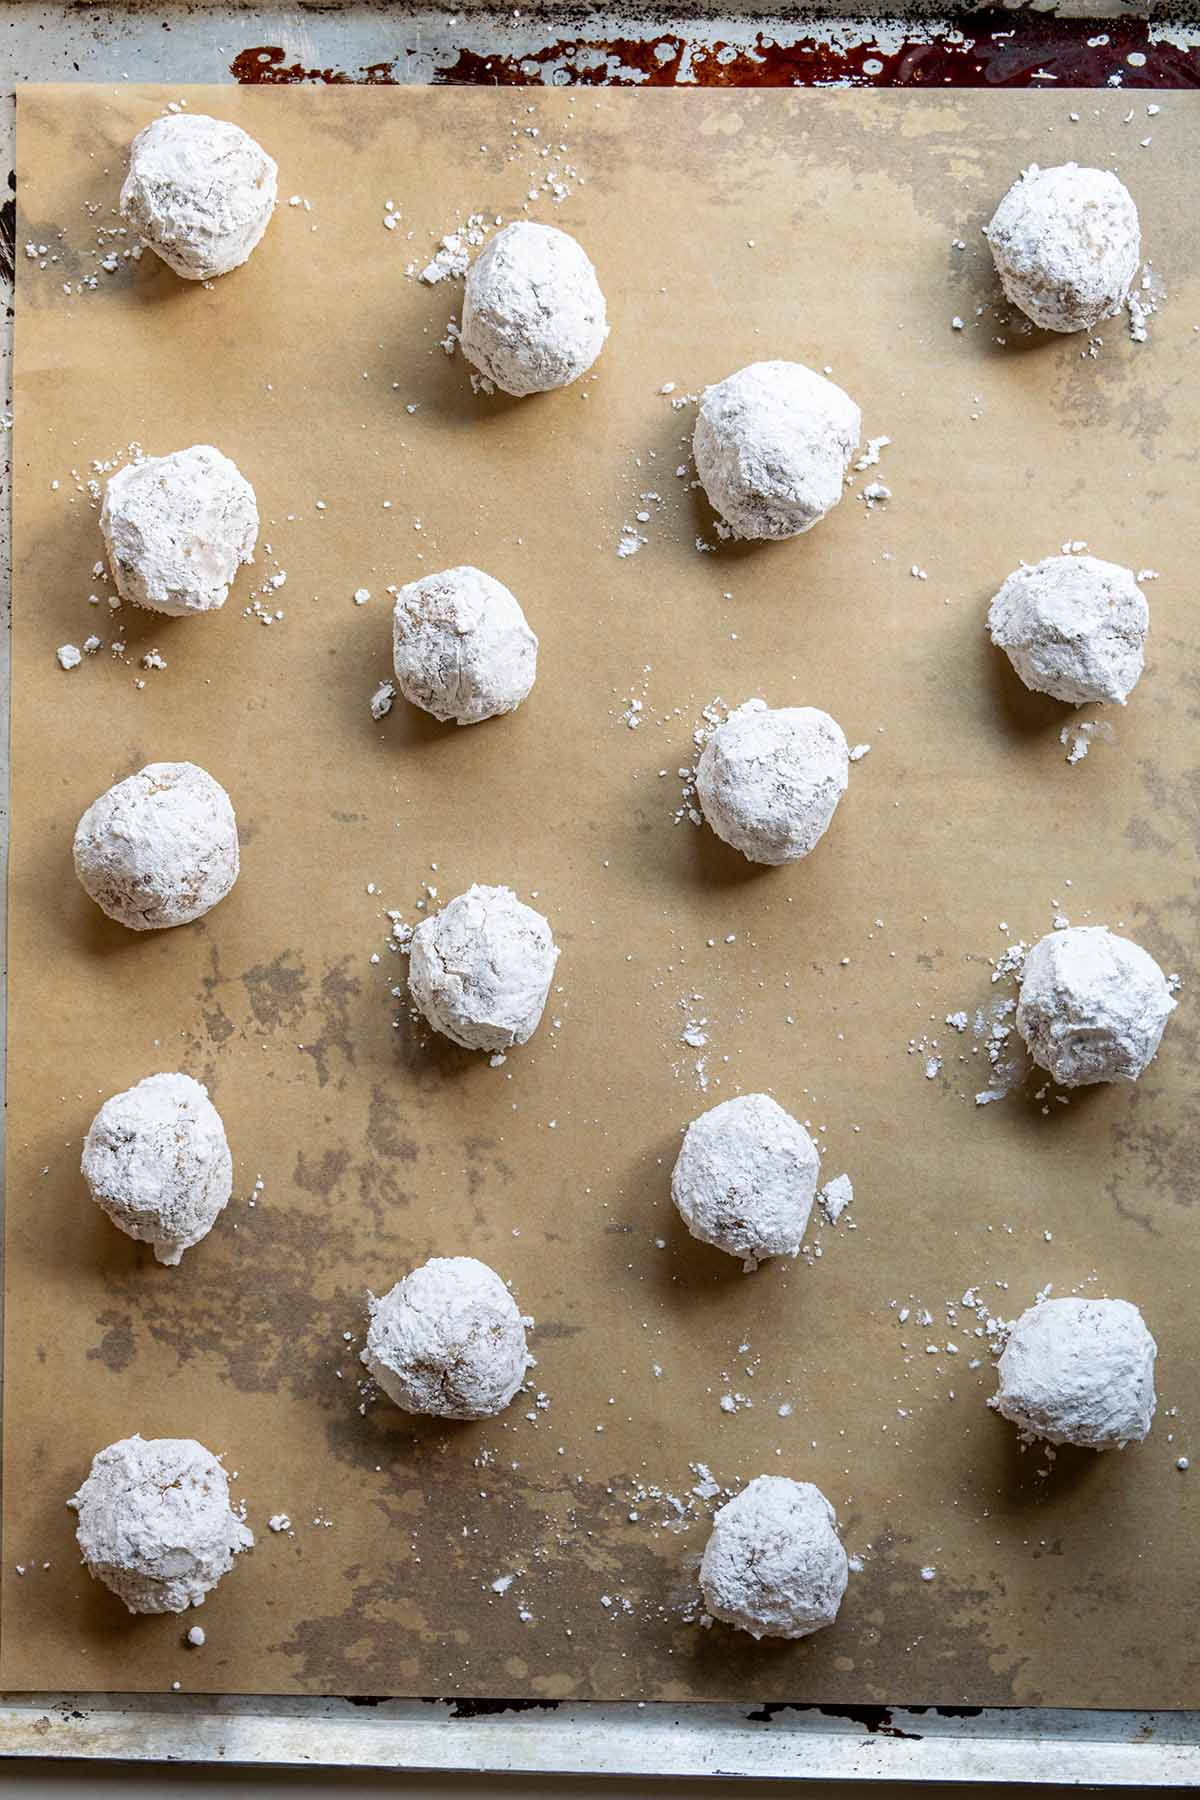
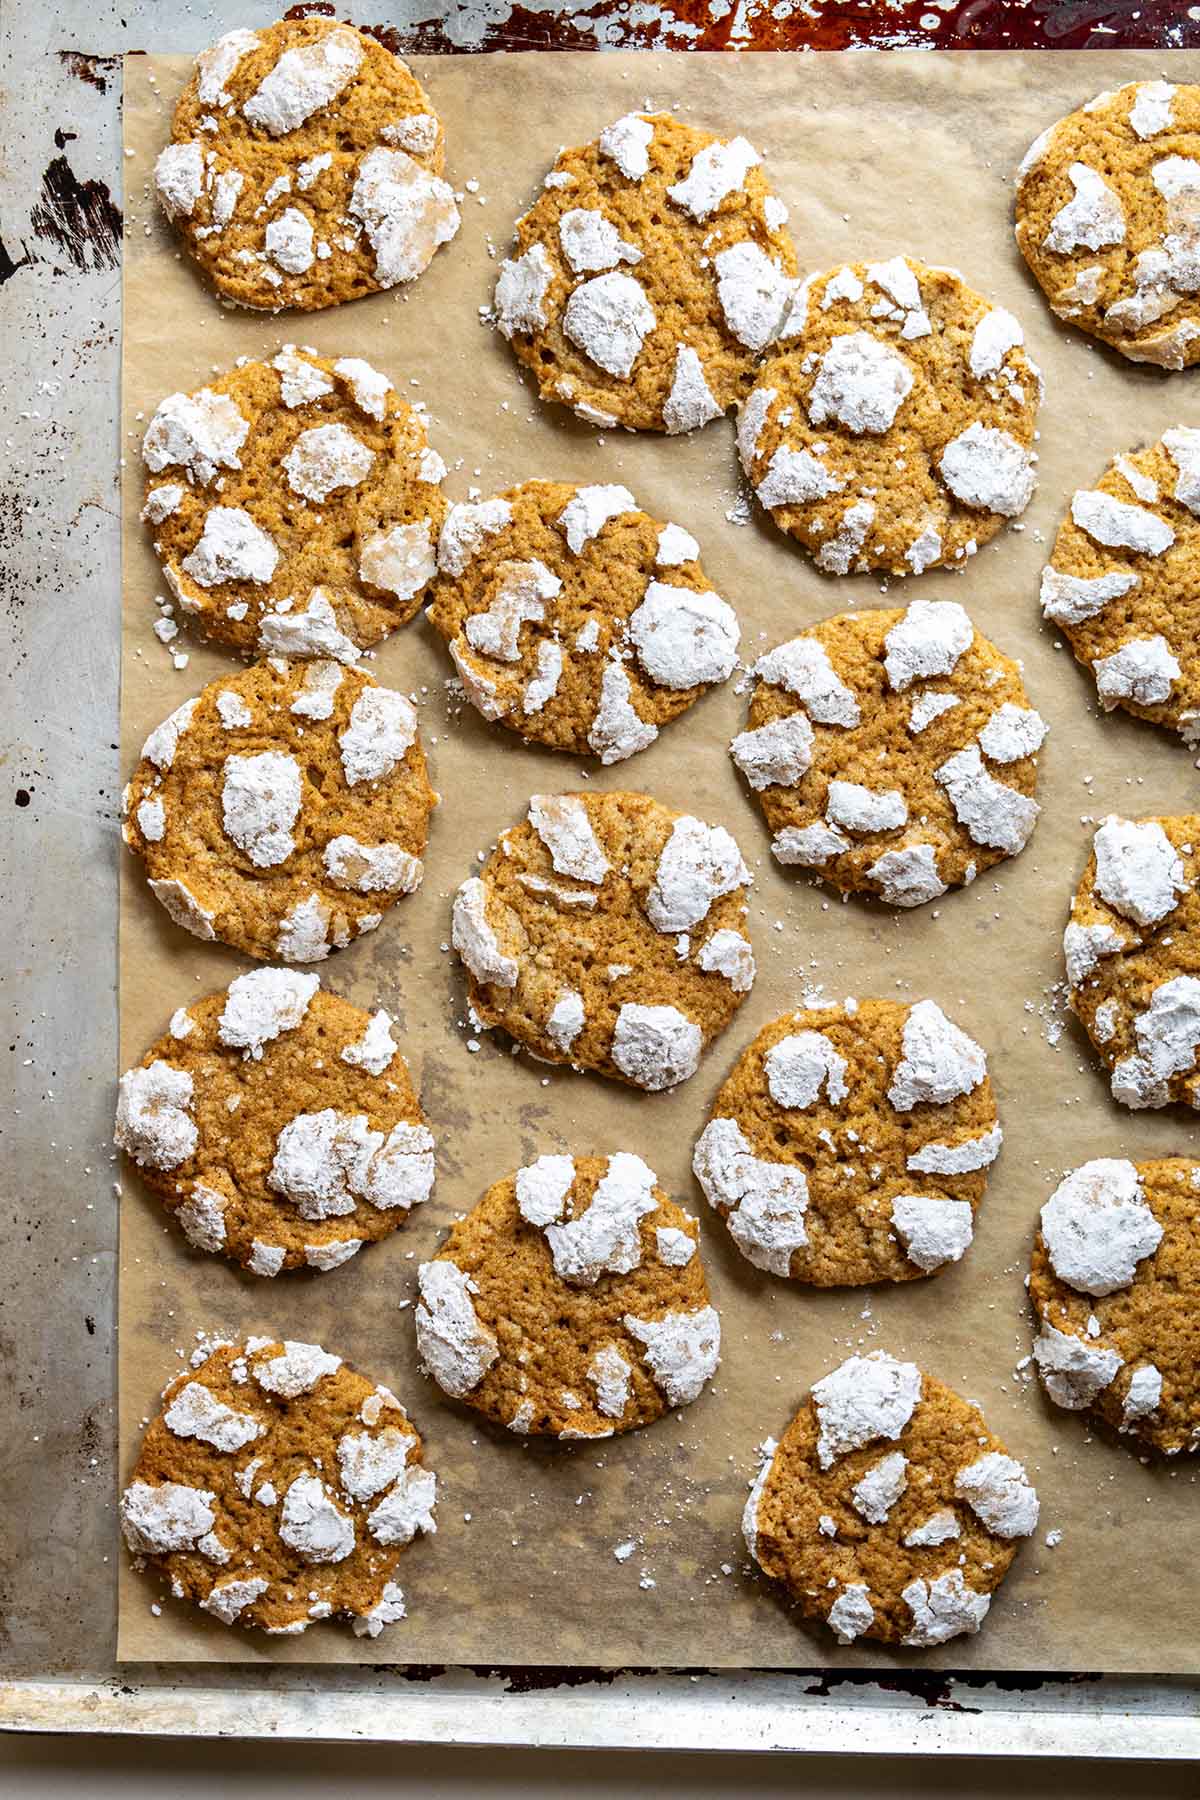
Bake until the edges set and centers are still soft
Once you put the cookies in the oven, the tops will crack pretty early, well before the cookies are done baking. Try not to open the oven at this point to check on them.
So how do you know when they are done? It's tough on your first try, but they are somewhat forgiving, in my experience.
The edges will look fully cooked, but the centers might look underdone. They will be shiny, but if you touch them (very lightly), they shouldn't stick to your finger. They will continue to set as they cool.
If you let them cook a little longer until the centers start to dull, they should still be okay. I've done this with a few batches and they are still wonderfully chewy and loved by everyone who tastes them.
However, don't cook them until the centers look firm and crispy, as they will be over-baked and lose that chewy crinkle cookie texture.
Let the cookies firm up before moving them
After you remove the tray of pumpkin crinkle cookies from the oven, let them cool for at least 5 minutes before moving them. Otherwise they can end up deformed as the centers are still setting.
I've also left them on the hot tray until totally cooled and the texture is still delicious and chewy. Like I said, that part is a little forgiving.
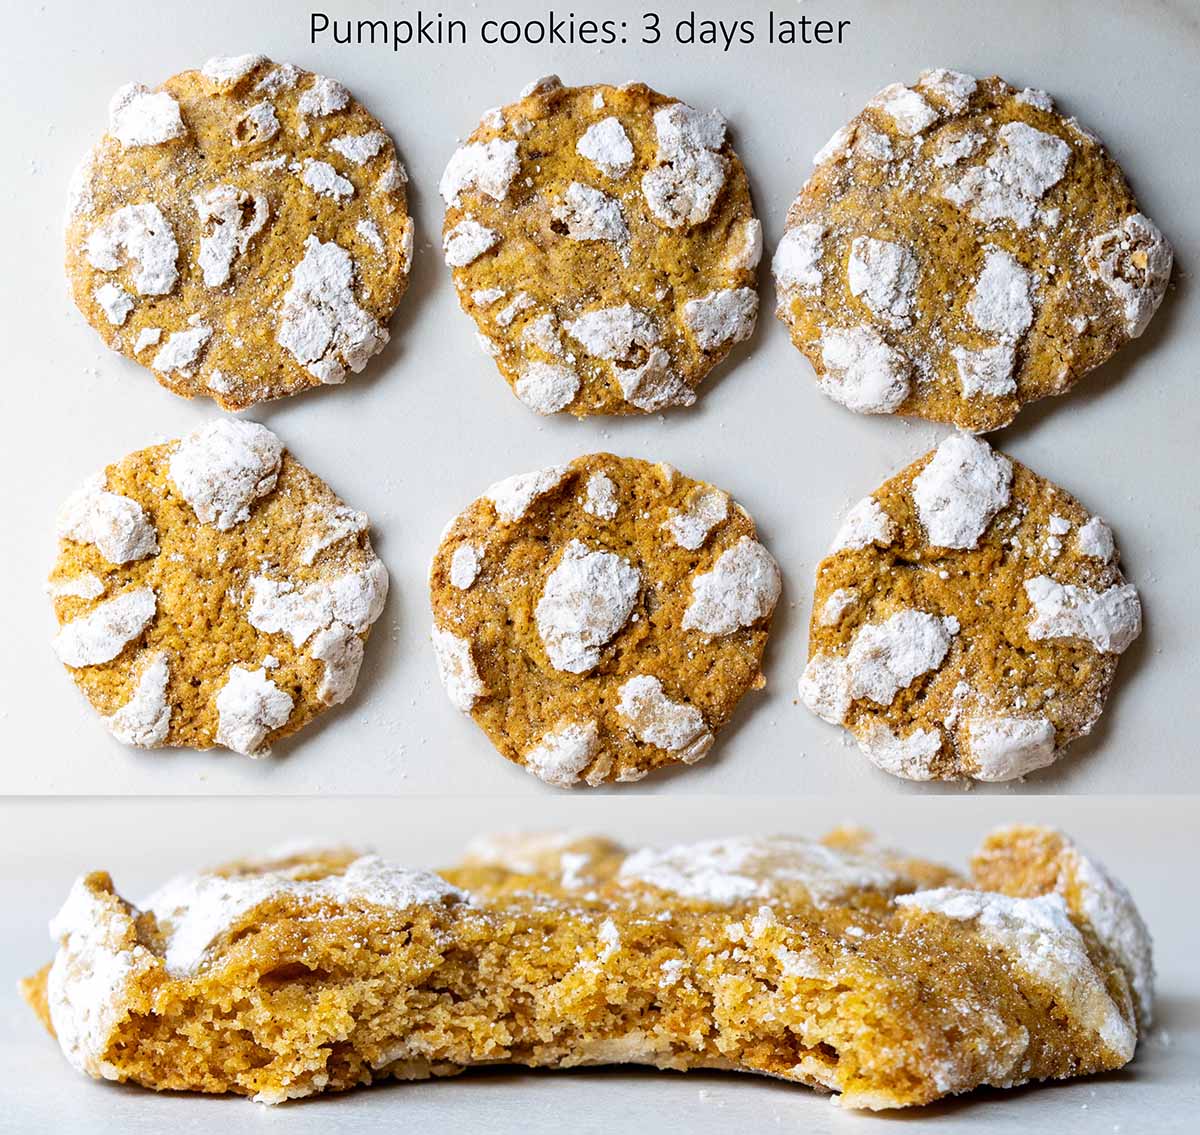
The cookies keep their chewy texture and cracked tops during storage
Some cookies are best fresh out of the oven (a hill I will die on for chocolate chip cookies), but these are still really excellent days later. They stay perfectly chewy for at least 3 days when stored in an airtight container:
- Day one: very chewy, perfect texture
- Day two: no noticeable change
- Day three: texture still excellent, any differences are hard to detect
- Day four and five: still chewy, but a little drier, especially the outsides.
I also found that the white powdered sugar tops hold really well, at least with the method I described (base layer of granulated sugar and very generous powdered sugar coating).
The only downside, if you really care about appearance, is some powdered sugar gets loose and dusts the other parts of the cookies.
Because these maintain their quality after a day or two, they are a great option for a fun fall treat, Thanksgiving dessert, or Christmas cookie swap. Just be sure to let them cool completely before storing them.
Recipe
Ingredients
Wet ingredients
- ½ cup fresh pumpkin puree 120 grams
- 6 tablespoon butter, melted
- 1 cup granulated sugar 200 grams
Spices
- 1 teaspoon vanilla extract
- 1 teaspoon cinnamon
- ½ teaspoon ginger
- ½ teaspoon salt
- ¼ teaspoon cloves or nutmeg
Dry ingredients
- 1 ⅓ cup all-purpose flour 160 grams
- ½ teaspoon baking powder
- ½ teaspoon baking soda
Crinkle sugar coating
- ½ teaspoon cinnamon optional
- ⅓ cup granulated sugar
- ½ cup powdered sugar
Instructions
Make the fresh pumpkin puree if you don't already have some on hand
- Cut a sugar pie pumpkin in half and scoop out seeds. Place cut sides down and roast 400℉ for about 45 minutes (until flesh is very fork tender). Let it cool enough to handle, then scoop out flesh and puree in a food processor until smooth.It should be thicker than applesauce but not as thick as tomato paste. If too runny, cook on stovetop for 10 minutes to thicken it, or drain liquid over a fine mesh sieve. Mine are usually fine out of the oven.
Make the cookie dough & chill in fridge
- Mix pumpkin puree, melted butter, and sugar together in a bowl. Add in spices.
- Stir in baking soda and baking powder, then fold in flour until no dry spots remain.
- Cover the bowl and chill the dough in the fridge for at least an hour, or up to two days.
Roll the dough in sugar and bake at 350℉
- Pour granulated sugar into one shallow bowl, add cinnamon if desired. Pour powdered sugar into a separate bowl.
- Scoop 1 tablespoon of dough and plop it in the granulate sugar (it will weight about 24 grams). It will still be a little sticky but easily forms a ball as you roll it in the sugar.
- Then roll the cookie in the powdered sugar. (The granulated sugar helps keep the powdered sugar from melting into the dough). Coat it really good - it should look over sugared, not like a light dusting.
- Place cookie balls at least 2 inches apart (they spread) on to parchment lined baking sheets. You will need two baking sheets. Bake for 15-18 minutes. The cookie centers will start to look dull (not shiny) and will be set but not firm. They will firm up as they cool and be delightfully chewy inside with a crispy outside.
- Store in an airtight container on the counter. They stay perfectly chewy for days.
Notes
- ¼ cup granulated sugar used
- ⅓ cup powdered sugar used
Nutrition
More recipes & resources
Looking for more seasonal cookies to bake? I spend a lot of time perfecting each one that I make.


Leave a Reply