Yes, you can make a flavorful turkey gravy without drippings - I do it every year for Thanksgiving. Instead of rushing to make a gravy after the turkey is done cooking, I make this ahead of time. It's less pressure and it's easier to control the flavor (because sometimes drippings don't have as much flavor as I hope).
The process is pretty simple. Cook some shallots with butter, or any other fat (like bacon grease!). Add flour to make a roux, then add broth to turn it into a gravy. Add some herbs and simmer to infuse flavor, and your gravy is ready to serve or store in the fridge.
If this method is new to you, I walk through the entire process of making a turkey gravy without drippings after the recipe, including pictures to show you what each step should look like.
Jump to:
Recipe

Ingredients
- ¼ cup butter salted v unsalted, see note
- ¼ cup all-purpose flour
- 2 cups broth chicken, turkey, or vegetarian (see note)
- 1 shallot diced, or half a small yellow onion
- 2 cloves garlic
- fresh sage, thyme, and rosemary
- salt & pepper to taste
Instructions
Make a roux (without drippings)
- Melt butter in a skillet over medium heat. Add diced shallots and cook until soft.Note: don't skimp on butter, you want equal amounts of fat and flour to properly thicken the gravy.
- Add flour and stir to absorb the butter. It will form big clumps and that's okay (see post for pictures). Cook for about 10 minutes, until the flour smells toasty and is golden in color. (see note)
- Slowly add ¼ to ½ cup of broth to the pan and stir to absorb into the flour mixture. It will be a gummy mess. Note: do NOT add more broth all at once - if you do the flour will float in it rather than mix into a cohesive gravy).
- Once the broth and flour has formed a paste, you can add another ¼ to ½ cup of broth. Whisk to combine. Continue adding a small amount of broth at a time, stirring or whisking each time until it combines. Continue until the gravy is a desired consistency.
Finish the gravy
- Add herbs - you can leave them whole with the stems on. If serving now, continue to simmer over low heat for 15 minutes for the flavors to infuse. Keep spare broth on hand to thin the gravy down as needed (some of it will evaporate).If this is make-ahead: add herbs and then let the gravy cool and transfer to the fridge with the herbs in it. They will infuse their flavor overnight. Reheat the gravy on the stovetop and remove the herbs before serving.
- Taste and add salt. I know it's annoying to not get an actual amount here, but this is one case where it's up to you. How salty your broth is, whether or not you used salted butter, all comes into play.
- Need to thin or thicken the gravy?Thin: add more broth and whisk to combine.Thicken: simmer to evaporate some of the liquid. Alternatively, mix 1 tablespoon cornstarch with ¼ cup cold water in a SEPARATE bowl. Once combined, slowly whisk the mixture into the gravy (a little at a time) until it's the desired consistency.
Storage & reheating
- Store leftovers in the fridge for several days. Reheat on the stovetop and don't thin it down until it's fully warmed (it will appear thicker when chilled). If serving for Thanksgiving, you can also reheat it in a mini crockpot so it stays warm throughout dinner. (like this cute sage green one!)
Notes
Nutrition
Gravy serving size
One of the best parts about making a turkey gravy without pan drippings is that you can plan ahead and make just the right amount (including leftovers). The gravy holds well in the fridge and can even be frozen, so I'd err on the side of making too much than not enough.
I recommend that you plan on ⅓ to ⅔ cup per person, or ¾ to 1 cup per person if you want leftovers. If you think your group will go through a lot of gravy, shoot for 1 cup per person to make sure you definitely have leftovers. If you overshoot, you can always freeze it.
The other year I hosted a small Thanksgiving with the following people:
- 3 retirees
- 4 middle aged adults
- 2 ten-year-olds
We went through about ½ a cup of gravy per person, which was honestly more than I expected considering half of the people eat small portions these days.
Still unsure? Test it out yourself. Grab a gravy packet and a box of instant mashed potatoes from the grocery store. Cook up some chicken breasts, and make the mashed potatoes and gravy. Take a ¼ cup measuring cup and pour it on your chicken and potatoes... continue to add another ¼ cup at a time to see what it looks like and judge for yourself.
Note that people will use more if the gravy is somewhat thicker. A thin gravy runs everywhere, preventing you from piling on as much. I love a thicker gravy, so I make sure I have extra to accommodate.
Some guides claim you only need ¼ cup per person for Thanksgiving. I don't know what dinners they are going to, but I can't remember a situation where that's ever been enough!

How to make turkey gravy without pan drippings
Making a turkey gravy without pan drippings is actually pretty easy - you just have to replace some of the fat with butter (or bacon grease) and the drippings with some broth.
In fact, I prefer this method for making Thanksgiving gravy because it's easier to control the consistency, flavor, and can be made in advance.
This is a classic gravy that mixes flour with butter to essentially make a roux, then the liquid is slowly whisked in until the desired consistency is reached. If you've made gravies like this before - carry on and skip this section!
However, if you're new to making gravies or find them intimidating, I urge you to continue reading along with me as I outline each step.
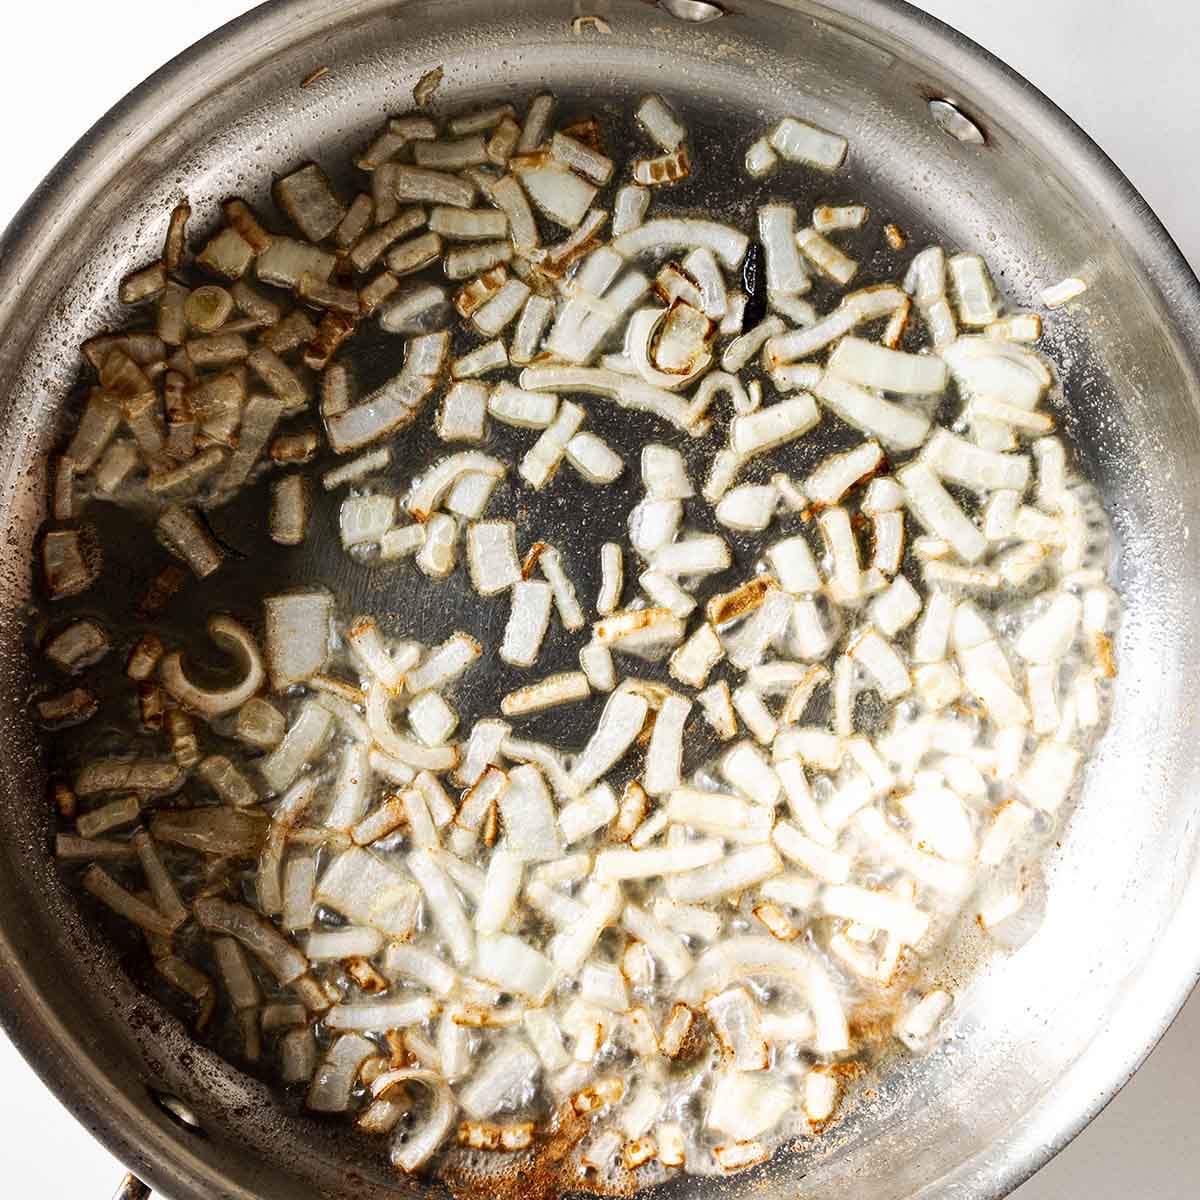
Step 1: cook the shallots in butter
Cook the shallots and garlic in butter until they are soft. I use shallots because of their milder flavor in case some Thanksgiving guests aren't big onion fans. They can also be strained out if desired.
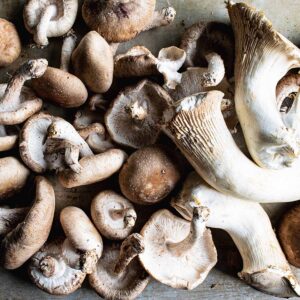
On the flip side, if you're guests are all about a good onion flavor, you can even use yellow onions, or add some mushrooms in at this point as well. IF you add mushrooms, you'll need to add more butter after they saute because they'll soak up all of the fat that the flour needs to make the roux.
Don't skimp on the butter - it's required to bind to the flour so it can make a smooth gravy once the liquid is added.


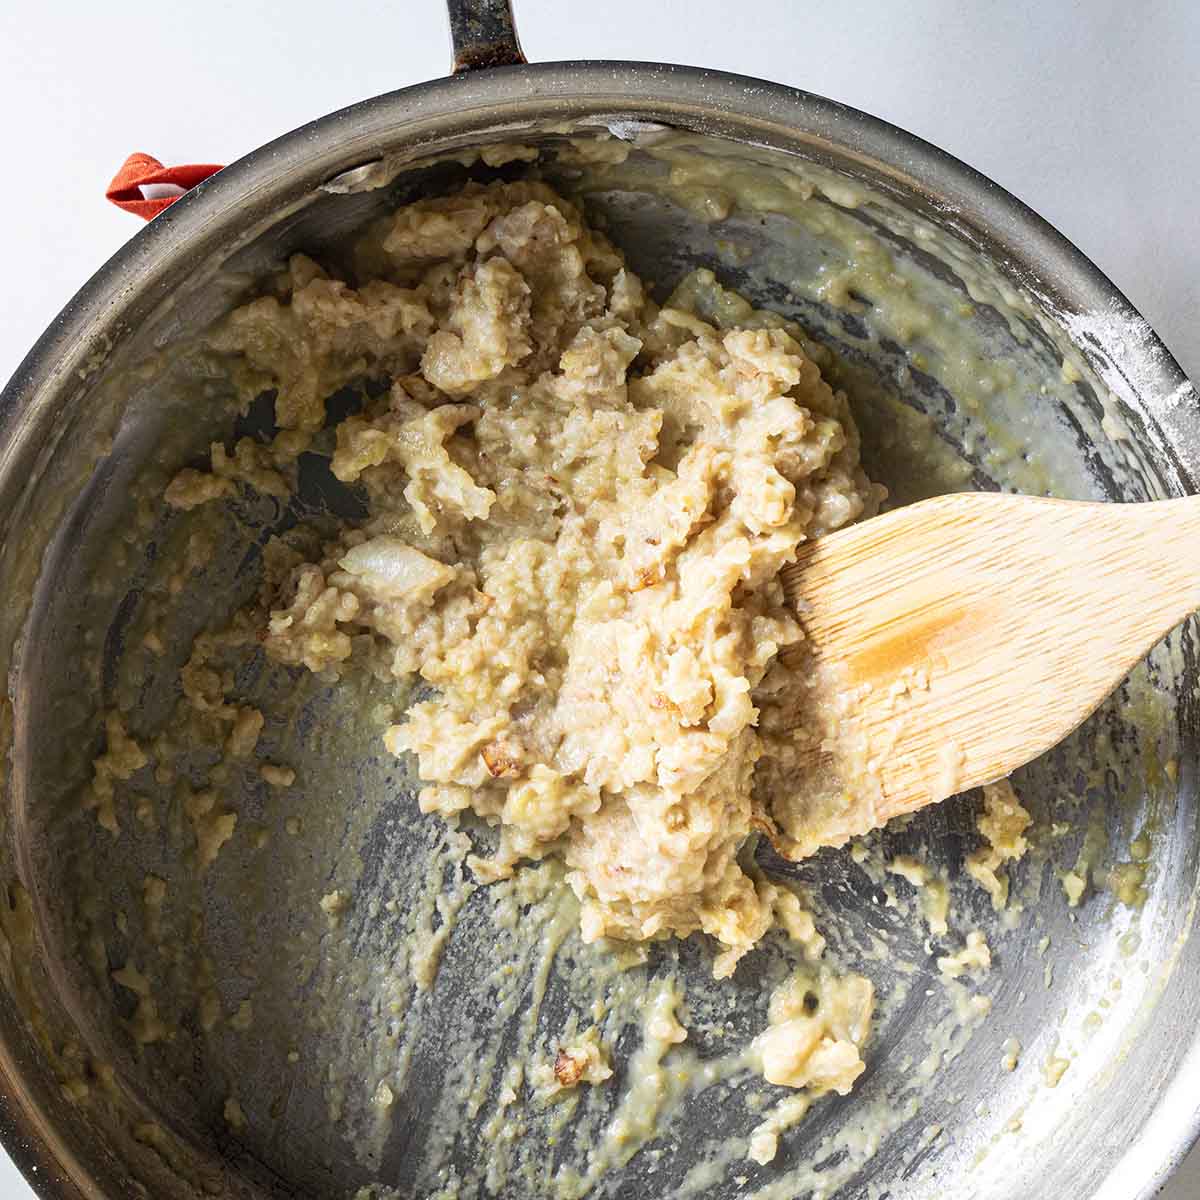
Step 2: add the flour
Add the flour to the onions. The amount of flour used compared to the amount of liquid (next step) determines how thick the turkey gravy will be.
A thin gravy will use about 1 tablespoon of flour per cup of liquid, whereas a thick sauce might use 2-3 tablespoons. Gravy for Thanksgiving tends to be in the middle, so this recipe uses about 2 tablespoons of flour per cup of liquid.
If you want a thicker gravy, add 3 tablespoons per cup of liquid, and you can always thin it down with more broth.
Once you add the flour, mix it with the butter and cook the mixture until it smells toasty, then continue to cook it for another 10 minutes-ish until it turns golden brown.
Light vs golden brown flour mixture (roux)
A lighter toasted color is milder in flavor and cooked minimally (3-5 minutes). It's also a better thickener because more of the starch is left intact.
However, for a Thanksgiving turkey gravy, I like toasting the flour longer. It's not as good of a thickener but that also means it's less likely to congeal on your plate. It also lends more flavor to the gravy.
I use extra flour in this recipe to make up for the loss of thickening power from the longer cooking.
Either method will make a delicious turkey gravy, even without pan drippings. It can be easily adapted because you'll be adding the liquid slowly and stopping once you reach the desired consistency.
Step 3: slowly add in the broth
This is where most people (myself included) have messed up in the past. You must add in the liquid a little bit at a time, whisking continuously. If you add it all at once, your gravy will be watery with floating flour lumps.
Once your flour is toasted, then you need to add a small amount of liquid - about a ¼ of a cup. Whisk it into the flour mixture to form a sticky pile of mush (really!)
Next, you add a little more of the broth (another ¼ to ½ cup), and as you whisk, it will still be very pasty, but more like a cookie dough texture. A little more liquid and it becomes more like a muffin batter texture.
Keep adding a little broth at a time and it eventually becomes a smooth gravy, and it's the thickness you're looking for. You might not use all of the broth, or you might need to use extra.
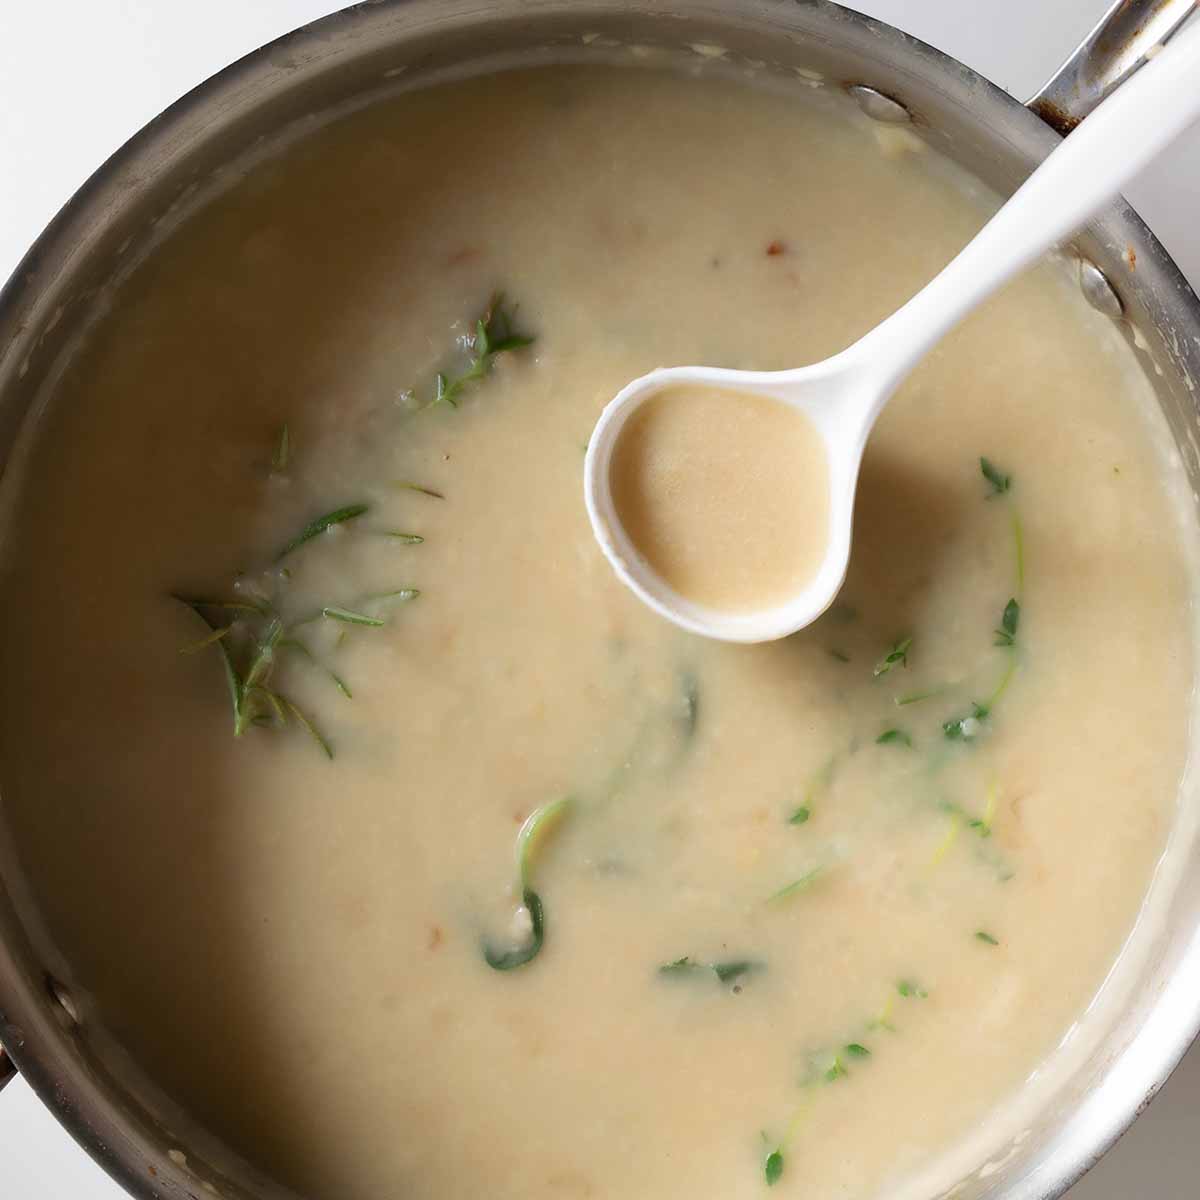
Step 4: Add herbs & taste for saltiness
First let me say that I'm annoyed every time a recipe says 'salt to taste,' without giving a rough idea of how much I should use. But this is one of those cases where too many things are out of my control to give you a good idea. Whether you use salted or unsalted butter, and the saltiness of your broth (which can vary wildly), all make a difference.
At this point, you also want to add herbs to the pot. I usually leave them whole then remove before serving. But you could finely chop them and leave them in the gravy.
Simmer the herbs in the gravy for 10-15 minutes over low heat. You want their flavor infused in the gravy without letting too much liquid evaporate. You can cover the pan at this point if you want to keep the gravy from thickening.
Alternatively, just have some broth on hand to add in if the gravy gets too thick.
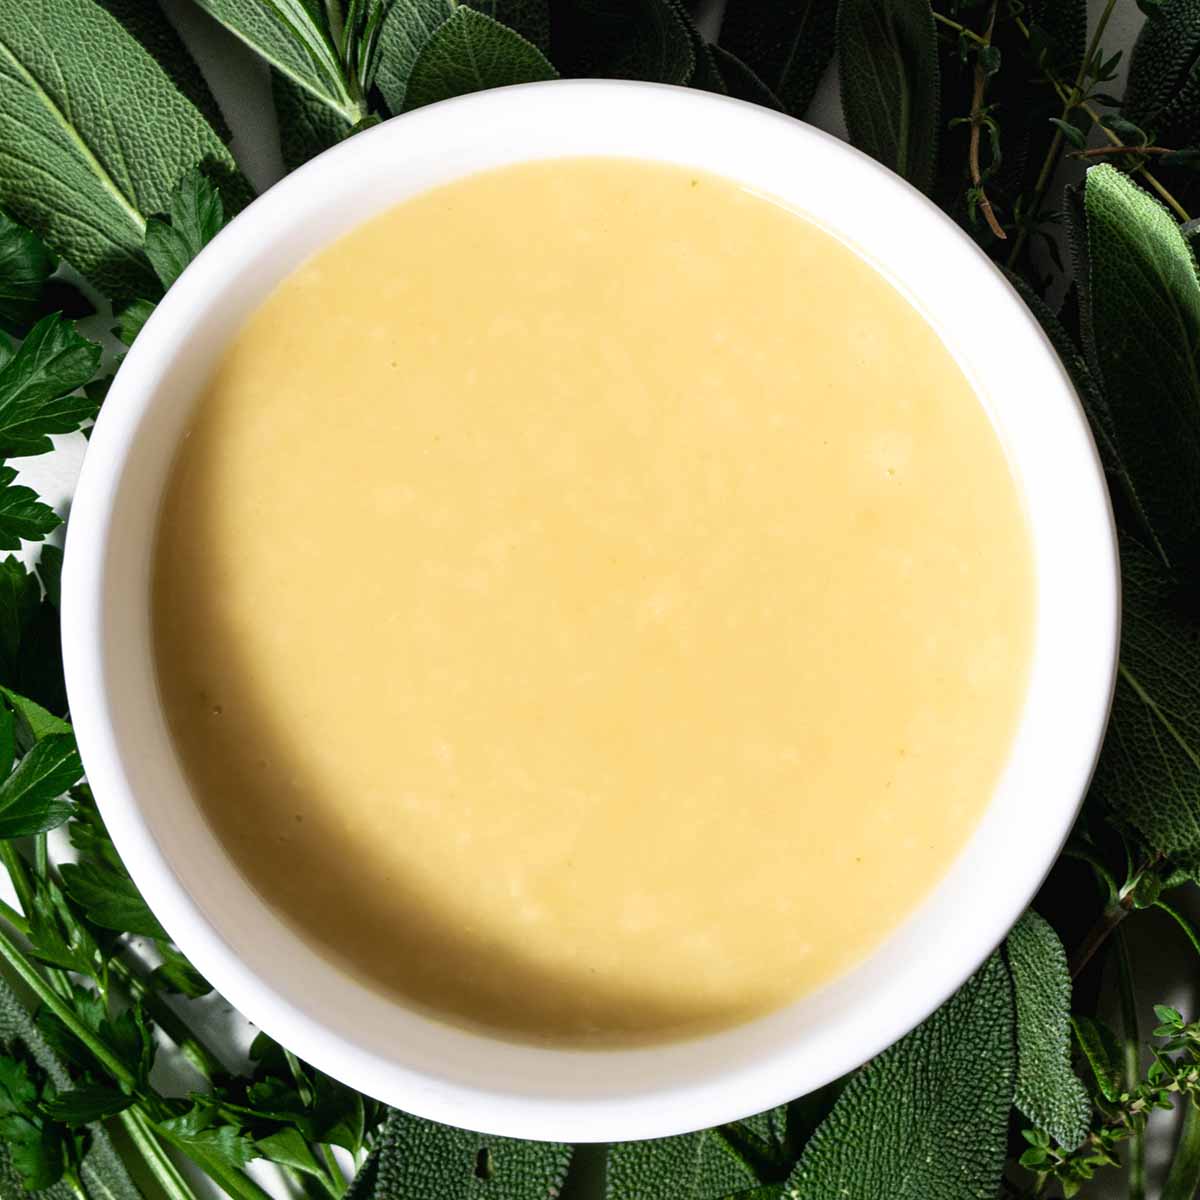
Step 5: Remove herbs & serve
Use some tongs and fish out the herbs and discard. Alternatively, if you used chopped herbs, you can leave them in.
If your Thanksgiving gravy isn't quite perfect yet, never fear. Below I discuss ways to thin or thicken the gravy, as well as how to fix lumpy gravy.
How to thin or thicken turkey gravy
If the turkey gravy is too thick, simply whisk in more broth. It's that easy!
If the gravy is too thin, you have two choices. You can simmer it down to let some water evaporate. This happens quickly in a large skillet for a regular-sized batch of gravy - just 5 minutes can make a big difference. If you have a larger batch, it can take 10 or even 20 minutes to thicken.
Another option is to thicken the turkey gravy with some cornstarch. But first you need to mix the corn starch with some cold water or broth. If you don't, it will clump and ruin your smooth gravy! Mix the cornstarch slurry into the gravy slowly - it can thicken it fast.

What if the gravy is lumpy?
This method is pretty foolproof, as long as you don't skimp on the butter (or fat) and add the broth slowly.
The fat is necessary because it coats the flour, which allows it to mix easier with a liquid. Without the fat, the flour forms gelatinous balls when mixed with a hot liquid. They don't break apart and mix in, no matter how long you simmer it.
However, when the fat is first mixed with the flour, the butter coats the flour's starchy grains. Then when mixed with a hot liquid, "the butter melts and gradually releases greased starch particles into the liquid, where their swelling and gelation are slowed by the water-repelling surface layer." (Harold McGee's On Food and Cooking).
But don't get too crazy - if that liquid is added all at once, you'll just have butter-coated-flour lumps floating in your gravy, no matter how much butter you used.
Even though this method consistently produces good results, sometimes things go wrong... whether you couldn't pay full attention (other things cooking at the same time!?), accidentally added too much liquid at once, or any number of things.
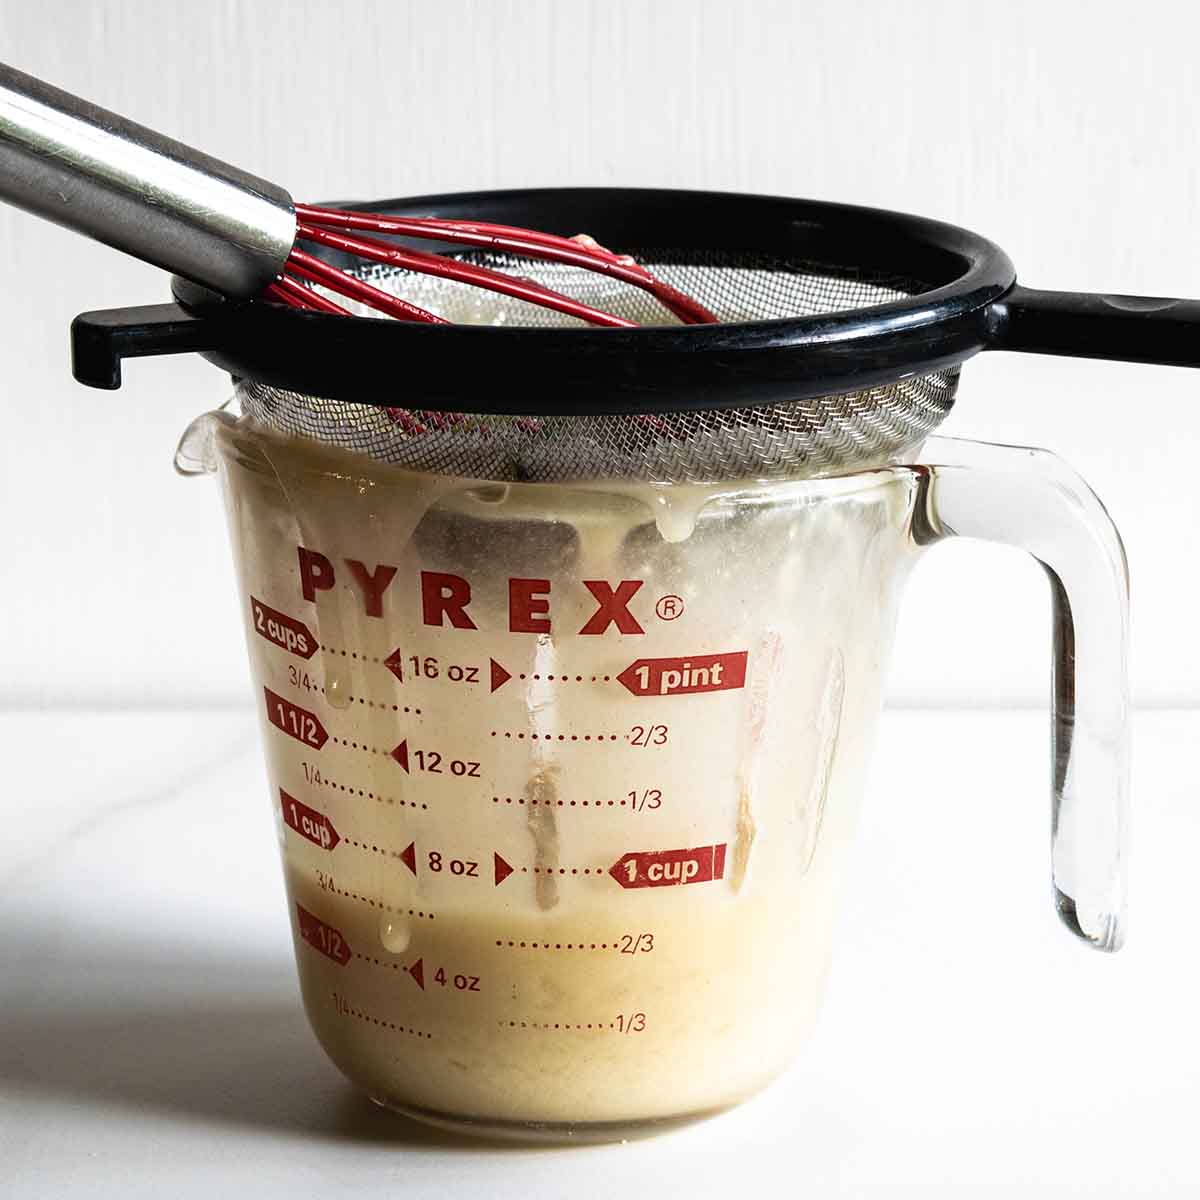
If you end up with lumpy gravy, you can simply strain it through a fine-mesh strainer. You might need to give it two passes. The first pass, if you press on the gravy to get it to go through the strainer, it will turn big lumps into tiny lumps. Then strain it again without pushing against the strainer and you'll get the fine lumps out as well.
Keeping the gravy warm
I like keeping the gravy warm throughout all of dinner so that when people go back for leftovers, the gravy can warm them back up. Turkey will be cooling (less so if kept under foil), mashed potatoes will also be moving toward room temperature.
But those things can all be warmed back up with a good helping of a hot gravy. Keep it on a super low simmer on the stovetop or use a slow cooker (or the slow cooker function on an instant pot).
A small Crockpot is actually cheaper than I would have expected. One that holds 2 quarts (8 cups), is around $25.
- Crock-pot brand 2 quart (8 cup) option on Amazon - look at the prices for all sizes listed, they vary a lot, where some larger ones are cheaper than smaller ones.
- Crock-pot brand 6-cup option (for about half the price!)
- Cute colorful 8-cup slow cookers (like sage green!) by Cooking with Color on Amazon (I haven't bought this slow cooker, but I have bought other products from this brand and liked them).
These are affiliate links so I do get small commission if you buy something from Amazon. I try to be upfront with what I own and like versus what I haven't personally tried. I want to only recommend things I think you'd be happy with.
More Thanksgiving recipes & resources
Have a smaller gathering and don't want to cook a whole turkey? Try my Thanksgiving roast chicken with herb butter recipe. Use the extra herb butter to make this gravy recipe - you'll be happy you did!

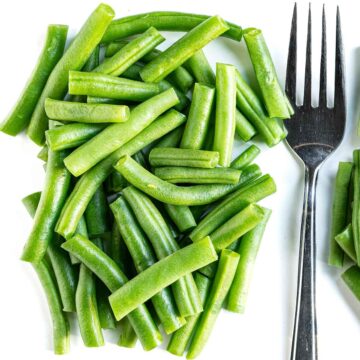
I have everything you need for green bean casseroles:


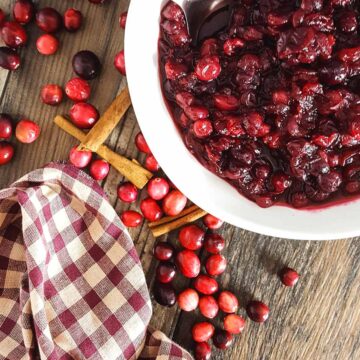
And for homemade cranberry sauce


And some Thanksgiving menu ideas to check out.

Leave a Reply