This homemade chive blossom vinegar is pretty (yes that pink color is real) and it tastes pleasantly onion-y. Best of all - it only takes 5 minutes of hands-on time.
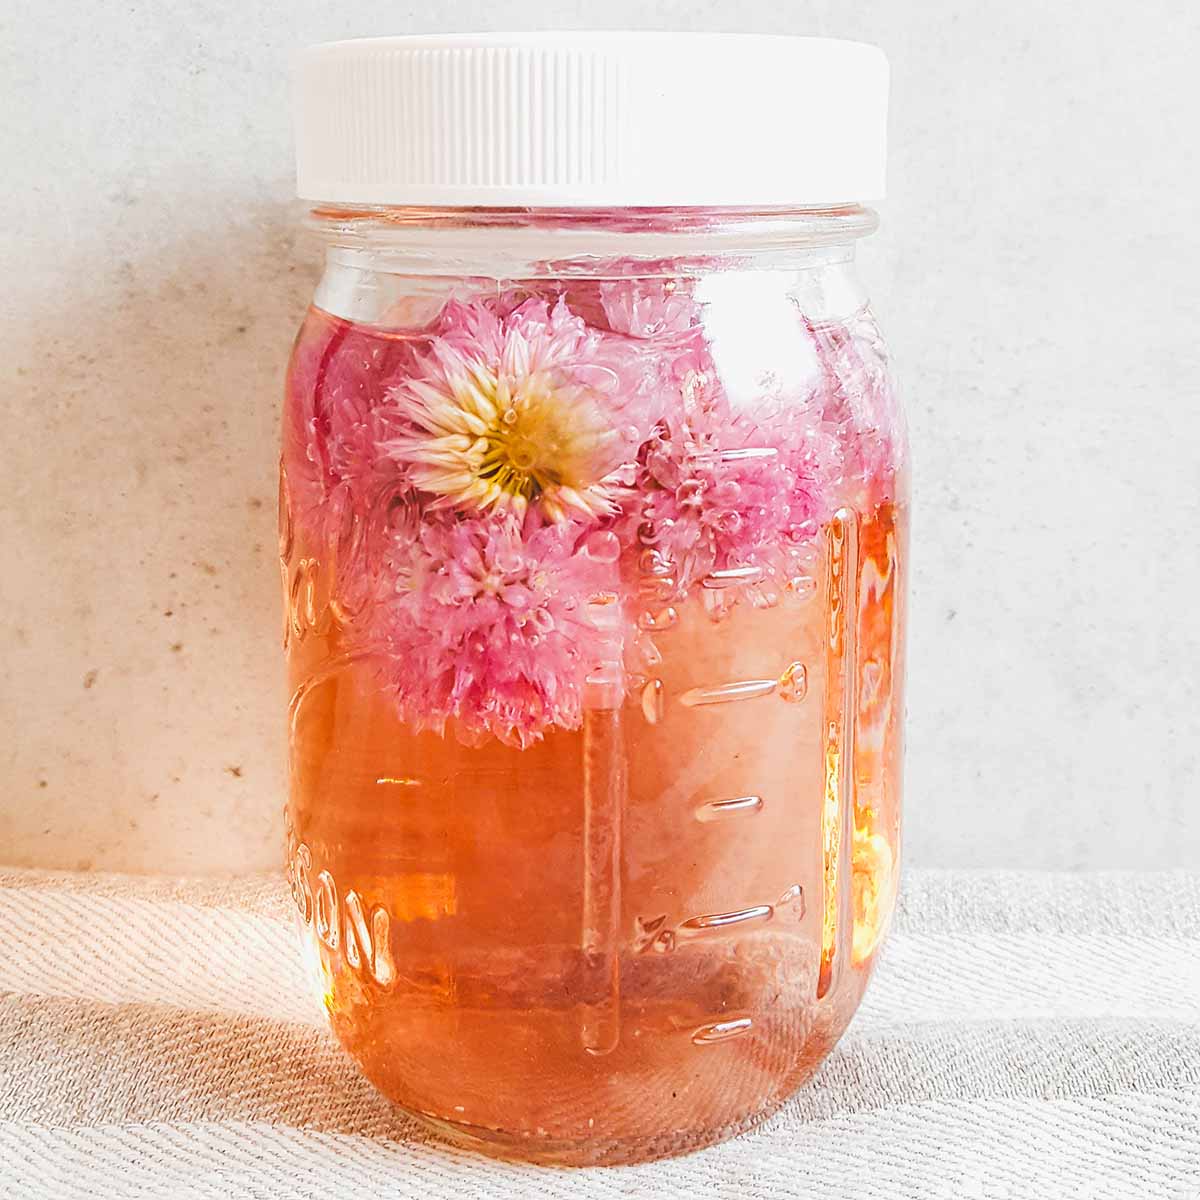
The chive blossom vinegar can be made in a mason jar or other glass storage jar. If you bottle it up for gifts, I have bottle and label recommendations for you as well.
Jump to:
- How long to infuse the chive blossoms
- Recipe
- Chive blossom vinegar
- Types of vinegar & do you need to heat it first?
- Plastic lids
- Giving it as a gift
- Harvesting chive blossoms: a timeline
- How to make chive blossom vinegar: step by step
- How to use chive blossom vinegar
- Have other edible flowers?
- How do you use edible flowers?
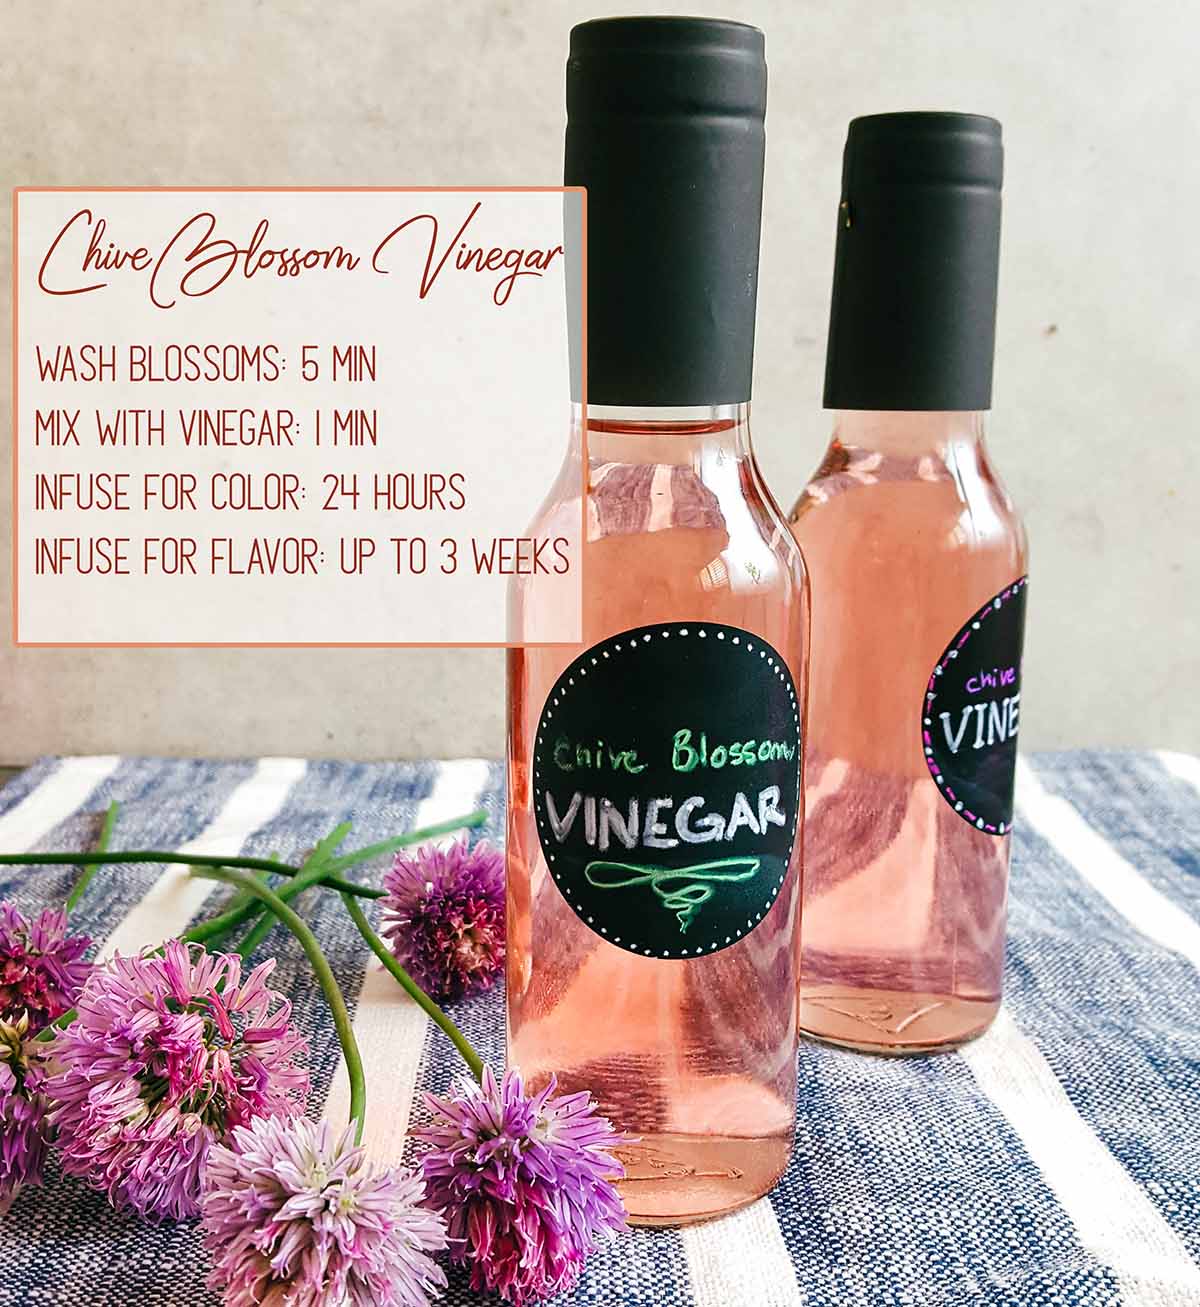
How long to infuse the chive blossoms
Making chive blossom vinegar really is simple. You just need to wash the blossoms to remove bugs - I use a salad spinner but you don't even have to worry about getting them super dry. Then smush them in a jar, cover with vinegar, and let it sit.
Once you put the chive blossoms in vinegar, you'll start to see it changing colors within a few hours. After the first 24 hours, it won't get more pink (or if it doesn't it's very marginal).
However, the chive flavor will continue to get stronger over time and you can let this sit for a few weeks if you want.
Recipe
Equipment
- Mason jar with plastic or stainless steel lid or cover with plastic and a rubber band
Ingredients
- ½ to 1 cup Chive blossoms
- 1.5 cups white wine or champagne vinegar (a clear vinegar you'd use to make salad dressings with)
Instructions
Wash chive blossoms
- Dunk chive blossoms in water to remove bugs and dirt, shake dry (they can be wet, just not dripping wet)
Infuse for 24 hours to several weeks
- Put the chive blossoms in a glass jar and pour the vinegar over the top.
- Cover the jar and let sit for at least 3-7 days (ideal length of time for flavor). The color turns bright pink in a few hours and stops gaining color after about 1 day. The flavor gets more intense the longer it sits. You can leave it for a few weeks if you want.
Strain & store
- Strain: use a cheese cloth or coffee filter to strain the chive blossom vinegar. It will remove seeds and sediment.
- Store in a cool-dark place for 2-3 months or refrigerated for 6-8 months. Check for signs of spoilage - if it bubbles it is fermenting and it should be thrown away because some of the organisms that cause fermenting are bad, and you don't know if you have good or bad ones! If it's moldy, slimy, or cloudy, also throw it away.
Notes
Types of vinegar & do you need to heat it first?
Plain distilled white vinegar can be bought in bulk fairly cheap. It's a totally clear color with a sharp vinegar taste. However, if you want something more mild, I suggest a white wine or champagne vinegar (although they are pricier).
Apple cider vinegar also has a mild taste but the golden color won't be as pretty when infused with the chive blossoms, so I'd avoid it.
Heating vinegar & safety
You don't need to heat the vinegar, according to Master Food Preserver Nellie Oehler at the Oregon State Extension.
Some sources, like the National Center for Home Food Preserving, did tell you to heat the vinegar and wash herbs in a weak bleach solution. So I reached out to the OSU extension to get clarification, since they didn't recommend it.
They did some internal investigation and reached out to their colleagues at the National Center for Home Food Preserving, along with some microbioligists, and it has been determined you do not need to heat the vinegar or use a bleach-wash for safety. You can read my question and their responses on this OSU extension thread.
However, you can heat the vinegar to a simmer, which speeds up the infusion but does change the flavor a little bit. This is often recommended to help extract flavor from tougher herbs, like rosemary.
Plastic lids
If you have a lot of mason jars, but don't have plastic lids yet, you're missing out. I use them all the time and am somehow always buying more.
- I make salad dressings in a jar (add ingredients and then vigorously shake!)
- Lids for refrigerator pickles
- Lids once I open a jam (instead of dealing with the metal ring and lid)
- To transport ingredients or dressings to a picnic or pot luck
- And of course: to make infused vinegars
The Ball brand is more expensive, but they are very leak proof. I haven't tried the off brands, so I can't comment on them (if you do try them, leave a comment to let me (and other readers) know how they turn out).

- Fits Regular Mouth Ball Mason jars (not included)
- Ridged edge provides a secure grip
- Airtight and leakproof
I've also had my eye on these wooden ones. I'm not sure how leak-proof they would be, but darn it, are they cute!

- Ball Wooden Wide Mouth jar lids are made with Acacia wood
- These wooden Ball jar lids feature an airtight silicone seal, making them perfect for dry foods...
- Easy stacking with most Ball jars for cabinet and counter organization
Giving it as a gift
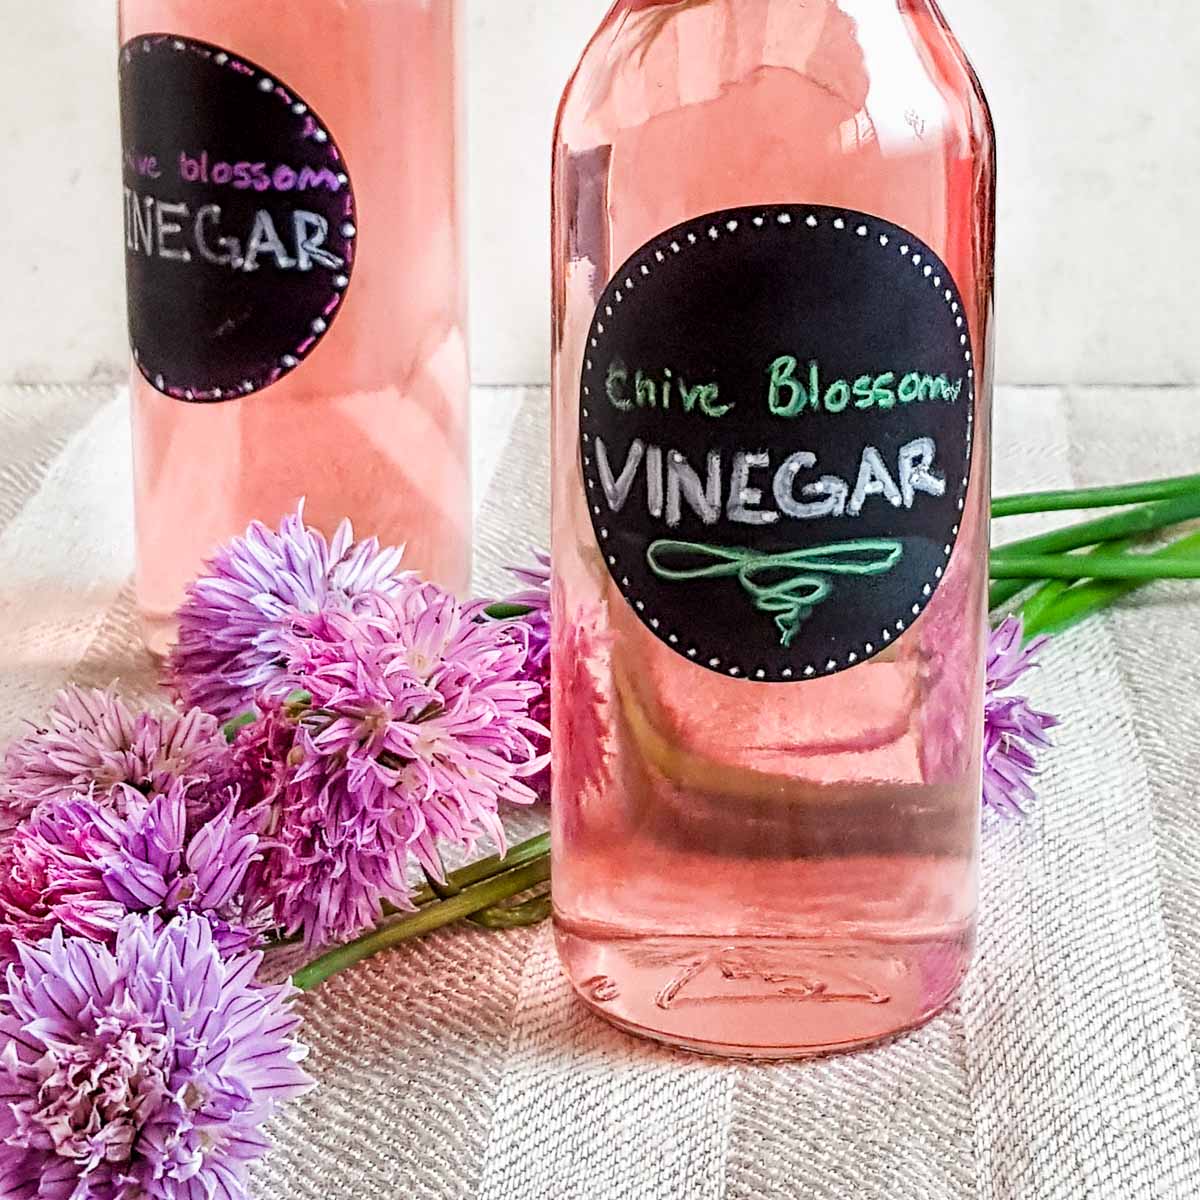
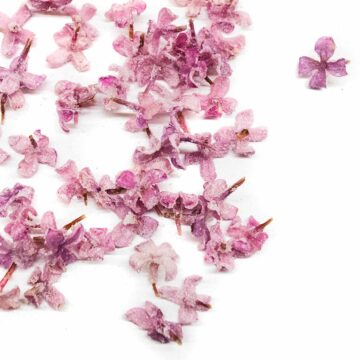
Chive blossom vinegar makes an adorable gift, but I don't have to tell you that. Just look at that pink glowing color. But make sure you strain it first before you gift it as a gift, for 2 reasons:
- The flower heads have tiny black seeds that look like bugs. People don't like things that look like bugs in their food.
- The blossoms lose most of their color and don't look pretty. So you want to leave them in long enough for some flavor, and take them out before gift-giving.
Looking for cute labels and bottles? I used hot sauce bottles with twist caps, but a swing top glass bottle or apothecary type bottles would be fun too. I used chalk labels, but the gold ones would combine to give a rose-gold vibe.


I bought those exact hot sauce bottles and like them, along with the chalk labels. The other products are for inspiration and I don't own them. I do get a small commission if you buy something, so I like being very transparent with my recommendations so as not to steer you wrong!
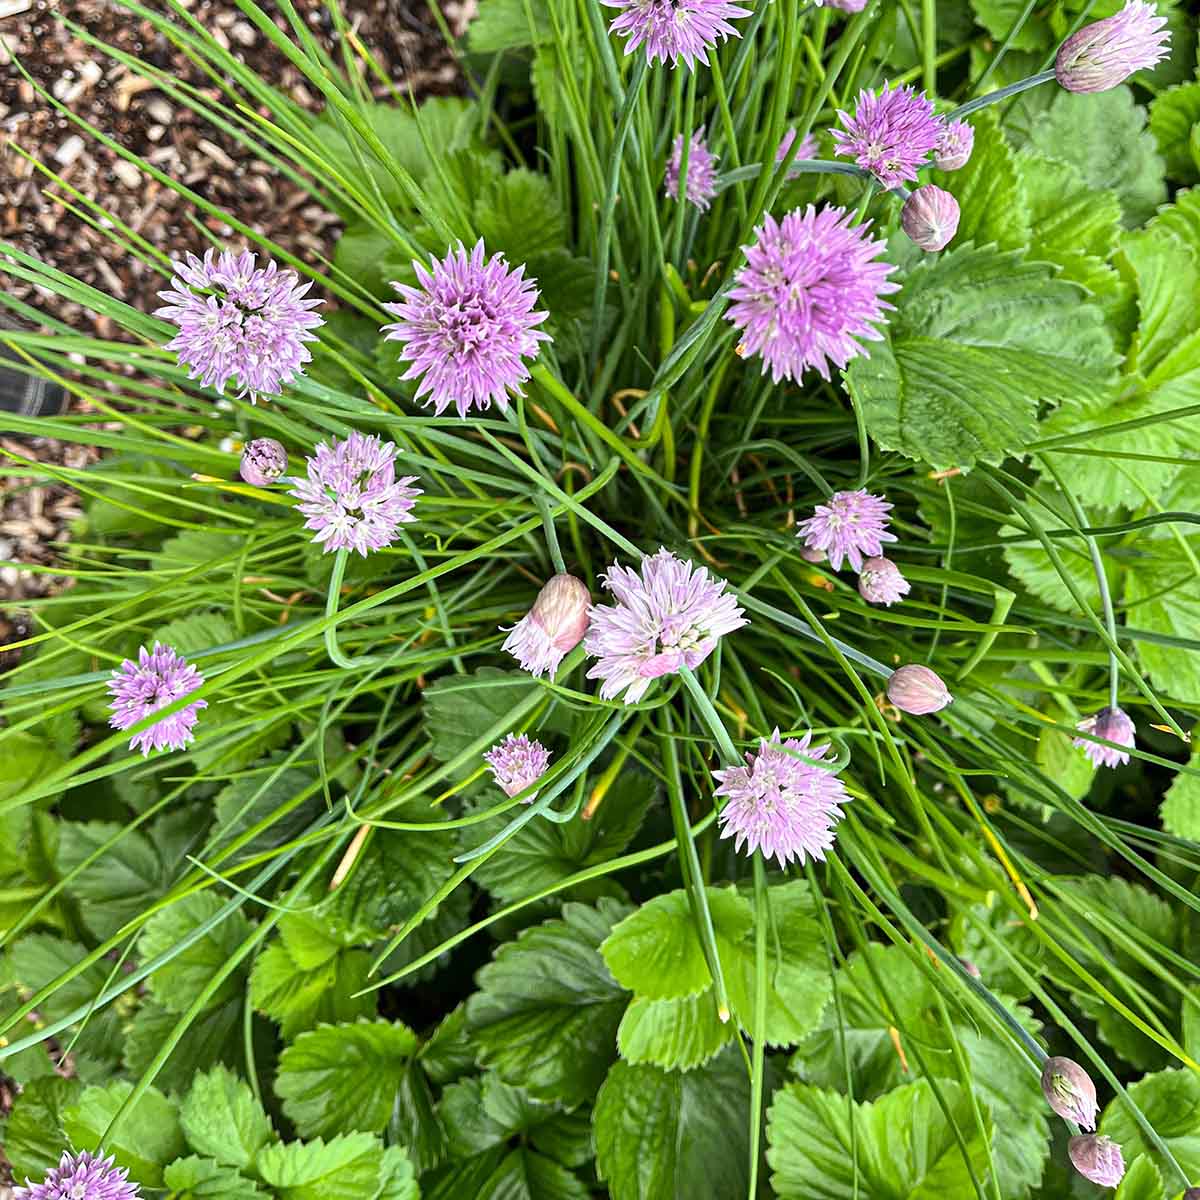
Harvesting chive blossoms: a timeline
I live in the Chicago area, which is USDA zone 6a. My chive plants get full sun in a south-facing raised bed. The plants first emerge from the snow in early March, with buds showing up by late April and a full harvest toward the end of May.
Below is a timeline for its third season (I planted it 3 summers ago).

April 27: first buds appear. The one pictured here is the largest, others are half to a third the size.

May 4th: First chive blossom is opening up and will fully expand over the next day or two.

May 6th: Chive blossoms continue to open with a lot of small and large buds in the background.
May 14th: Another view of the same plant, showing how many chive blossoms are opening up and showing a lot of buds too.
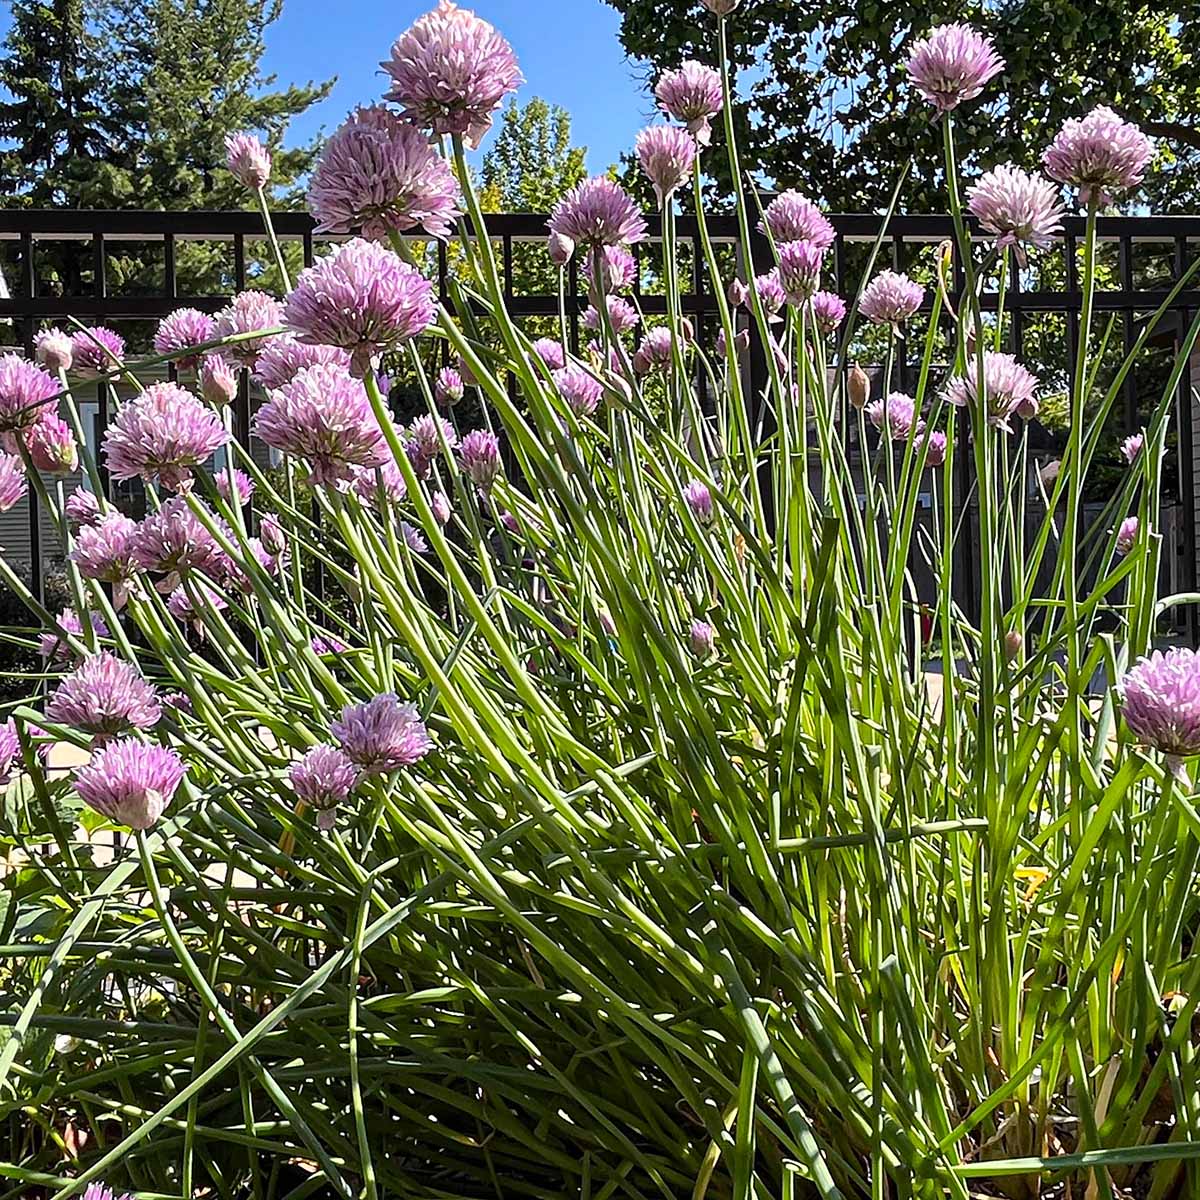
May 23rd: The chive plant is in full bloom and all of these can be harvested. There are still some unopened buds growing on the plant, which will extend the harvest.
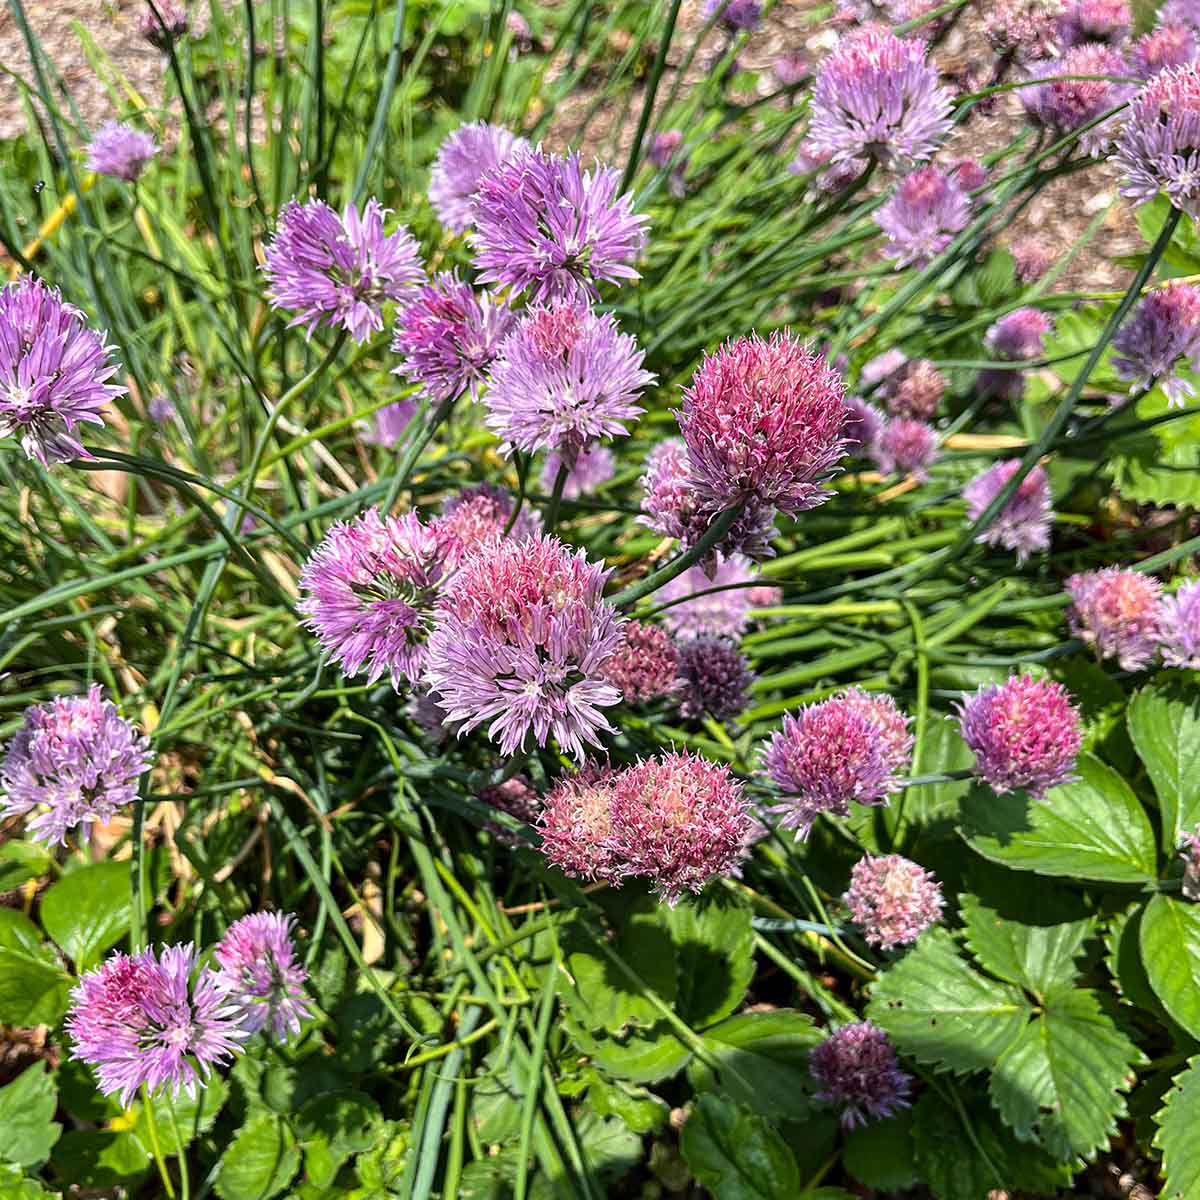
June 6th: I didn't harvest any of the blossoms so I could document what it looked like as they started to dry out.
How to make chive blossom vinegar: step by step
As I mentioned, this is so incredibly easy. But the first time you make it, you probably have a lot of questions. Let's see if I can help.
Step 1 - Wash & dry the chive blossoms
Dunk the chive blossoms in a big bowl of water and swish them around. Swish some more. You are trying to get out tiny bugs. Seed will fall out as well, but if they don't, no problem.
Drain the water and refill it. Do some more swishing until you feel all of the bugs are gone.
Dry the flowers with a salad spinner or a paper towel. If they aren't totally dry, it is fine. Vinegar and water mix (unlike water and oil). That said, you don't want them dripping wet.
Some home food preserving resources suggest dipping herbs in a weak bleach solution before adding them to the vinegar, but that isn't necessary and most sources have been updated (you can read the OSU extension office answers to my question about it).
Step 2 - Combine the flowers and vinegar in sanitized jars
Get out some glass jars. Sanitize them in boiling water for 10 minutes (adjusting for altitude) or run them through the dishwasher. Make sure you have some plastic or stainless steel lids (the official ball canning lids are stainless steel). Alternatively, you can cover the jars with plastic wrap and a rubber band.
Don't use any 'reactive' metal, which is pretty much all metals except stainless steel. Vinegar reacts with those metals, picking up a metallic taste and causing rust.
Put the chive blossoms in the jar and cover with vinegar, then seal it.
Let it sit for a few days to a week with the blossoms in it. It will change to this pretty pink within a day (often just a few hours). It doesn't get noticeably more pink after the first 24 hours. The flavor will get stronger over the next couple of weeks though.
It really does pick up an onion flavor, just from the blossoms. It's perfect for salad dressings or splashing into a soup to brighten it up... you get the idea.
Step 3 - Filter & finish
Strain the vinegar through a coffee filter or cheese cloth into another jar. You can use a fine-mesh strainer, but some of the seeds will still get through since they are tiny. Discard the blossoms - they start to look gray-ish and gross after a while.
If it doesn't look clear yet, keep straining. It shouldn't have sediment or seeds. Pour the filtered chive vinegar into a clean jar with a lid, making sure all parts are glass, plastic, stainless steel, or anything that isn't a reactive metal. There is no need to run it through canning processes due to vinegar's acidic nature.
Look for signs of spoilage before using. If you see bubbles, that means it's fermenting and some bad organisms might be multiplying - so throw it out. If it's moldy or slimy, it should also be thrown away.
How to use chive blossom vinegar
Now that you've finished it, what do you do with chive blossom vinegar? Think of anything that uses a splash of vinegar or lemon for flavor - will an oniony standin work better? Often the answer is, YES! So let's go over a bunch of those options.
Salad dressing
The most straightforward use of chive blossom vinegar is to turn it into a vinaigrette for a salad. The very simplest version is to mix it with some olive oil and an emulsifier (mustard or honey).
You can also adapt shallot vinaigrette recipes to use the chive blossom vinegar in place of shallots. If you want a specific recipe, here you go:
- Chive vinaigrette with honey and mustard from Grow a Good Life
- Use it on this shaved asparagus salad from Pretty. Simple. Sweet.
- Make a Chinese chicken salad dressing by replacing the apple cider vinegar
Sandwiches
If you love an Italian sub with some red onions and a good vinaigrette drizzle, try swapping in your chive blossom vinegar. It would also be good on a grinder sandwich, mixed into chicken or egg salad sandwiches, or even on a cucumber sandwich.
For sandwiches that benefit from mayo, mix some of the chive blossom vinegar in for quick flavored aioli instead.
Potato & pasta salads
Potato salads almost always use vinegar, and chive blossom vinegar would only make it better. Same with a good pasta salad, whether it is an Italian version that relies on olive oil and vinegar, or more of a mayo-based one where you mix the vinegar in with it.
Risotto
Risotto recipes often finish the dish with a splash of lemon to cut through the creamy, cheesy goodness. Try my corn risotto with scallops recipe and add a splash of the vinegar before serving.

Coleslaw
Coleslaw is heavily reliant on the dressing for flavor. Use your chive blossom vinegar in place of some of (or all of) the vinegar or lemon juice in the recipe. Here's a coleslaw recipe from Sugar Spun Run that uses apple cider vinegar, which you could easily swap.
Deviled eggs
Deviled eggs are usually topped with chives, so why not use your vinegar for the filling? Here's a recipe from Downshiftology that already uses vinegar in the recipe, so you can just make an easy swap.
Fish
When fish is prepared simply by pan searing, baking, or grilling, recipes often call for a splash of lemon juice. That lemon juice is providing acidity to brighten the dish. Try a splash of your chive blossom vinegar instead.
A splash of the vinegar would also be good on fish tacos, or if you make quick-pickled red onions for the tacos. Try adding it to the lime crema in the blackened fish tacos below.

Pulled pork
A lot of meat benefits from a splash of vinegar, not just fish. Pulled pork is at the top of the list as the acidity cuts through the fat. Try this Carolina pulled pork recipe from Hey Grill Hey and swap in the chive blossom vinegar for some (or all) of the apple cider vinegar.
Vegetables
A splash of vinegar brings out the flavor of vegetables, whether they are steamed or roasted. Here are some fun recipes where you can add in (or swap in) a splash of chive blossom vinegar:
- Mexican street corn recipe from Chef Billy Parisi
- Balsamic roasted vegetables from Joy Food Sunshine (add a splash of vinegar after they come out of the oven)
- Asian cucumber salad from Feasting at Home
- Caprese salad recipe from Natasha's Kitchen (add just a splash with the balsamic vinegar)
- Sauteed green beans from Love & Lemons (add a splash when you add the lemon juice)
Beans
From a three-bean salad to baked beans, the recipes often call for some kind of vinegar. Feel free to swap in your chive blossom vinegar for any of those recipes.
Sauces
Tangy sauces, like BBQ or Wing sauce rely heavily on vinegar for their characteristic flavors. Depending on the application, chive blossom vinegar would make an excellent stand-in.
Have other edible flowers?
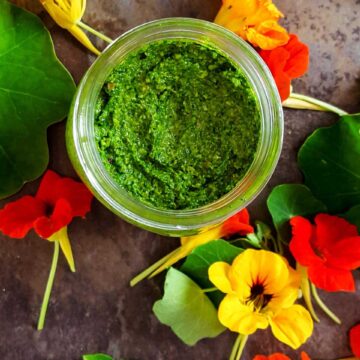
It doesn't end with chive blossom vinegar, you know! You can make nasturtium vinegar with the same process, it will turn a yellow color and taste slightly peppery (like that bite arugula has).
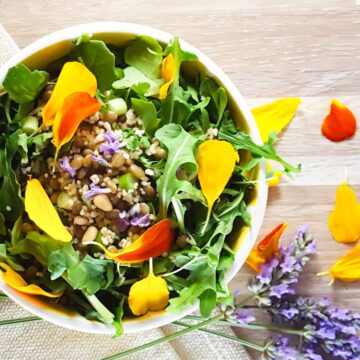

How do you use edible flowers?
What are your plans for edible flowers this year, and what have you made in the past? Leave a comment so others can get ideas too.
If you're wondering what else is currently in season, check out my calendars to see what produce is in season each month (and coming up soon).


Katrina Crandall says
I made this and it turned out beautifully! Thank you for the recipe and fun project idea.
Vee says
Thanks for stopping by. It's hard to beat that naturally hot-pink bottle of vinegar. So cute.