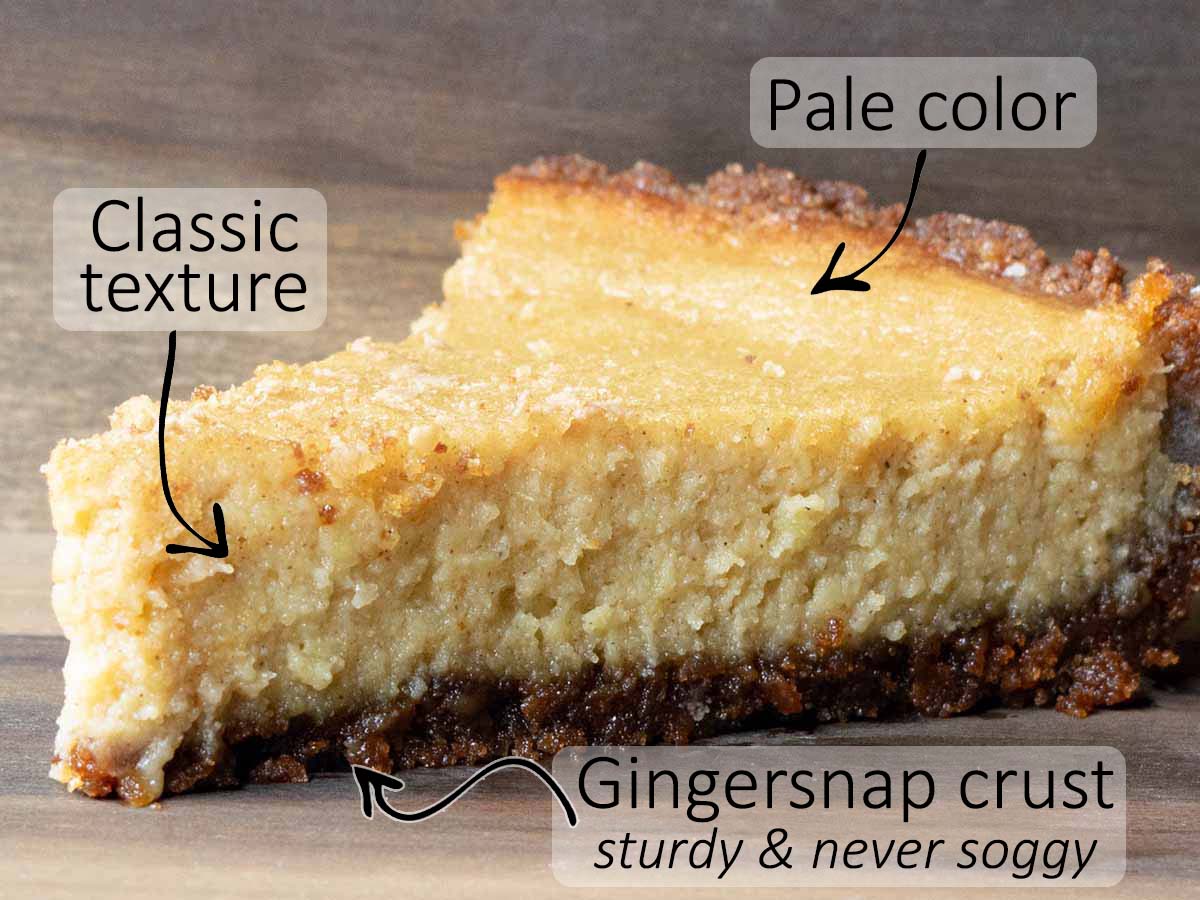
A white sugar pie pumpkin that has pale flesh will make a cream-colored white pumpkin pie, as long as you make a few adjustments to keep the filling as pale as possible.
- Use all white sugar (no brown sugar)
- Use less cinnamon & cloves in the filling and add them into the crust
- Make a dark gingersnap crust to add contrast and make the pie look whiter
White pie pumpkins
White pie pumpkins with pale flesh are what gives this pie its color. The flavor is very similar to orange pie pumpkins, but the texture seems to be denser on average.
Look for white pie pumpkins, rather than white decorative pumpkins, at the farmers market or your local grocery store. They might me labeled as white sugar pumpkins, or white baking pumpkins.
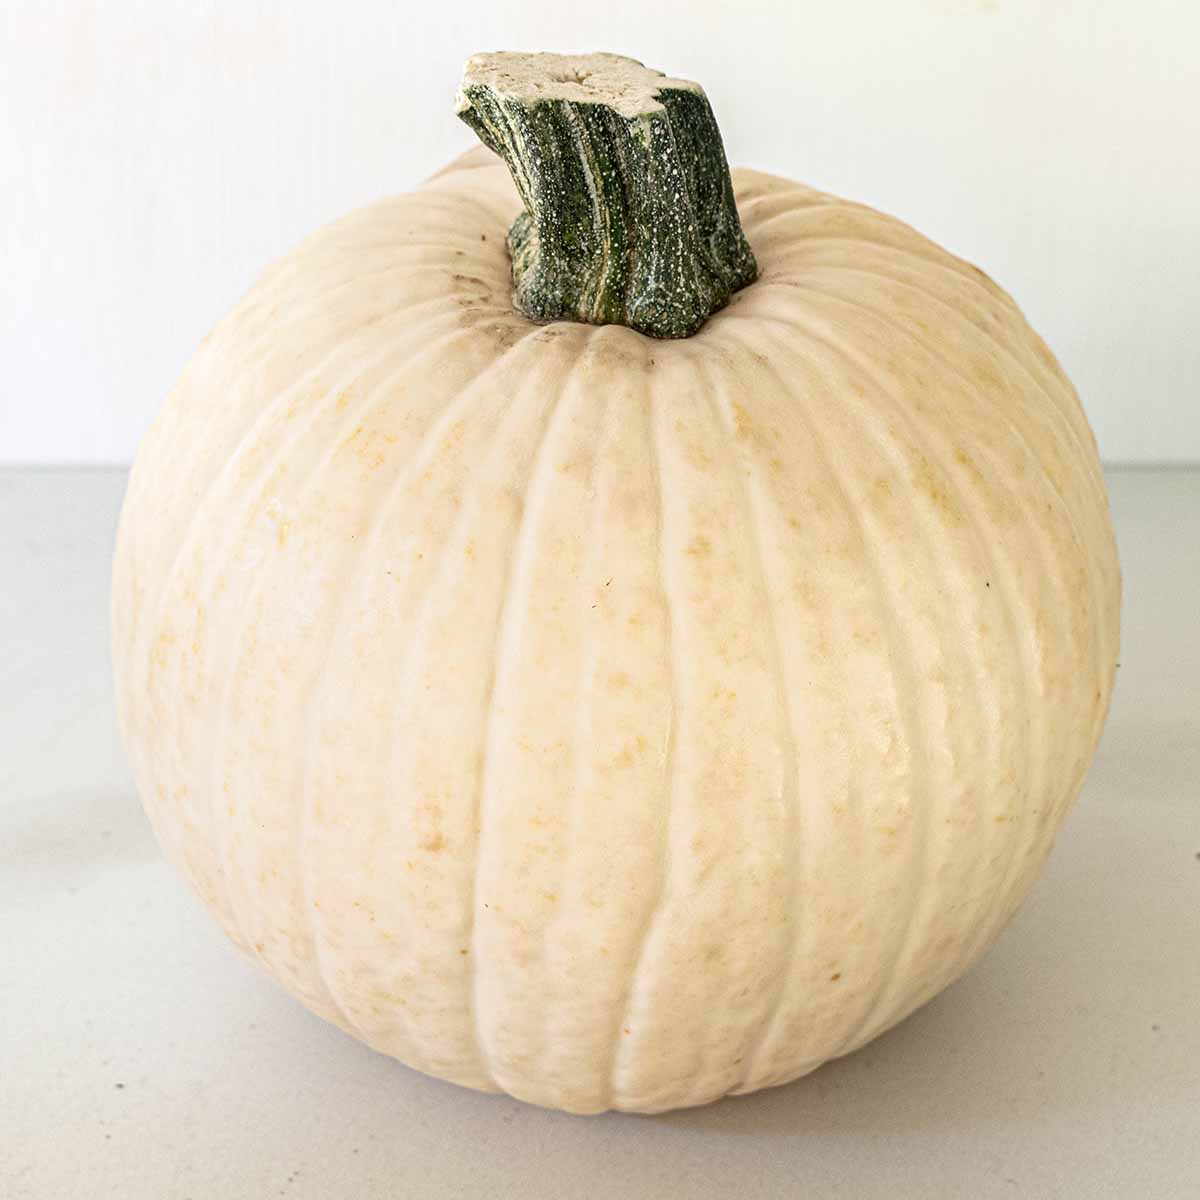
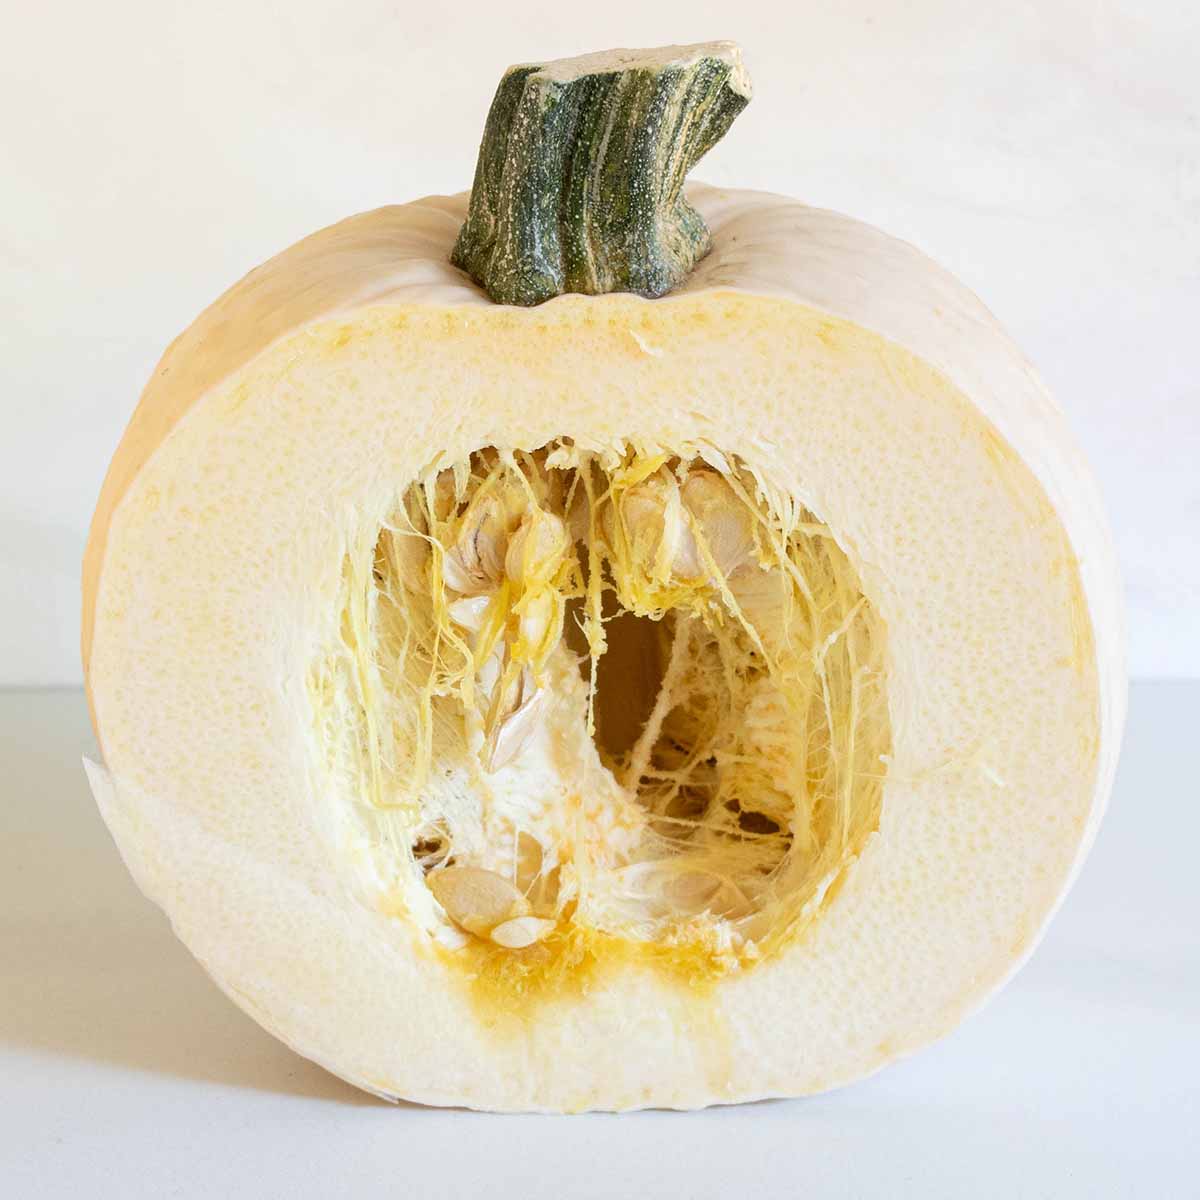
I was actually able to find white pie pumpkins at Jewel (same company as Safeway) in the Midwest. They are the same size and shape as orange pie pumpkins, but with a white rind and pale flesh. I only needed one pumpkin to get more than enough puree for a pumpkin pie.
However, not all white pumpkins have pale flesh. Either ask the seller about it, or buy one and cut it open at home to find out. If the flesh is orange, you can still make a pumpkin pie out of it, it just won't have the pale color.
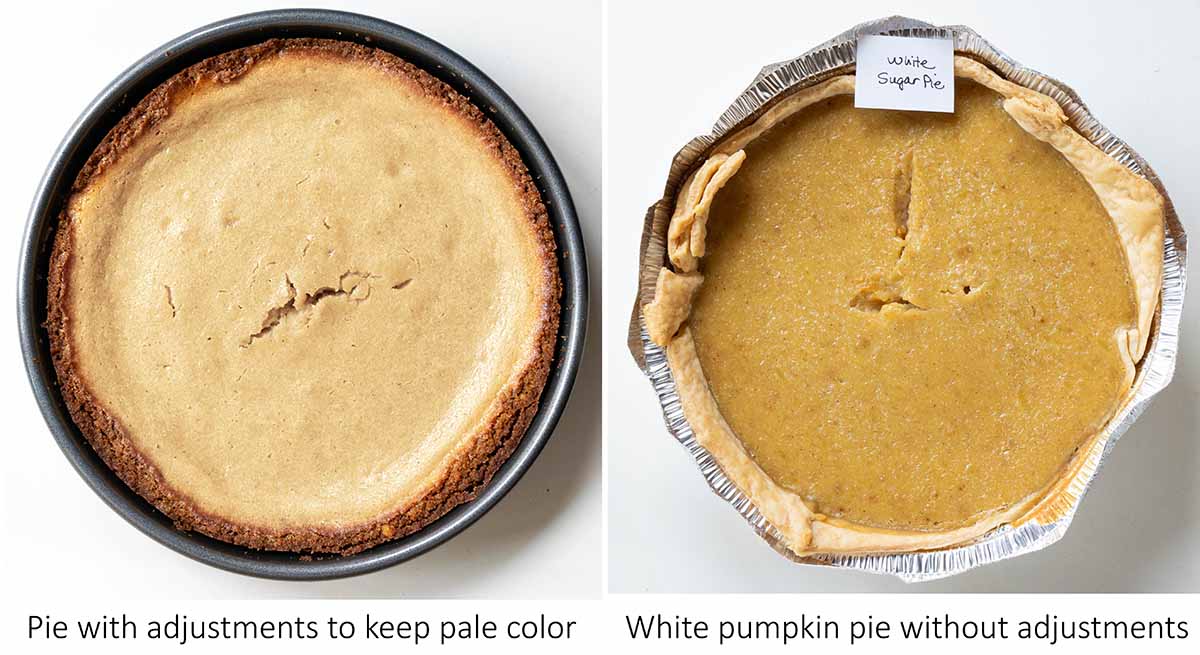
How to keep the pie color as pale as possible
The white pumpkin flesh will likely be a pale yellow. It gets a little paler when mixed with the heavy cream, but several ingredients can darken that color.
- Good quality eggs: the dark orange yolk adds a little bit of color (I still use them though because I love my farm fresh eggs!)
- Cinnamon and cloves: these spices both darken the batter, so I added them to the crust, and relied on lighter colored spices for the pumpkin filling.
- Brown sugar: some pumpkin pie recipes use all white sugar, others swap in some brown sugar (which is delicious). But this recipe uses all white sugar for the pale color and to fit in with the spices I chose.
To keep the color as pale as possible, I reduced the cinnamon in the filling and added some extra to the crust instead. I also relied more heavily on ginger and cardamom for flavor, which are both very pale-colored spices and gave me the chai-spiced inspiration.
Chai-spiced white pumpkin filling
Chai and pumpkin pie spice share a lot of the same warm baking spices of cinnamon, ginger, nutmeg, and cloves.
The main difference with this chai spice version is the addition of cardamom. It's also more ginger forward, but it still has a little cinnamon, nutmeg, and cloves mixed in.
If you want traditional spices, go ahead and use them. The color might end up a little darker, that's all.
Why I chose a gingersnap crust
The last piece of this white pumpkin pie is the gingersnap crust. It's made just like a graham cracker crust, but with crushed gingersnaps.
I chose this for two reasons. First, I wanted the dark crust to contrast against the white pumpkin filling (and to make it look as light as possible). The other reason is that the ginger flavor works perfectly with the chai-spiced pie.
It also makes this a perfect candidate for a Friendsgiving, where recipes take on unique twists from the classics.
How to make the white pumpkin pie
The process is the same as any other pumpkin pie. But I want to go over some specifics, especially with the white pumpkin puree, so you know what to look for at each step.
- Prepare the white pumpkin puree
- Make the crust
- Whisk the filling
- Bake the pie
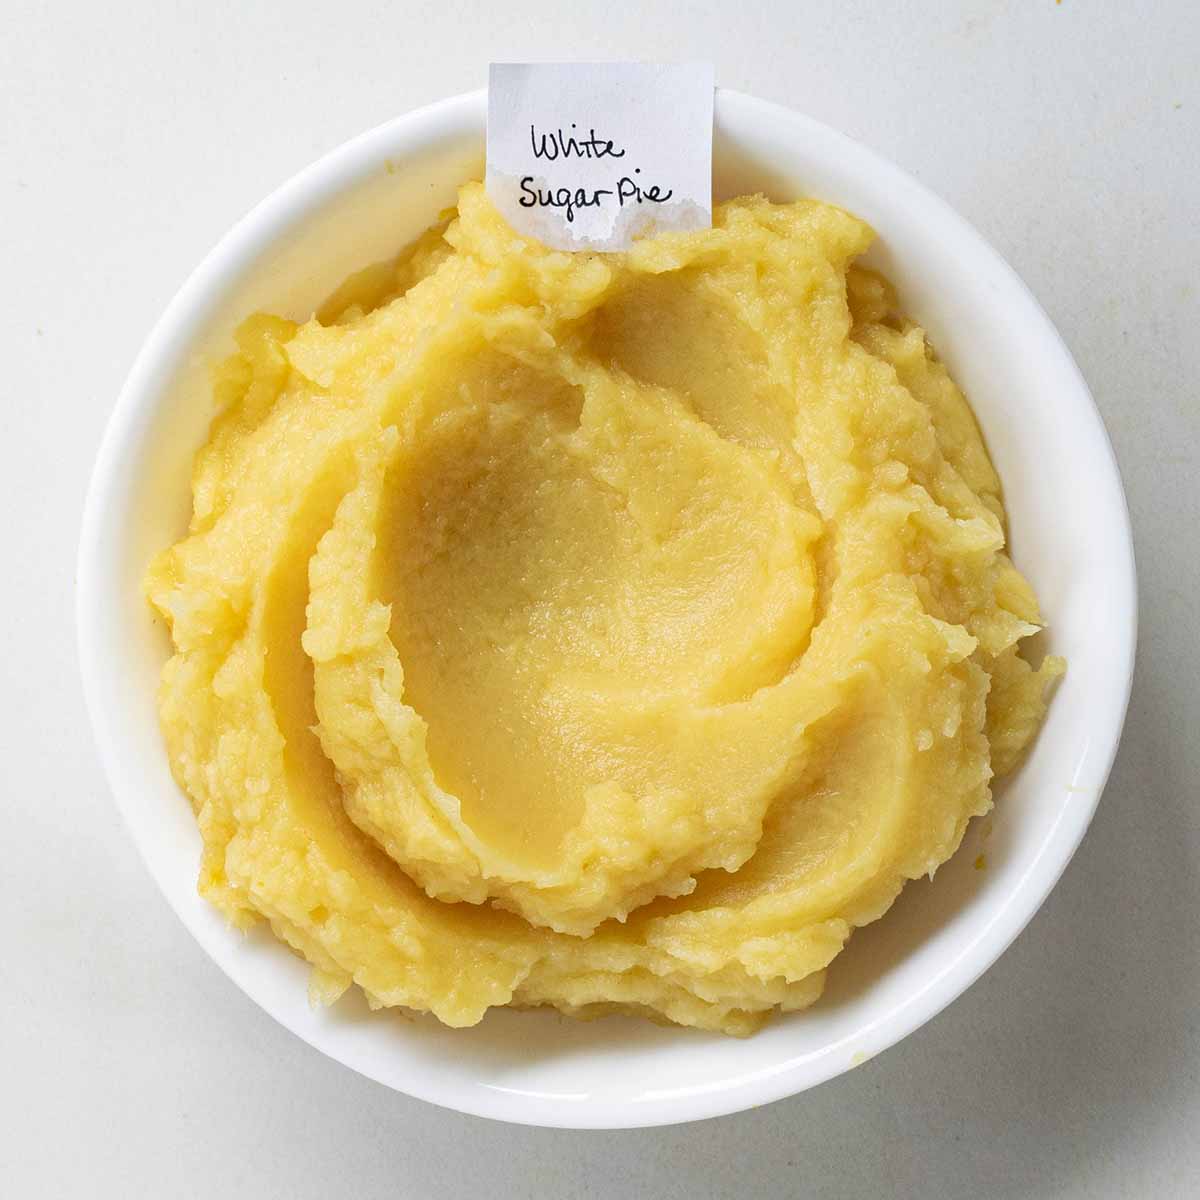
Make the white pumpkin puree
Homemade pumpkin puree is actually easy to make, and white pumpkins seem to have flesh that's dense enough it doesn't need any liquid drained off before using it.
- Cut the white pumpkin in half (direction doesn't matter)
- Roast cut-side down on a parchment paper lined baking sheet for 45-60 minutes at 400F. Don't skip the parchment paper, it prevents the flesh from sticking and burning. It's done roasting when the flesh is tender and doesn't feel starchy/grainy when pierced with a fork.
- Once cool enough to handle, peel the skin off (or if it's stubborn, flip it and scoop out the flesh with a spoon).
- Puree the flesh.
A food processor is going to get you the smoothest puree, which is ideal for a pumpkin pie. Other recipes can get away with mashing it or pushing it through a sieve, but I've found for a creamy custard pie, a food processor can't be beat.
For more detailed instructions on the whole process, visit my article on how to make fresh pumpkin puree.
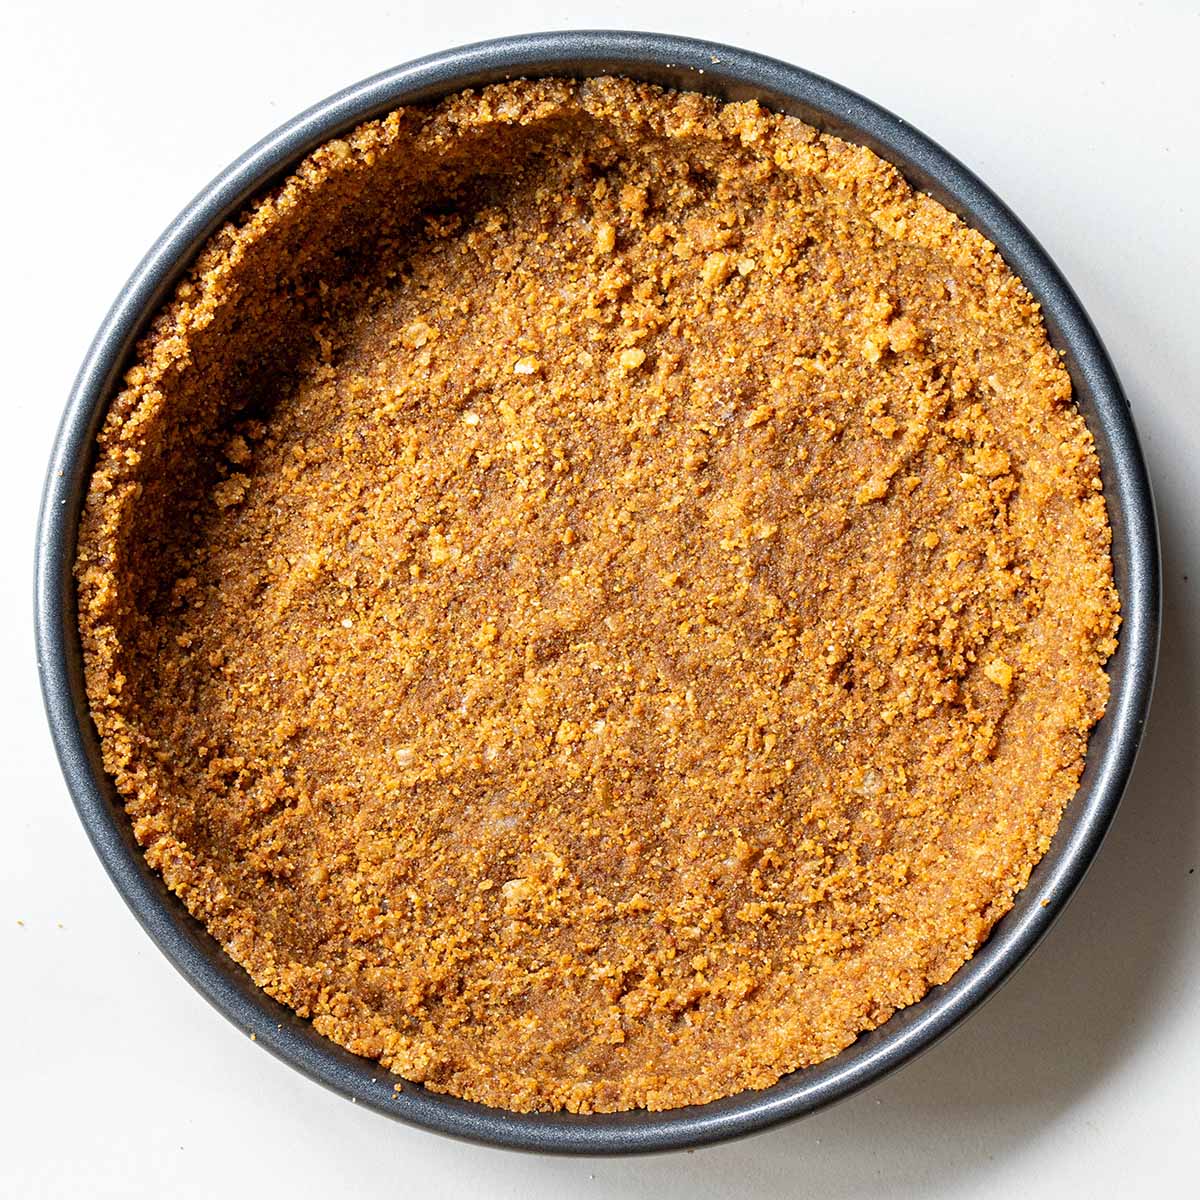
Tips for the gingersnap crust
You'll make the gingersnap crust and par-bake it before adding the pie filling (just like with a graham cracker crust). There are only a few super simple tricks to make sure you get a good crust:
- Start with crisp gingersnaps, not soft and chewy ginger cookies.
- Crush into very small crumbs that resemble sand by using a food processor or run a rolling pin over a ziptop bag of cookies.
- Don't eat the mixture - this doesn't make extra and if you eat more than a light spoonful (as I do every time for fun), you won't have enough to go up the sides.
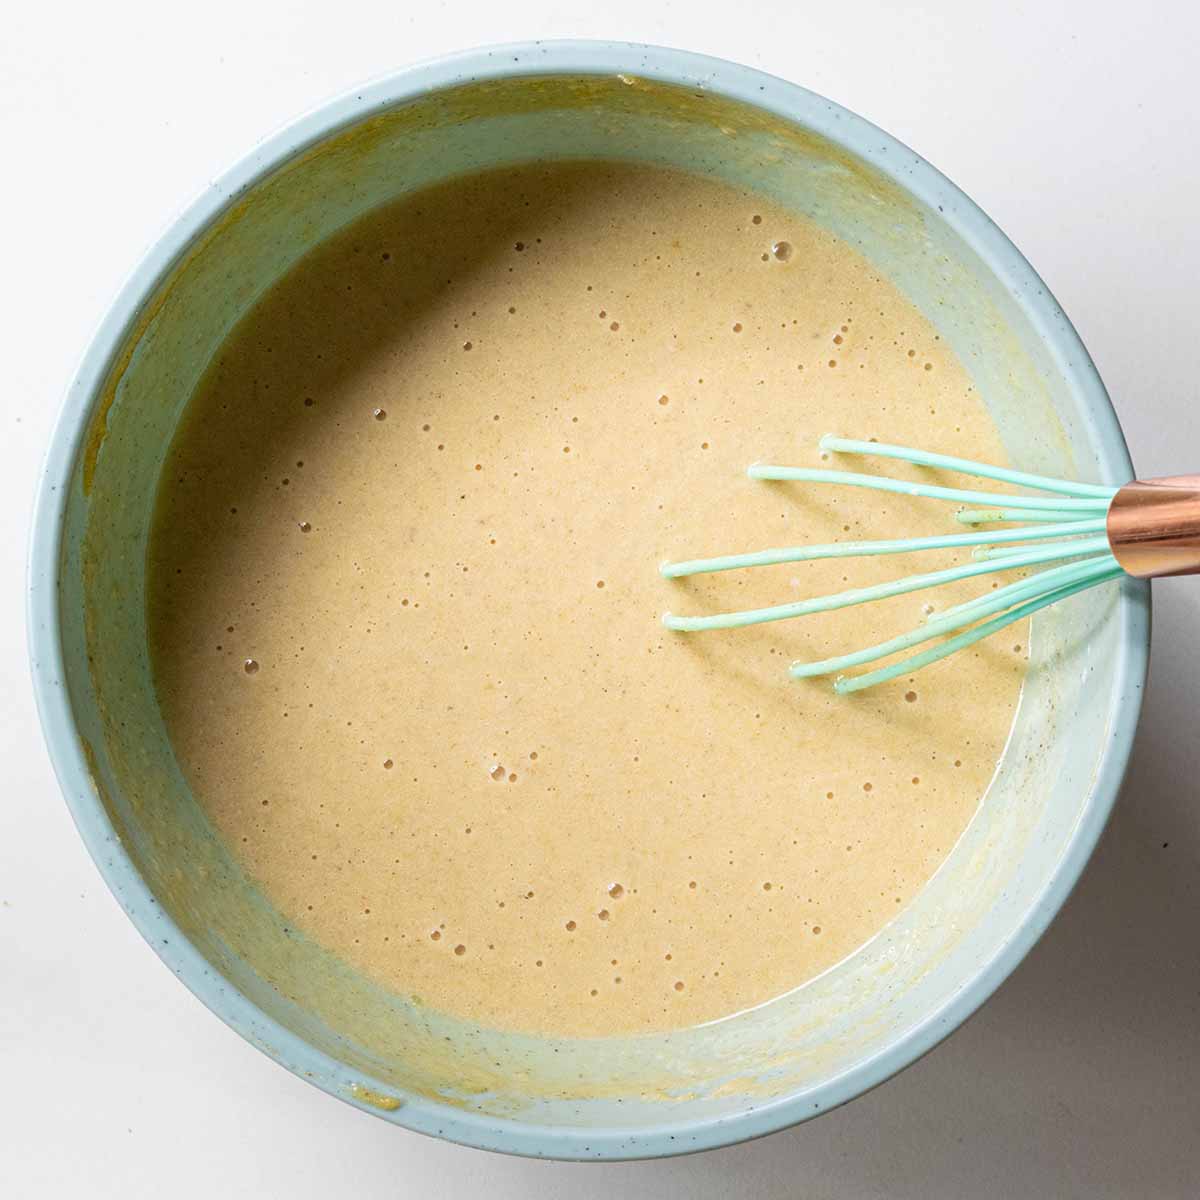
Mix the pumpkin pie filling
This is the easy part, as everything is mixed together in one bowl. It should be smooth and have a consistency of runny pudding, where it feels a little viscous but is still very pourable.
However, if the mixture feels grainy or you just want to ensure a super smooth pie, run the filling through a fine mesh sieve. If you do this, push all of the filling through, which will break up any graininess from the white pumpkin puree.
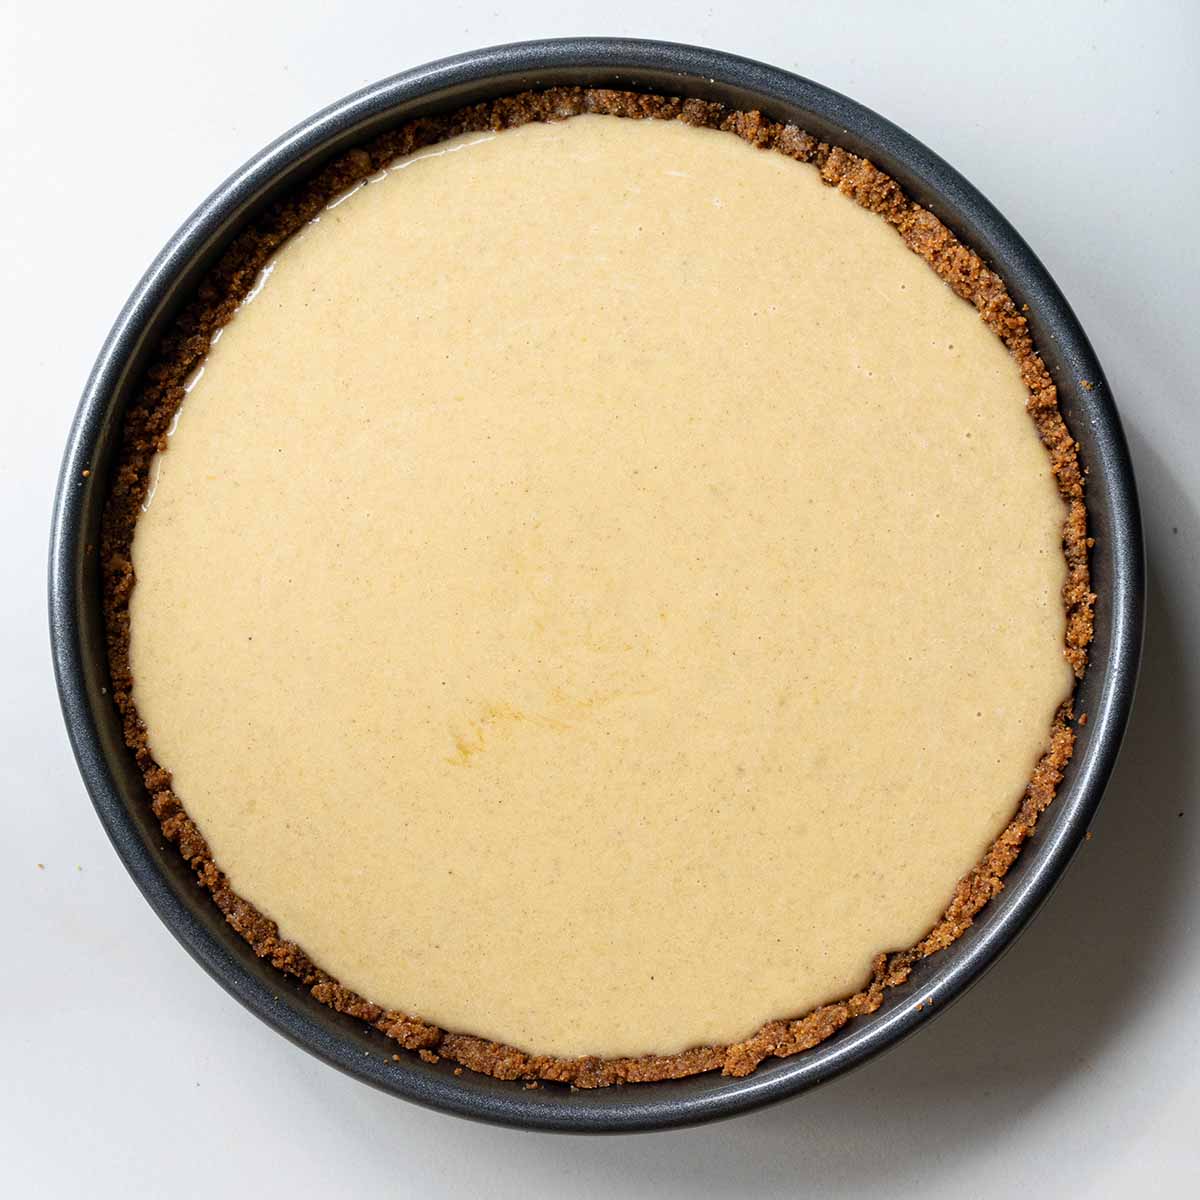
Bake the pie at 350°F for 40-50 minutes
I bake this white pumpkin pie on the lower rack in my oven to keep the top away from heat and additional browning. It's also a good spot for a custard pie anyway.
Some pumpkin pie recipes start the pie in a hotter oven, reducing the temperature after 15 minutes or so. That's to help a typical pastry crust get a head start so it finishes baking by the time the custard sets.
That's not necessary for this gingersnap crust (or for a graham cracker crust). If you do want to swap in a standard pie crust, bake the pie for 15 minutes at 425°F, then lower the oven to 350°F and continue to bake.
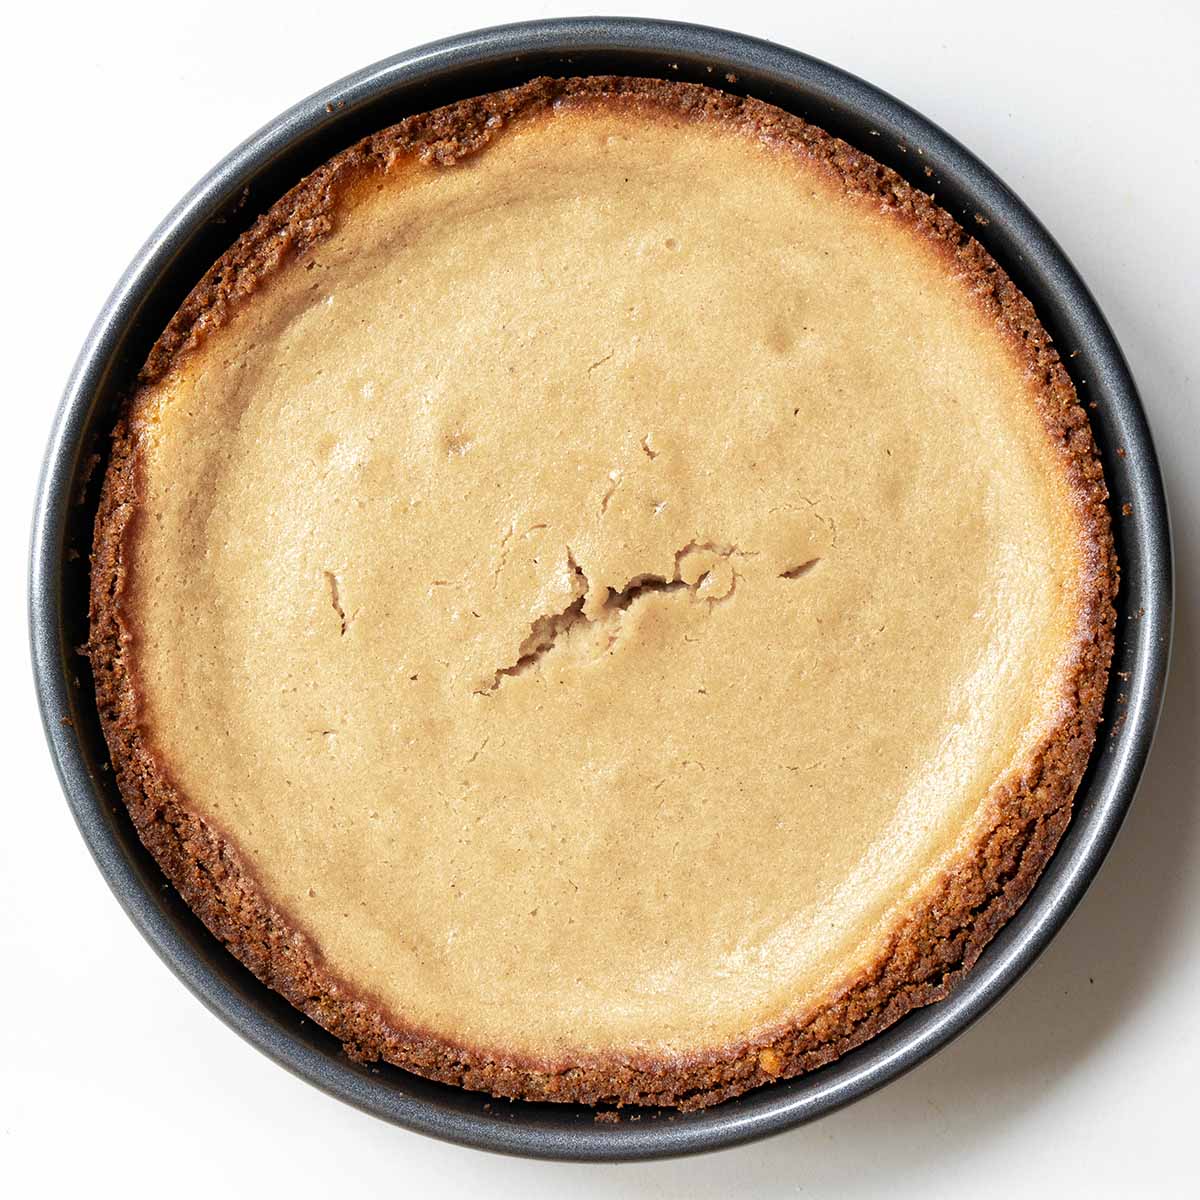
How to know when the pie is done baking and keep it from cracking
This is always tricky and I don't always get it right. After a lot of tests across all types of pumpkin pies, I'm getting closer to consistent results.
What causes a pumpkin pie to crack
First, it helps to understand why a pumpkin pie cracks. King Arthur's article explains it well, "Those cracks you see in your pie are the result of overcooked eggs, eggs that have tightened up so much, in an uneven way, that they've created fissures in the filling."
Cracks can form even after you've pulled the perfectly un-cracked pie out of the oven, since the eggs continue to cook from residual heat.
How to tell when it's done baking
There's a lot of advice out there on how to tell when the pie is done baking, and I find the most reliable is to use a thermometer that I poke into the center. Take the pie out when the temperature is between 165°F and 175°F.
When I let some pies get to 180°F and above, they all cracked in the centers. But I can confirm 175°F seems pretty reliable for a perfectly set pie.
The downside is that you'll have a hole (or holes) in the middle of your pie. While it will be perfectly set, it won't be as picture perfect.
That brings me to the other option: visual cues.
- The edges will be fully set and look puffy. There might be tiny cracks on the edges that will mostly disappear when the puffiness deflates as it cools.
- The center 4-inches should be jiggly like jello (not runny and sloshing around). King Arthur Baking has a 5-second video of what a jiggly center should look like.
My advice is to try to to guess at when it's done with visual cues, then use a thermometer to double check. After you've done this a few times, you might get the hang of the visual cues and not need to use the thermometer.
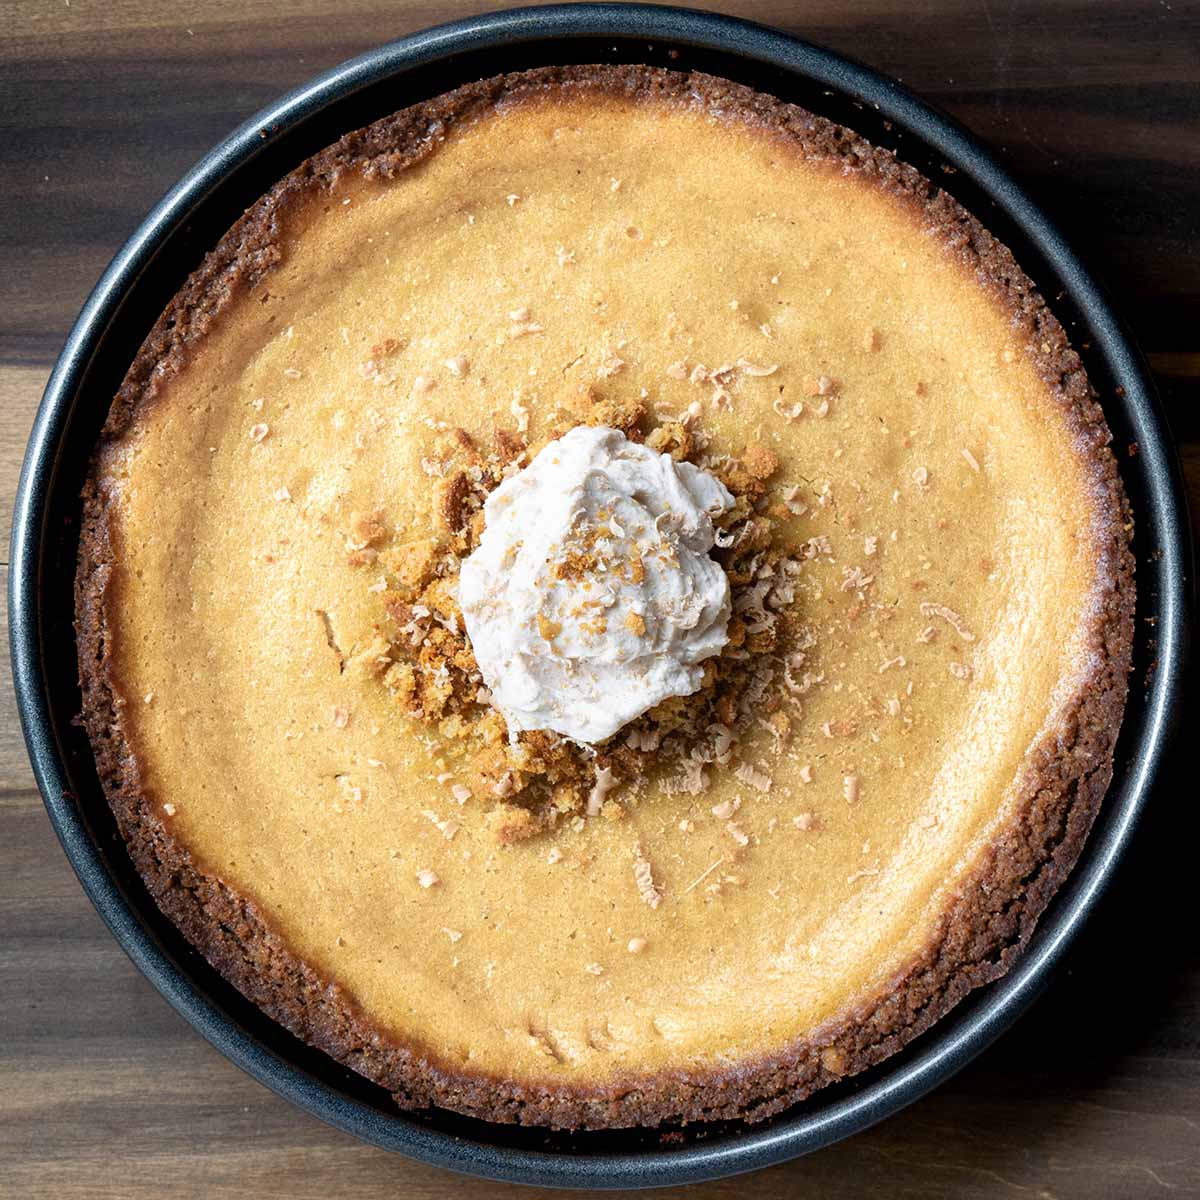
How to hide cracks
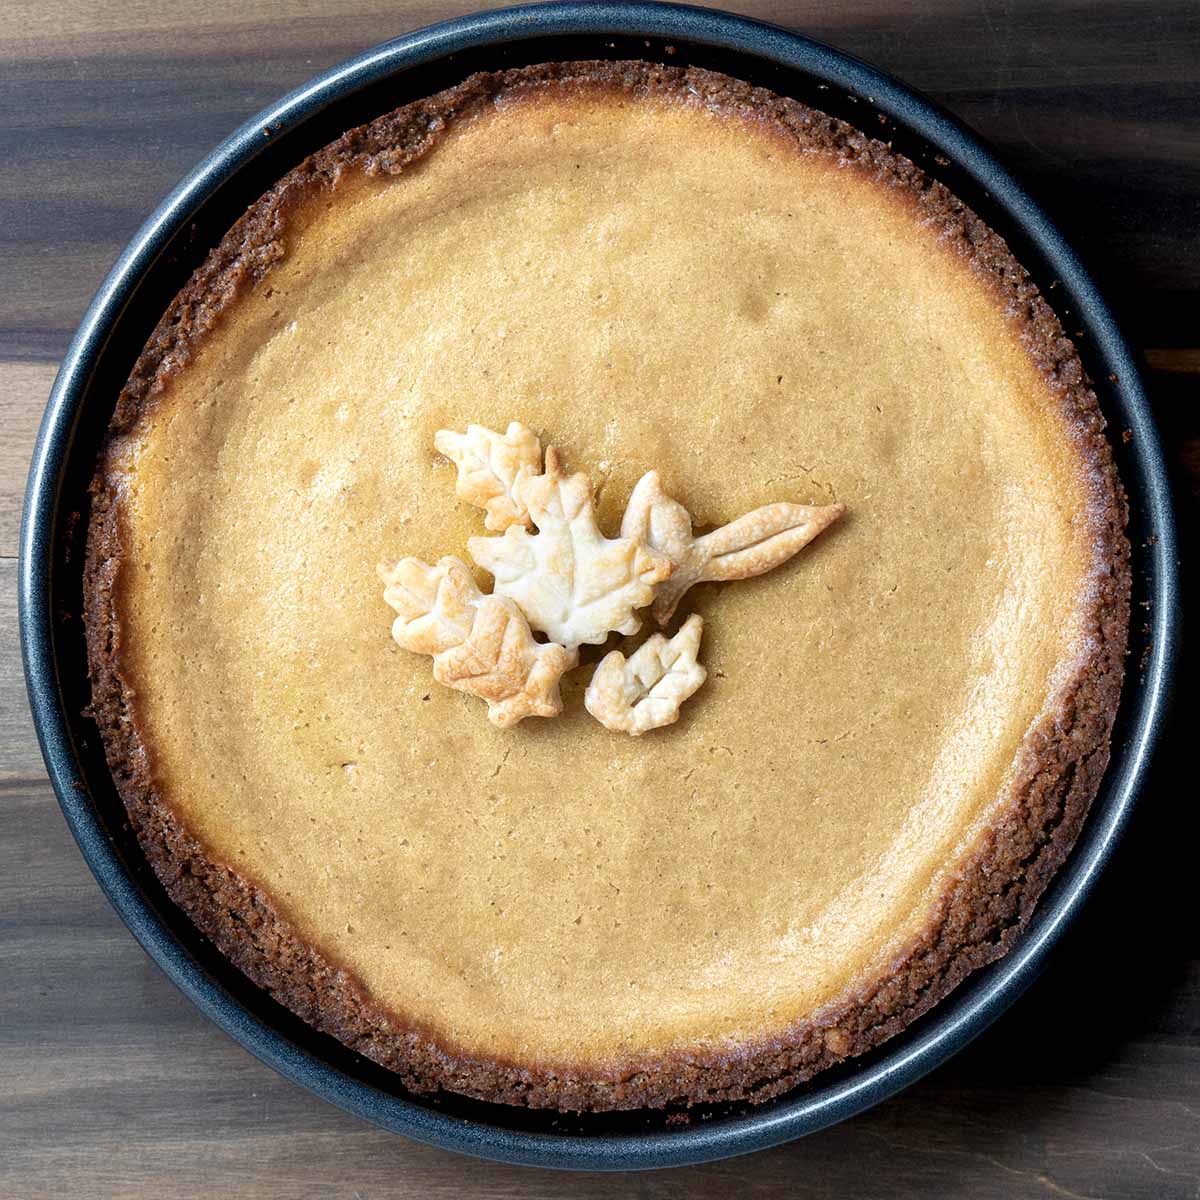
If the pie cracks, just cover the center with some spare gingersnap crumbles or decorative pie crust cutouts or sugar cookie cutouts. In fact, it will make it look super festive and even more fun than a perfect pie that has no decorations.
I've used the refrigerated Pillsbury pie dough that rolls out on the counter to make cute leaves. I used some inexpensive fall leaf cookie cutters from Amazon and baked the dough. Below is an affiliate link if you're interested in the same product - I do get a small commission if you buy something, but at no cost to you.

- Perfect Combination: Including 4 pcs leaf shaped cookie cutters, maple, oak, double leaf and...
- Safe Material: This leaf fondant cutter is made of food grade plastic, well packaged in a box
Bake the pie-dough cutouts for a lot less than the instructions say on the box. I burned my first batch and lowered the cook time to 6 minutes and they turned out perfect.
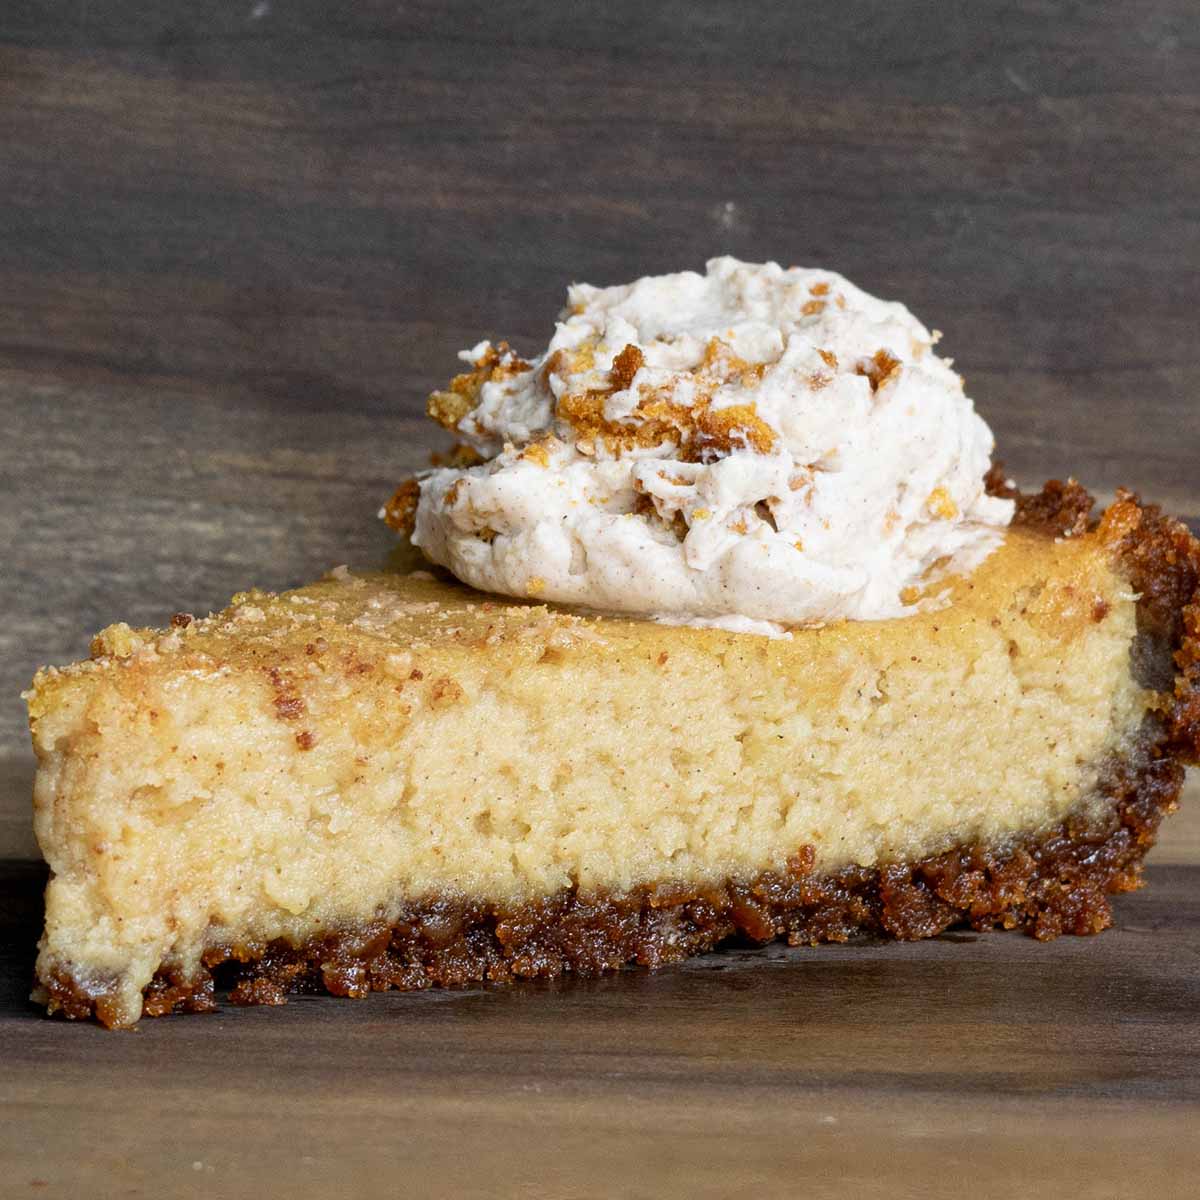
Make a flavored whipped cream & other fun toppings
I added a pinch of cardamom and cinnamon to the whipped cream and it was delicious. If you can manage to make it a tiny bit darker with enough cinnamon, it will make the white pumpkin pie look paler by comparison.
Follow your favorite whipped cream recipe, or try this classic one from Sally's Baking. Add in ¼ teaspoon cinnamon and a pinch of cardamom to start. Taste it and adjust.
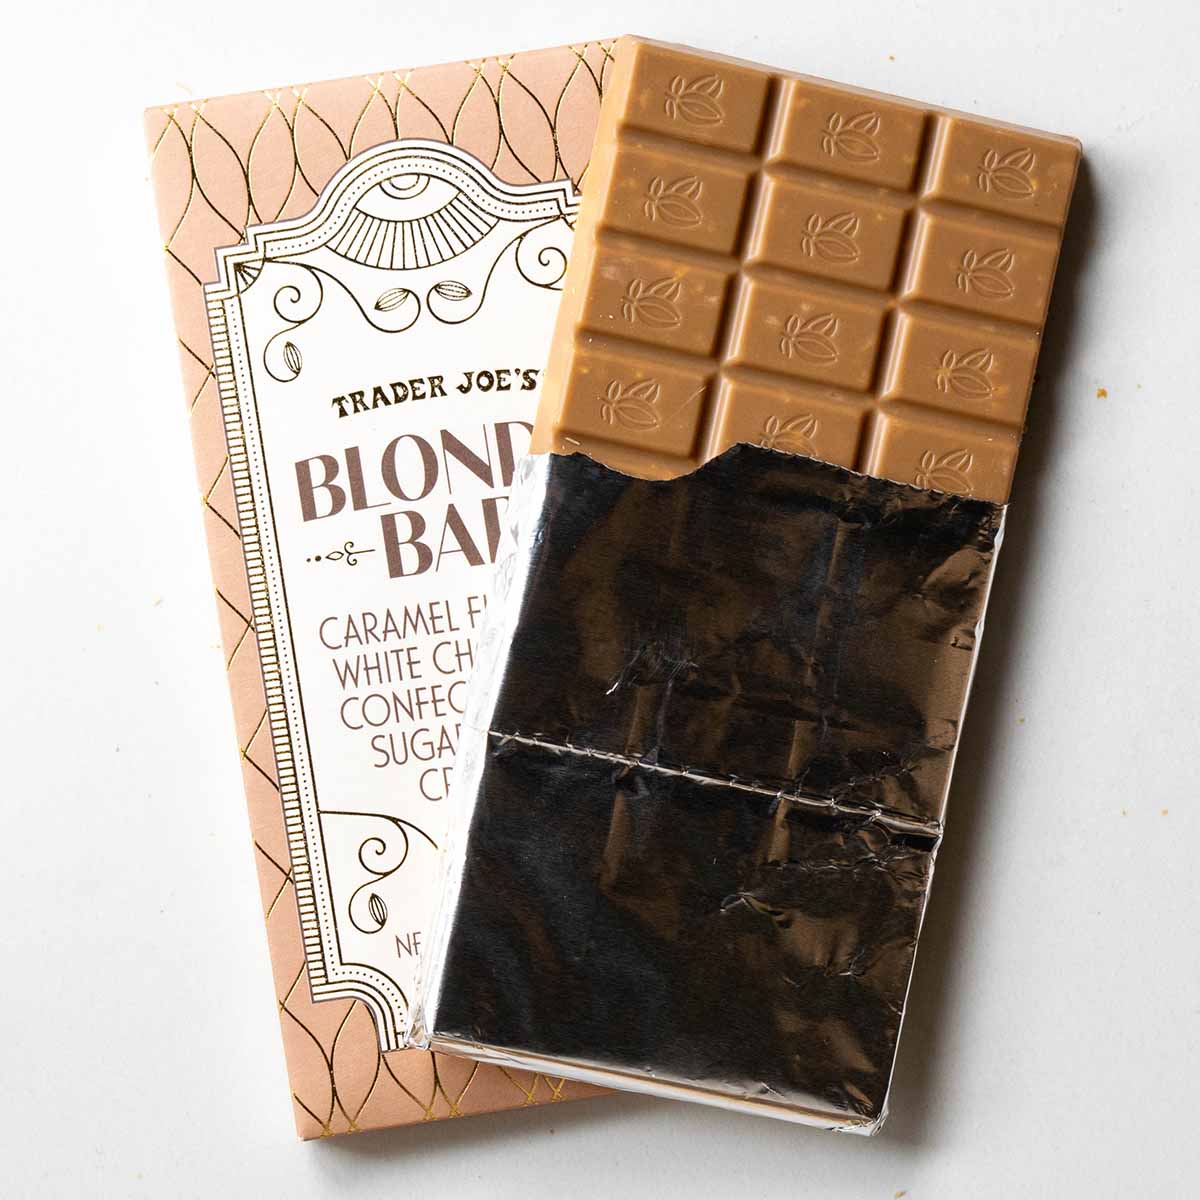
Then I dusted mine with extra gingersnap crumbs and some shaved white chocolate. I used Trader Joe's white chocolate blondie bar for both the flavor and tan color. Its darker color makes the pie filling look even paler.
Make-ahead and storage instructions
Pumpkin pies need to cool to fully set and hold up great overnight in the fridge. This makes them a perfect make-ahead dessert, especially for the busy Thanksgiving holiday.
Homemade pumpkin pies also need to be stored in the fridge within 2 hours of being removed from the oven for safe storage. Southern Living notes that some store-bought pumpkin pies are made to be shelf stable, but your homemade ones are not.
The gingersnap crust I developed for this white pumpkin pie holds up even better over time. It doesn't get soggy, at all.
I left a piece in the fridge for 4 days, just to see how the crust held up and it was still crisp and not at all soggy.
This pie also freezes nicely, with the crust also holding up extremely well (and a lot better than pastry based pie crusts). I like to freeze the pie already sliced up so I can grab the number of servings I want.
- Cut into slices
- Place in the freezer, unwrapped, until they harden (a few hours or even overnight)
- Remove from freezer, tightly wrap in plastic and tin foil, or vacuum seal (when they are frozen hard, they won't get squished).
Recipe
Ingredients
White pumpkin pie filling
- 15 ounces white pumpkin puree 1 ¾ cups from a 3-lb white sugar pumpkin, instructions below.
- 3 large eggs
- ¾ cup heavy whipping cream
- ¾ cup white sugar see note on using brown sugar
Spices
- 1 teaspoon vanilla extract
- ½ teaspoon cinnamon see note on dark colored spices
- ¼ teaspoon ginger
- ¼ teaspoon cardamom see note on increasing amount
- ¼ teaspoon nutmeg
- ¼ teaspoon salt
Gingersnap crust
- 1 ½ cups gingersnap crumbs about 6.5 ounces of cookies
- ⅓ cup granulated sugar
- 6 tablespoon butter, melted
- ½ teaspoon cinnamon
- ¼ teaspoon cloves
Instructions
Make the white pumpkin puree
- If you don't already have the white pumpkin puree: cut a white sugar pumpkin in half (about 3-lb pumpkin) and scoop out seeds. Place cut sides down on a parchment-lined baking tray and roast at 400℉ for about 45 minutes, until the flesh is extremely tender. Once cool enough to handle, scoop out flesh and puree in a food processor. Drain off any pooling water. Measure out 15 ounces for the pie.
Make the gingersnap crust
- Preheat the oven to 350℉. Mix all of the gingersnap crust ingredients together in a bowl, then press it into your pie pan. Bake this for 8-10 minutes then remove it to let it cool completely.
Make the pumpkin pie filling
- Mix the eggs, sugar, and spices together in a bowl. Then add in the puree and heavy cream and whisk to combine. It will be a very runny pudding texture where you feel some viscosity but it's still very pourable.
- Pour the filling into the par-baked gingersnap crust.
Bake for 45-60 minutes at 350℉
- Bake the pie on the lower rack until the edges are set and the center 4" are jiggly like jello. The center should not slosh around if nudged. Or use a thermometer and take it out when the center reaches 165-175℉.Over-baking can crack the top of the pie and turns the custard thicker.
- Let cool slightly then refrigerate within 2 hours for safety. This holds really well for several days and the crust never gets soggy.
Notes
Nutrition
More recipes & resources
Check out my other Thanksgiving desserts and recipes for the holiday season.
Leave a Reply