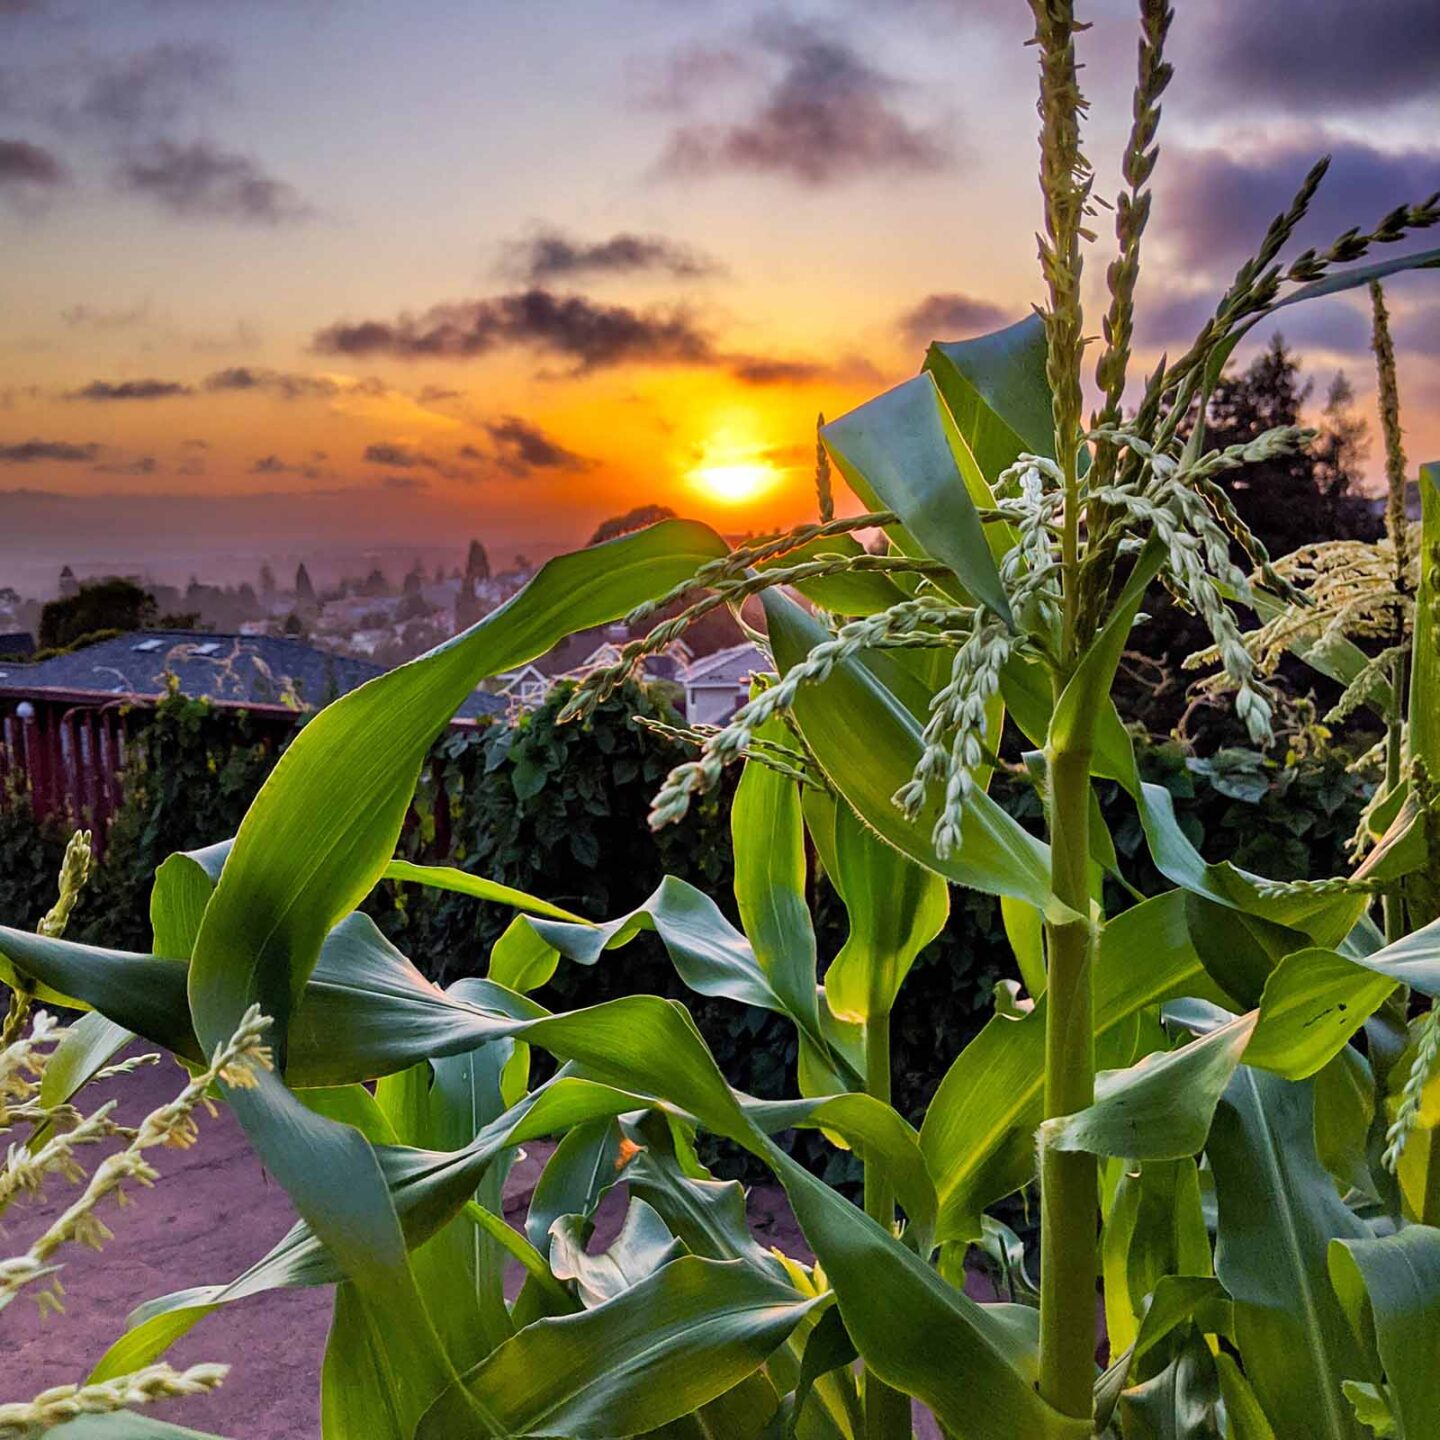
Corn is a unique vegetable to grow for home gardeners because we are eating the seeds of the plant. Most things we grow are eaten for the flesh, like tomatoes and zucchini, and the seeds don't matter (other than for seed saving).
But with corn, the yellow and white kernels are the seeds, and pollination is kind of a big deal.
- Without excellent pollination, cobs will have missing kernels
- Pollen from other types of corn will create a hybrid that won't taste as expected (and can be starchy and flavorless)
Since pollination is so important, it drives most aspects on how to grow corn including variety selection, spacing, and even watering techniques.
Jump to:
How corn pollinates & why it matters
First I want to provide a super quick overview of corn pollination. It might sound boring, or even completely unnecessary, but I promise it will make all of the corn-growing advice 'click.'
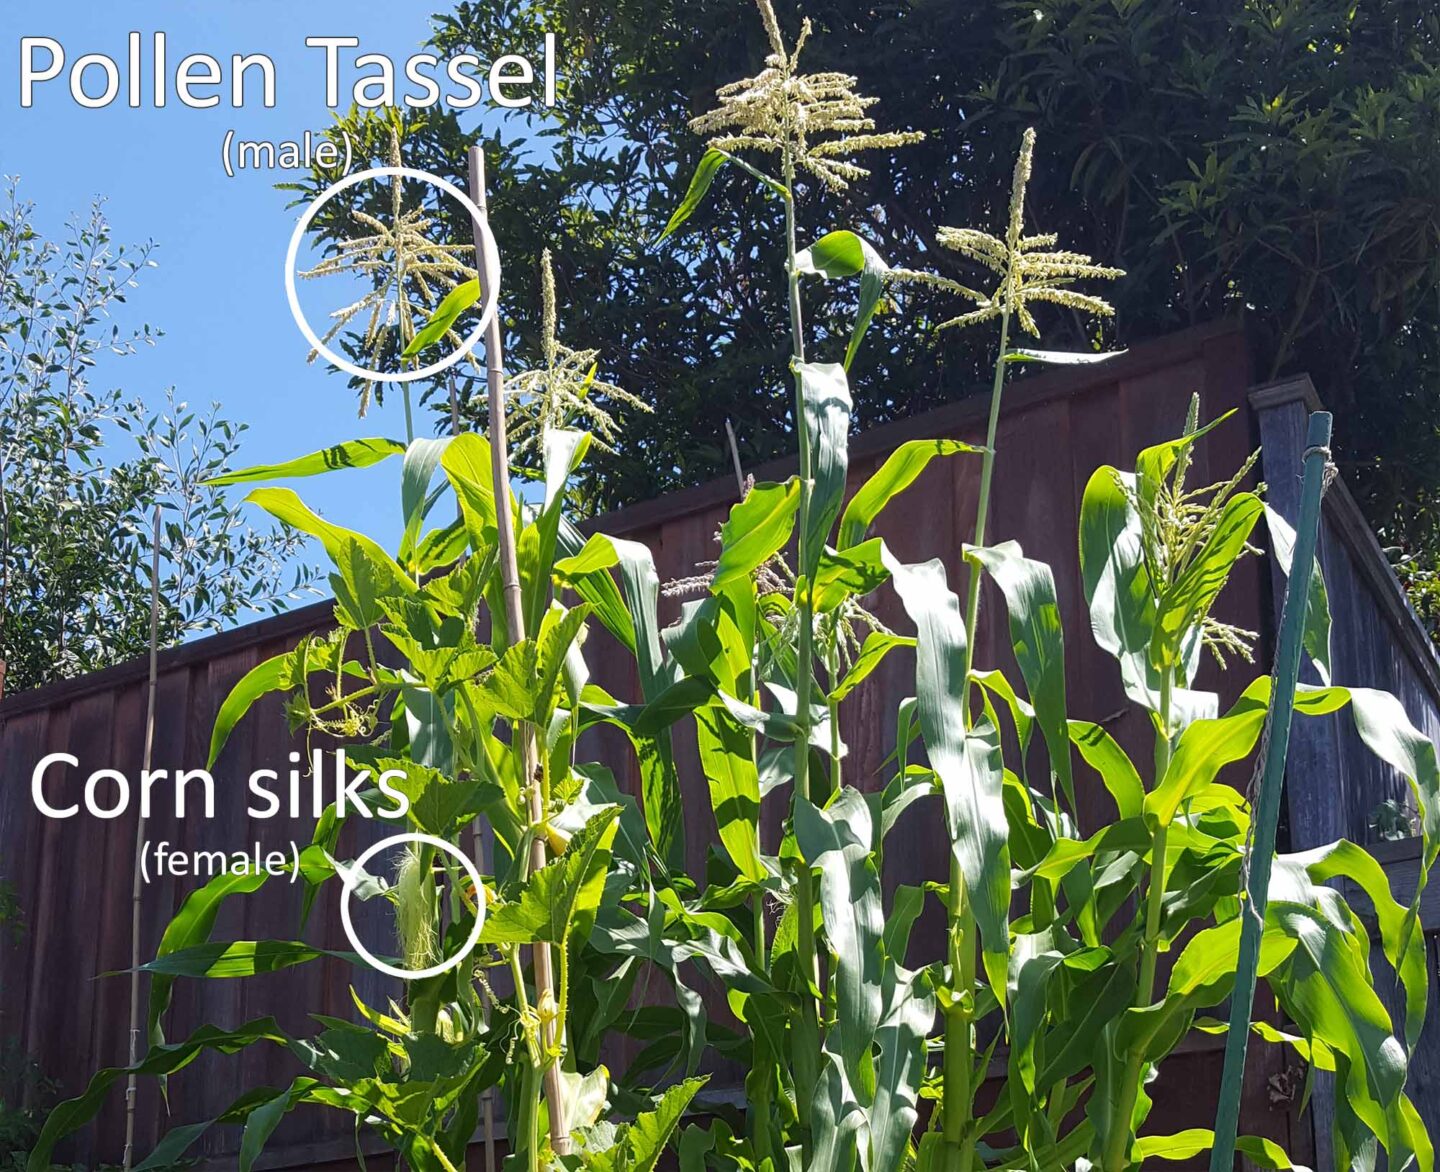
Corn plants have two separate parts to the pollination process: tassels and silks.
The tassels found on top of the corn plant drop pollen onto the silks of the corn cob. Each silk string sticking out of the cob represents a kernel of corn. Each silk needs to be pollinated for that kernel to develop.
The pollen is so tiny that it is easily carried by the wind. When carried across your garden to another variety, cross pollination can occur, changing the characteristics of the kernels that you'll be eating. Because of this, it's advised you isolate different varieties by at least 250 feet.
For more information on corn's reproductive cycle, read "Tassel Emergence & Pollen Shed" from Purdue University.
When most of our garden plants are pollinated, the resulting fruit or vegetable is exactly as expected, even if the pollen came from a different variety. The seeds won't be true to the parent, but that doesn't usually matter because we are eating the vegetable we expected.
However, since corn kernels are the seeds, cross pollination matters. If my Bodacious corn is pollinated by the Incredible variety, the kernels will be a hybrid of the two, and not true to either variety I planted.
Cross pollination between some varieties will even result in a very bland, starchy cob with poor texture.
Step 1: Choose a variety
Because on how corn pollination works, I strongly suggest you pick the one variety to grow. Plant that variety and only that one. (Unless you have a lot of space and can separate corn beds by at least 250 feet or grow varieties where pollination occurs more than 2-3 weeks apart).
There are several different types of corn you can grow - some have strong corn flavor but a short shelf life, while others have less corn flavor but more sugar and a longer shelf life.
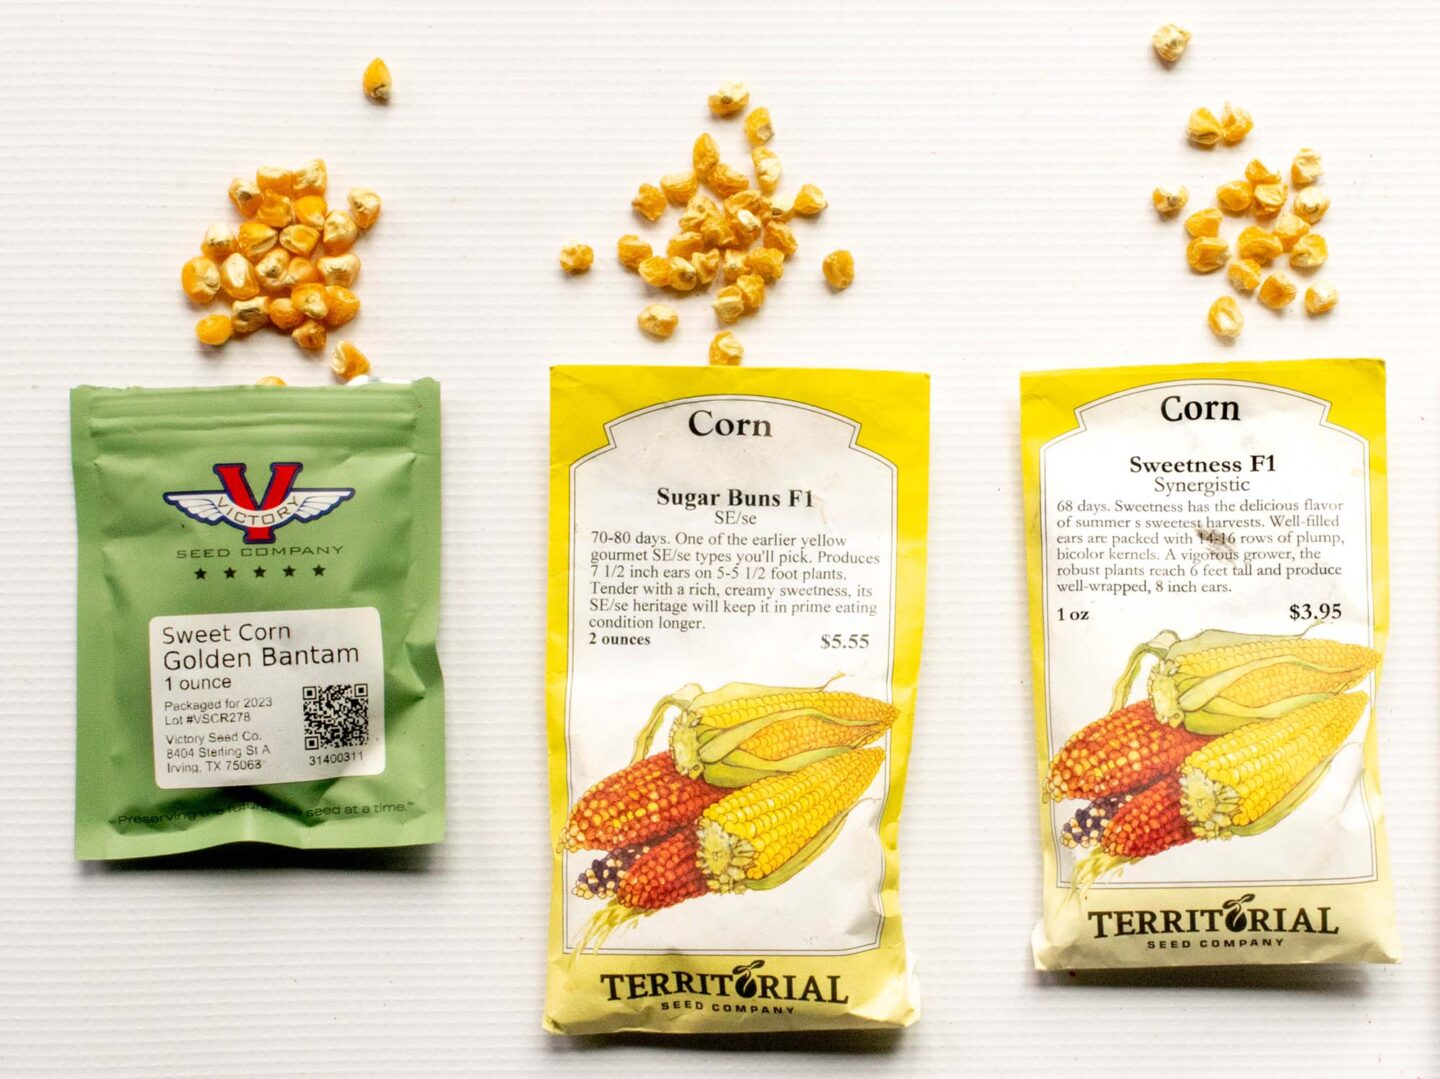
Types of sweet corn
There are several different genetic types of sweet corn, selected for their flavor, texture, and shelf life.
All you need to do is pick one based on the characteristics that appeal to you, then browse through seed catalogues to find a variety within that category. I have a helpful guide on selecting the best variety of corn, but below is a very short summary.
- Standard sugary (su): This type has the best corn flavor, a creamy texture, but a very short shelf life. It's the corn from the 1900s, and is nearly impossible to find a farmer growing it (even for the farmers market) since the shelf life is so short (1-2 days for quality flavor)
- Sugary enhanced (se): very good flavor, sweeter, a creamy texture, and a longer shelf life (4-7 days). Commonly sold at farmers markets (not grocery stores).
- Supersweet aka shrunken-2 (sh2): medium corn flavor, very sweet, with a crunchy texture and even longer shelf life (1-2 weeks). Texture holds up well to shipping and quality lasts long, which is why it's nearly the only type of corn sold at grocery stores.
- Synergistic (sy): a hybridized mix of 2-3 different varieties listed above.
- Augmented supersweet: these are supersweet kernels that also have su/se traits.
I like growing Standard (su) corn since vendors don't sell them. I also prefer their classic flavor (with lower sugar) over the types that have more sugar but less corn flavor.
Early, mid, and late season
A single variety of corn will be perfectly ripe all at once. This gives you a small window to eat (and freeze) within a couple of weeks.
To extend the harvest, consider planting an early and late variety. Their pollination cycles will be separated by enough days that cross pollination shouldn't occur.
Mixing in a mid-season variety, however, could cause cross pollination, as their cycles are likely too close to the early and late varieties.
Alternatively, you can choose just one variety for succession planting: sow seeds every two weeks to extend the harvest. Note that each time you plant seeds, they should have a minimum 4x4' bed (16 plants) for maximum pollination.
Step 2: Prepare your garden bed
Your corn plants will thrive if you give them the following:
- Your sunniest spot
- Loose soil
- Soil high in nutrients (specifically nitrogen)
Soil
Loose soil lets the corn roots grow deep, extending 6-8 inches down before you even see the leaves emerge. The main roots can eventually grow 5-6 feet deep under good soil conditions.
Deep roots create a more resilient plant that can withstand drought and won't fall over in windy conditions.
However, if the soil is compacted (hard), the roots will be fairly shallow. This can contribute to "lodging" where the stalk falls over and breaks. I planted corn in a spot in my front yard with heavily compacted soil - 75% of the stalks fell over in a light thunderstorm.
Nutrients
Corn plants are also heavy feeders, especially nitrogen. Nitrogen contributes to leafy growth in plants, and since corn is technically a grass, it loves leafy growth!
In addition, some research shows that higher levels of nitrogen increase corn's aroma when cooked (University of Illinois, department of Horticulture, pdf).
Step 3: Wait for warm weather (really!)
The soil should be at least 65ºF, with no chance of it dropping below 50ºF.
The soil temperature is important not just to start germination, but to prevent chilling injuries. Once planted, the seed starts soaking up water and expanding. If the soil is too cold, the cells aren't elastic enough and can break open. This can lead cause the seed to stop germinating, or poor root development.
Further cold soil temperatures can also cause root development problems or slowed growth.
How cold is too cold? A discussion at Purdue University shares the following: "It is not clear how low soil temperatures need to be for imbibitional chilling or subsequent chilling injury to occur. Some sources simply infer temperatures less than 50F (10C). Others suggest the threshold soil temperature is 41ºF (5C)."
Furthermore, germination is considerably slowed in colder temperatures. Some advice out there suggests you can plant corn as soon as the soil warms to 50ºF. However, it can take a month for the corn to emerge if temperatures are consistently that cool.
So wait until the soil is warm enough and resist the temptation to plant during an early spring warm-spell.
Step 4: Plant seeds
A very general rule of thumb is to plant on 6-10 corn stalks per person. There's a lot of variance in that advice, dependent on the type of corn to season extenders, as explained in "How much corn to plant per person."
Direct sow seeds into the soil, 1.5-2" deep and spaced about 1 foot apart in a block formation (see "Corn blocks & the best spacing" below). You can plant 2 seeds in each spot in case some seeds fail to germinate.
Some people suggest pre-soaking the seeds in water to help with germination, and they've had good results. However, this makes them more susceptible to soil-born diseases and damping-off.
Once planted in your warm soil, cover seeds loosely with soil and water. Keep the soil moist as they germinate.
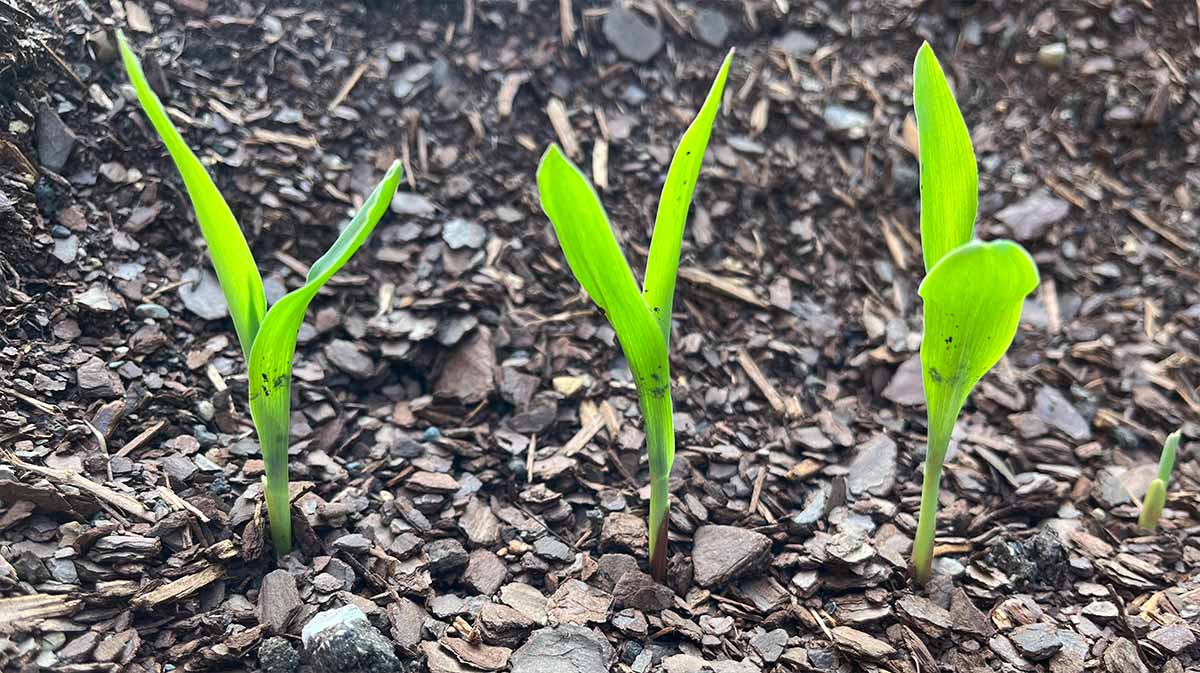
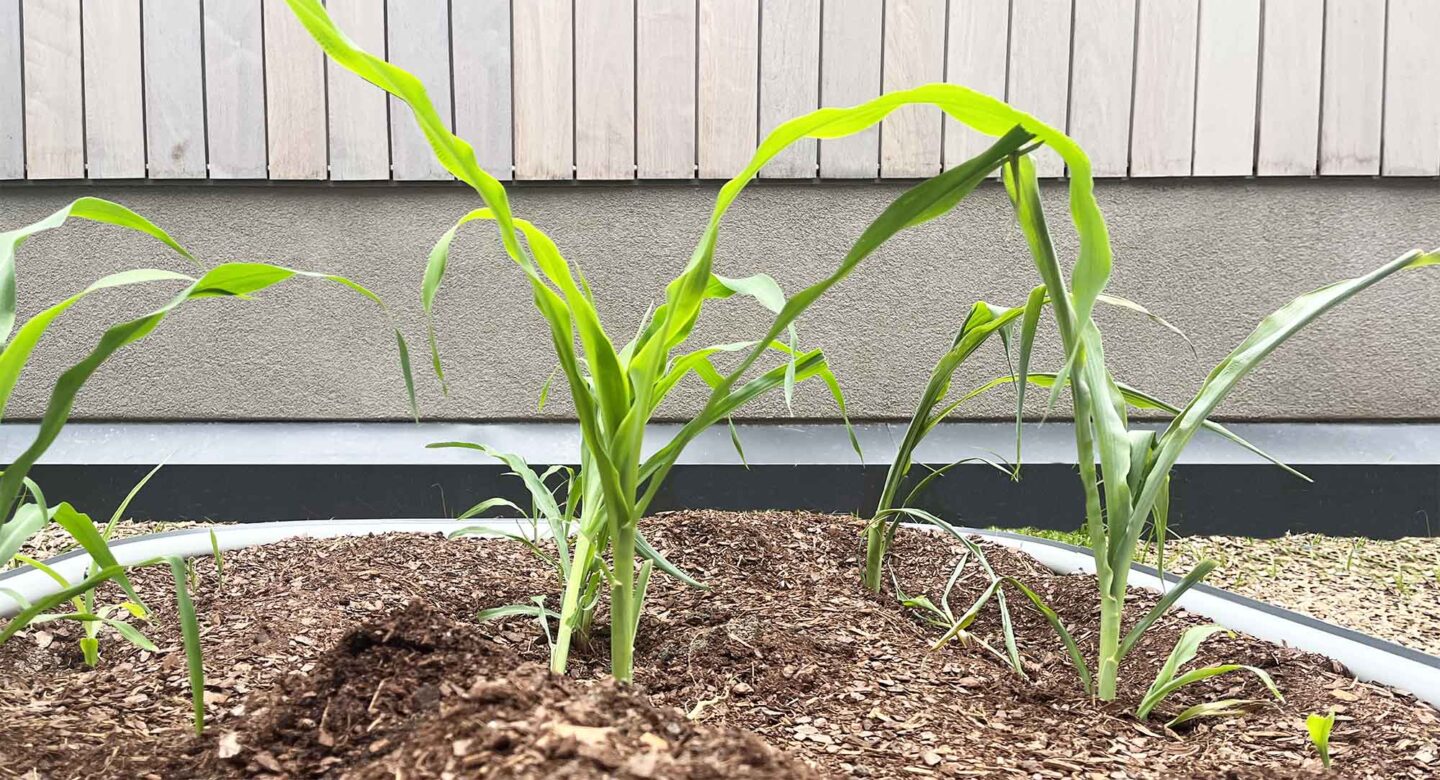
Roots will start to grow pretty quickly, and you'll eventually see leaves above the ground in 4-14 days. Seeds will germinate and emerge faster in warm temperatures. My early planted seeds took 10 days to emerge, compared to just 4 days for the same seeds planted at the end of June during some very warm weather.
Corn blocks & the best spacing
In order to achieve the best possible pollination, corn should be planted in blocks rather than long single rows. In blocks, the pollen has a better chance of reaching silks.
The spacing within those blocks have a lot of flexibility - allowing you to make the most use of the space you have available.
Let's take a 4x4 foot block as an example, which is about the smallest area you want to plant for corn for successful pollination. You can fit 20 stalks of corn in a bed this size without affecting yield or quality.
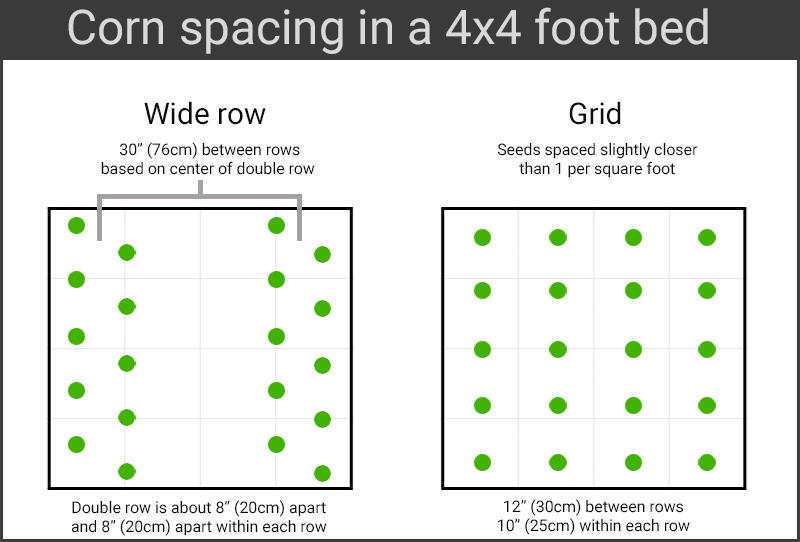
Wide double row
The Wide Row seed spacing on the left is useful if you want to grow other produce down the center, like spinach or peas. It is based on recent agricultural research that used a double-row technique to increase plant density while still allowing farm equipment to get between the rows.
The trials show this spacing provides optimal yield with good sized cobs. When planted even closer (6" apart), the yield greatly decreased and the cobs were smaller.
Grid spacing
The Grid seed spacing on the right is slightly closer than 1 per square foot and fairly evenly spaced. Research from UW-Madison indicates that spacing like this performs just as well as less-dense plantings.
This is a good option for simplicity as well as an attractive display of corn. This spacing also shades out weeds quite well (once they grow taller).
Spacing too close
Most advice for spacing corn is based on agricultural research that takes farm equipment into account. This advice results in rows farther apart than we need as a home gardener.
However, spacing too closely can cause problems.
- Cobs can have poor "tip fill" due to silks not fully emerging or pollen not reaching them.
- Stalks can get too tall as they compete for light, which can cause them to fall over and break (called "lodging").
- The plants compete for water and nutrients, which can result in weaker plants and less flavorful corn.
Sources:
- UW-Madison video, "Corn: Row & Plant Spacing for Better Yield," shows various trial plots, including 15" spacing between rows and 10" within the row.
- Purdue University Midwest Vegetable Trial Reports (pdf)
- Iowa State Sweet Corn Plant Population Study (pdf)
Step 5: Feed & water
Once your corn stalks reach about a foot tall, apply another round of fertilizer that's high in nitrogen. This helps significantly with their growth.
Water the bed deeply, only once a week if possible. This encourages deeper roots. If you to water the topsoil lightly every day instead, the roots remain in the topsoil which makes the plant less sturdy and more prone to drought.
However, during droughts or high heat, it's very important to increase your watering schedule. Drought and heat stress can cause the pollination cycles to de-sync, causing poor kernel-fill on the ears.
The most important time to be vigilant to drought stress starts 2 weeks before the silks emerge.
According to Dr. R.L. Nielsen at Purdue University, "Nearly continual wilting of the plant due to drought stress at this stage can decrease yield 3 to 4 percent per day. During the silking and pollen shed period, severe stress may reduce yield up to 8 percent per day. During the 2 weeks following silking, severe stress may reduce yield up to 6 percent per day."
Water is crucial for the silks to grow long enough to emerge from the ear (which elongate from the bottom first, and the top later). They also need to stay healthy after they emerge to take on the pollen (if they dry out, pollination won't work).
Step 6: Harvest
The best way to know when your corn is ready to harvest is by noting the date the first silks appear, and checking if they are ready to harvest 18-20 days later. Depending on weather and other environmental factors, corn will be ready to harvest 18-28 days after the silks first emerge.
The maturation cycle
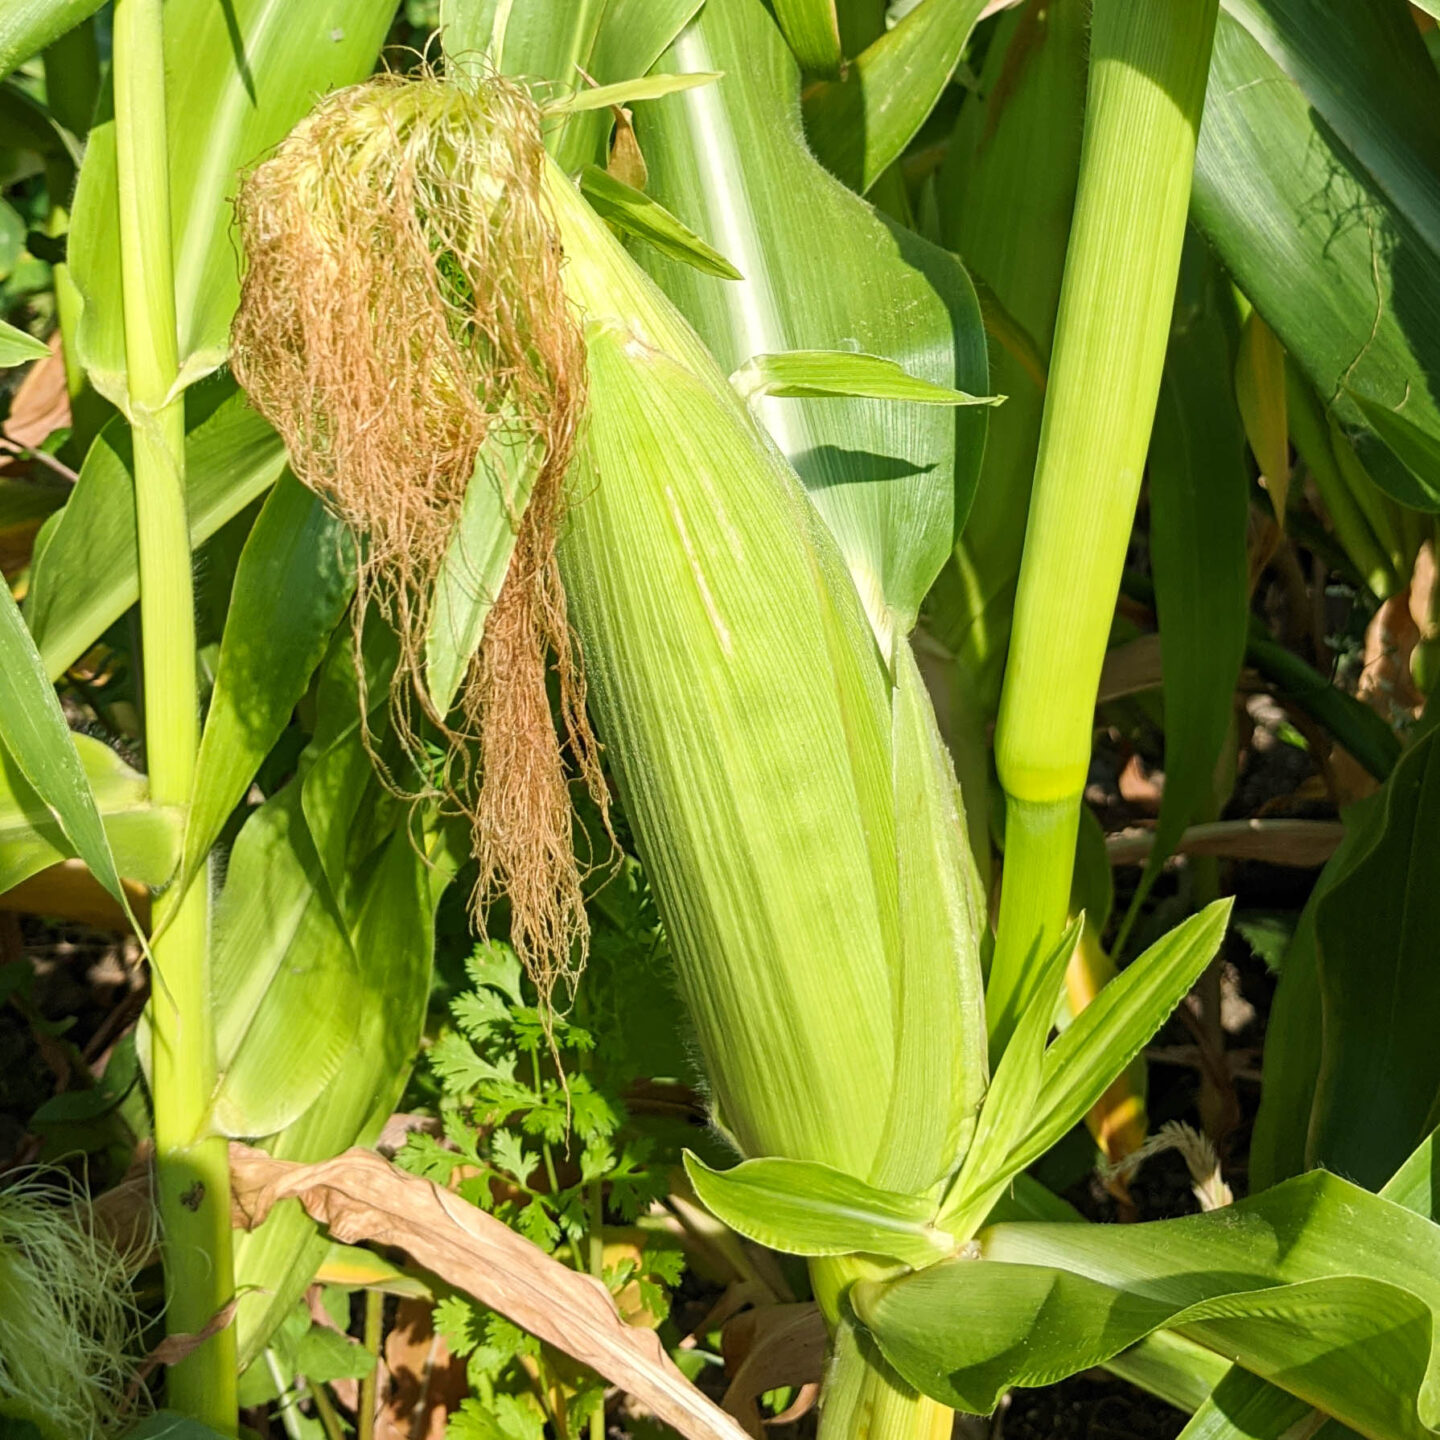
Silk emergence: When the silks first emerge, they are pale yellow, shiny, and pliable. At this point they collect pollen but then quickly turn brown, usually within 5-7 days of emergence.
Dry & brown silks: Because they turn brown so quickly, I've rarely found the silk's color a helpful indicator for harvest. Most advice seems to suggest corn is ready to harvest when the silks are dry and brown, but that happens too early!
Mature kernels: Once the silks are pollinated, the kernels mature. This happens about 2-3 weeks after the corn is pollinated (or 3-4 weeks after silks emerge). At this point, the ends of the silk might be incredibly dry and dark brown or even black. That is fine!
Check for ripeness
Once 18-20 days have passed since silks emerged, check one cob for ripeness. Peel back the top about ⅓ of the way down (as some kernels at the top might not have filled out and that's ok). Poke a hole in a kernel ⅓ of the way down and note the color of the liquid.
Here's what the kernel liquid colors indication:
- Mostly clear: needs to ripen more
- Milky white, but still see-thru: perfect. Pick it now since it has a short window of perfection!
- White and opaque: over ripe and likely starchy (but can still be used for soup)
Any corn that you open up to check for ripeness will likely be lost. I've tried to wrap them back up in the husks, but they aren't tight enough and bugs get in. I've also tried to cut a slit into the husk with a knife to check the kernels, but when left on the stalk to continue to ripen that spot molded (I even tapes it up!).
Harvest window
Many fruits & vegetables can stay ripe on the plant for quite a while without losing much quality. However, corn has a fairly short harvest window that's only days long.
The standard (su) corn has the shortest window, usually best within 3-5 days of ripening. The newer hybrid versions, especially the Supersweet (sh2) can last a week (or more) at good quality on the stalks. You are trading flavor for shelf life in that case, but the newer hybrid varieties can be more forgiving to first-time corn gardeners.



Leave a Reply